NEFF B47FS22 0 Series, User Manual And Installation Instructions
The NEFF B47FS22 0 Series oven is a powerful and innovative appliance that brings convenience to your kitchen. With its advanced features and sleek design, this oven provides exceptional cooking results. Unlock its full potential by accessing the User Manual And Installation Instructions, available for free download at manualshive.com.
Share
Download


Reviews:
No comments
Related manuals for B47FS22 0 Series

SOVB
Brand: FCI Home Appliances Pages: 96

812.142
Brand: Enrico Pages: 50

SEM272
Brand: Thermador Pages: 128

OF909FX
Brand: Omega Pages: 26

Jett 4510
Brand: Stilevs Pages: 24

DW 530 AF
Brand: Dawlance Pages: 19

JEB900
Brand: JUNO Pages: 22

H-MW3620
Brand: Hyundai Pages: 25

GME 730 CR1 PZ
Brand: Godrej Pages: 223

JJW3430DB00
Brand: Jenn-Air Pages: 21

AM134A2DN-P
Brand: Midea Pages: 22

10031896
Brand: Klarstein Pages: 60

E 1432 Series
Brand: NEFF Pages: 140

OX611M
Brand: Atag Pages: 46

911.41785
Brand: Kenmore Pages: 28
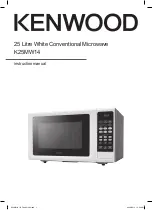
K25MW14
Brand: Kenwood Pages: 32

K30GMS18E
Brand: Kenwood Pages: 56
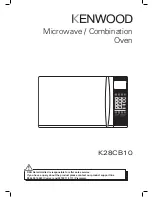
K28CB10
Brand: Kenwood Pages: 36


