background image


US-IT Restaurant Architecture Team 


Installation Guide 

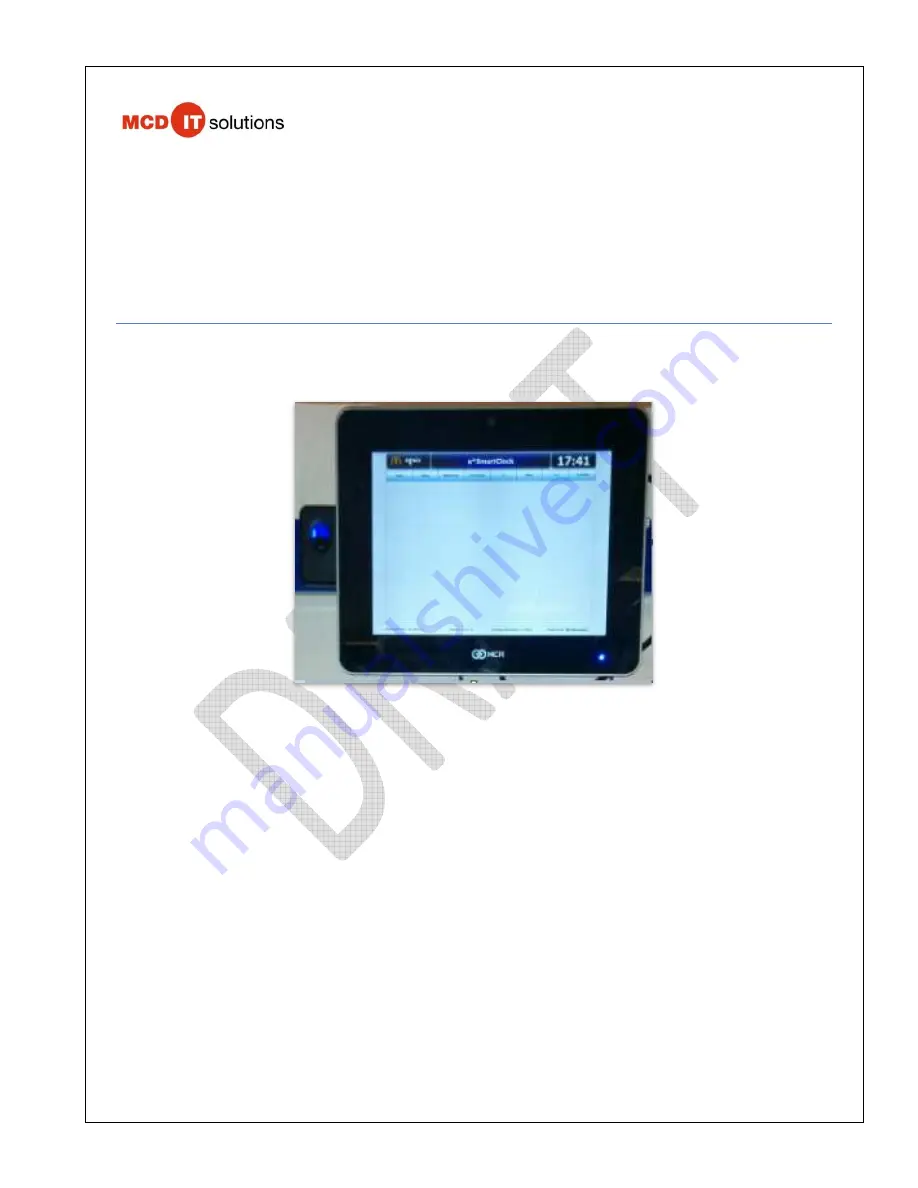
NCR P1235 e*SmartClock 


Last Updated: 12/6/16 


Copyright Notice 

The document contains confidential and proprietary information of McDonald’s Corporation. Except with the express prior written permission from 
McDonald’s Corporation this document and the information contained herein may not be published, disclosed or used for any other purpose except for that 
which it is being provided. 


Summary of Contents for P1235

Page 1: ...document contains confidential and proprietary information of McDonald s Corporation Except with the express prior written permission from McDonald s Corporation this document and the information con...

Page 2: ...tClock Solution 8 7 1 Installation of Network Cable 8 7 2 Installation of e SmartClock Bracket 9 7 3 Installation of Receipt Printer 13 7 4 Cable Management 15 7 5 Software Staging Instructions of a N...

Page 3: ...TION SUPPORT Do Not Contact ATOS for Installation Support CRITICAL INFORMATION Installation support is only available from your POS Supplier Support Help Desk NCR 800 454 8444 Option 1 then Option 6 I...

Page 4: ...form to local codes or in the absence of local codes with the latest edition of your national electrical code i e National Electrical Code NFPA 70 USA If this appliance is equipped with a three prong...

Page 5: ...the fix was successful only if the fix was needed Day of Install Via MOST Rerun the Query to confirm the fix is still in Place 4 Install Overview Store Manager should perform store close operations be...

Page 6: ...kit 7761 K003 containing Wall Mount Bracket Monitor Mount Bracket AC Adapter Bracket Power Brick Bracket 2 8 screws Biometric Finger Reader Mounting HW Hardware Bag Hardware Bag for bracket assembly...

Page 7: ...Architecture Team Page 7 of 37 12 6 16 Wall anchors Molly bolts Toggle butterfly anchor Bolts Example wall anchor Zip or Velcro ties 8 inch black Permanent marker black Proceed to the next Section ON...

Page 8: ...nology Bracket Mount Details and illustrations And if issues are encountered within this section please refer to the Trouble Shooting Guide 7 1 Installation of Network Cable Step Step Description Pict...

Page 9: ...t mount unit over a heat or moisture source 2 Locate following parts from Wall Mount Assembly kit Wall Mount Bracket Monitor Mount Bracket AC Adapter Bracket Power Brick Bracket 3 Attach the Wall Brac...

Page 10: ...Restaurant Architecture Team Page 10 of 37 12 6 16 Step Step Description Pictures Note To install the Power Supply bracket independently from the VESA Adapter refer to the dimensions or use the bracke...

Page 11: ...et s front cover using thumb screws Insert the power supply into the bracket AC Connector on top Close the front cover of the bracket Secure the bracket with the thumbscrew and the AC Power Cord with...

Page 12: ...th the thumbscrew 7 Attach Cords to the NCR P1235 e SmartClock using the appropriate diagrams for assistance Power Cord Attach the Power Cord to the NCR P1235 e SmartClock and route the end of the Pow...

Page 13: ...unting location Leave enough room to allow the printer to be opened to change paper Do not mount unit over a heat or moisture source The adjustable bumpers may be removed Note The newer printer bracke...

Page 14: ...tallation Optional Connect EPSON TML 90P Power cable to power port at the bottom of the printer E SmartClock does not support the parallel printer port The printer must be connected with USB Connect t...

Page 15: ...ort on the e SmartClock NCR P1235 Panel 10 Power on the Printer by pressing the power switch that is located on the front side of the Printer Verify the following Printer powers up Power LED should tu...

Page 16: ...ble cover by pushing up 3 Install Raceway Cut raceway to length Adhere to the wall ensuring minimal exposed cable at the ceiling There must be a loose bend near the ceiling Using drill and proper scre...

Page 17: ...re Team Page 17 of 37 12 6 16 Step Step Description Pictures Attach the laminated e SmartClock Cleaning Instructions Edit Time Punches Guide to the badge reel 6 A finished product should look like thi...

Page 18: ...ive to load the image 3 Power ON the e SmartClock Notes The e SmartClock will do a normal Windows boot The application will try to find a hosts file on the restaurant LAN The software staging process...

Page 19: ...bottom portion of the staging screen look reasonable and then press OK Application Type has two choices STC e SmartClock OR Point of Sale Note If Point of Sale is mistakenly chosen during installation...

Page 20: ...1235 e SmartClock Installation Guide Ver 1 1 US IT Restaurant Architecture Team Page 20 of 37 12 6 16 Step Step Description Pictures 8 During the staging process the e SmartClock will log out several...

Page 21: ...9 Staging is successful when Initializing is displayed on the e SmartClock The device is now starting up the e SmartClock application Contact Installation Support when Initializing screen does not di...

Page 22: ...ing this step informative message will be displayed 2 Time Sync During application startup a Time Sync may be performed with a 45 second count down Just wait and the e SmartClock will restart with the...

Page 23: ...lease enter your ID and password again Inform store manager e SmartClock is installed and ready for use 5 Printer Configuration Optional If printer is also installed for use with the e SmartClock plea...

Page 24: ...ity In order to install an additional monitor to duplicate the NCR P1235 e SmartClock display you will need below components This are additional components which are not shipped with the e SmartClock...

Page 25: ...d monitor as shown in the picture 5 Reboot e SmartClock device 6 Verify e SmartClock display on NCR P1235 is duplicated on additional monitor Note if display is failed on duplicated monitor verify if...

Page 26: ...n the screen it indicates device is connected to ISP Server o No if does not then a red text Connection to ISP was not found should be shown on the device screen it indicate device is failed to connec...

Page 27: ...Manger ID and Password 3 Touch on Close Application button 4 Application should popup message Are you sure you want to close this application 4 Touch OK to close the application 5 e SmartClock System...

Page 28: ...The LED network indicator should be flashing green which shows network connectivity If no green flashing light then reboot device and check connectivity again If the problem still persist Professional...

Page 29: ...appear o Power on the second monitor connected to the NCR P1235 o Attach USB Keyboard to NCR P1235 USB port o Press Ctrl Alt Delete from keyboard o Select Start Task Manager option from keyboard OR To...

Page 30: ...5 touch screen 6 Select Change display settings from Keyboard OR Touch Change display settings from the NCR P1235 touch screen 7 Change Multiple Displays drop down item value to Duplicate these displa...

Page 31: ...NCR P1235 e SmartClock Installation Guide Ver 1 1 US IT Restaurant Architecture Team Page 31 of 37 12 6 16 Appendix D NCR P1235 Wall Mount Bracket Details...

Page 32: ...tions e SmartClock Should NOT Be Installed 1 It is recommended to AVOID installing e SmartClock device near Drive Thru window 2 It is recommended to AVOID installing e SmartClock device near sink or w...

Page 33: ...R P1235 e SmartClock Installation Guide Ver 1 1 US IT Restaurant Architecture Team Page 33 of 37 12 6 16 4 It is recommended to AVOID installing e SmartClock device above or below fire abatement syste...

Page 34: ...on the Imager 3 5 thumb drive from UKUT OTP3 self installs should verify they have the latest version on the Imager 3 5 thumb drive 2 With the unit powered off connect the thumb drive and a USB keyboa...

Page 35: ...Guide Ver 1 1 US IT Restaurant Architecture Team Page 35 of 37 12 6 16 5 At the Windows Boot Device screen select the first option POS KVS ORB STC Menu 6 Select the Win 7 eSmartClock NCR 1235 option...

Page 36: ...how a list of all available devices You still select the Win 7 eSmartClock NCR 1235 option 8 Select Ok to start the image load process 9 When the image load has completed you will be prompted to remov...

Page 37: ...cture Team Page 37 of 37 12 6 16 11 For Application Type select STC e SmartClock For Device Number the only option is 81 Verify that you see an IP address in the lower area of the screen then touch Ok...

Reviews: