Motorola MOTONAV TN500 Series, Installation Manual
Introducing the Motorola MOTONAV TN500 series: a cutting-edge navigational device that will revolutionize your travel experience. Unlock the full potential of your TN500 with our comprehensive fact sheet. Download the free user manual from manualshive.com today to access step-by-step instructions and make the most of this innovative product.
Share
Download


Reviews:
No comments
Related manuals for MOTONAV TN500 Series

Astro
Brand: Garmin Pages: 2

CAREU U1
Brand: S&T Pages: 37

BT2.5MR
Brand: F-Tech Pages: 10
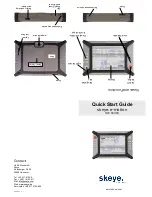
e-motion HW 90400
Brand: skeye. Pages: 2
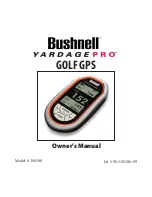
Yardage PRO 368100
Brand: Bushnell Pages: 36

300GPS
Brand: Magellan Pages: 48

WP905
Brand: Waypoint Pages: 7

N60i
Brand: Navman Pages: 2

ET017
Brand: Easiphone Pages: 13

RE 5 DUAL
Brand: Navitel Pages: 217

AllBe1
Brand: AllBe Solutions Pages: 25

GT06R
Brand: UniGuard Pages: 6

EI-T7300
Brand: Samsung Pages: 2

YP-N1
Brand: Samsung Pages: 86

Galaxy SmartTag
Brand: Samsung Pages: 611

GH3000
Brand: Teltonika Pages: 39

FM1000 ST
Brand: Teltonika Pages: 85

CAT-M1
Brand: Telstra Pages: 3


