POWER
PAUSE
REC
FF/FWD
REW/REV
PLAY
STOP
3
6
9
QV
VOLUME
1
7
SQV
4
INPUT
SLEEP
VIDEO
AUDIO
MUTE
2
5
8
0
CHANNEL
TV
AUDIO
CABLE/DBS
DVD
VCR
INFO
GUIDE
CANCEL
MENU
V-CHIP
FORMAT
EXCH
ENTER
ADJUST
PIP CH
PIP INPUT
PIP/POP
HOME
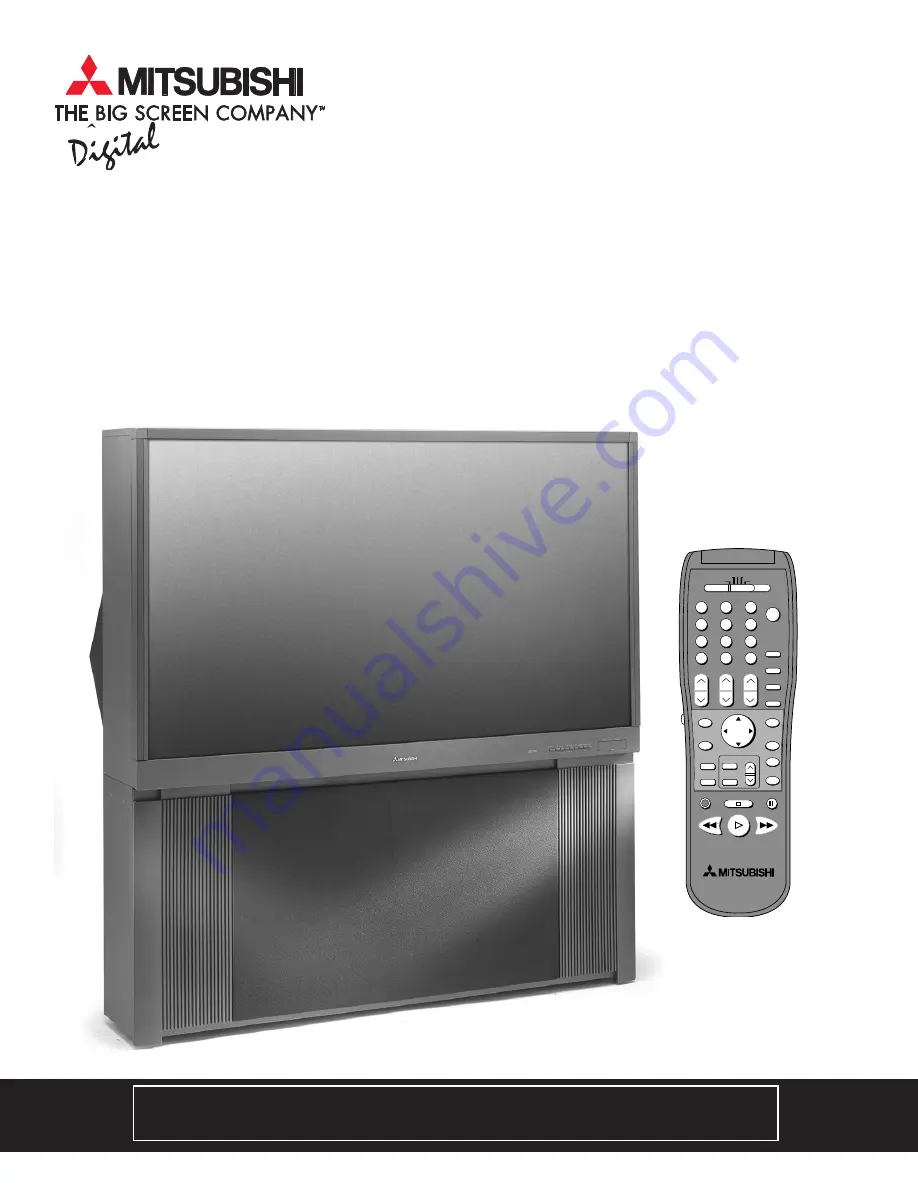
Owner’s Guide
Owner’s Guide
visit our website at
www.mitsubishi-tv.com
Projection Television Models
WT-, WS-, WS- and WS-
Summary of Contents for WS - 48313
Page 58: ...58...
Page 64: ...64 This page intentionally blank...
Page 70: ...70 Cabinet Separation for Model WS...
Page 75: ......