Minelab 4901-0373-1, Operation Manual
The Minelab 4901-0373-1 is a top-of-the-line metal detector designed for deep treasure hunting. Ensure proper usage by downloading the free Operation Manual from manualshive.com. This detailed manual provides step-by-step instructions for maximizing the performance of your detector. Download now and unlock the full potential of your Minelab 4901-0373-1.
Share
Download


Reviews:
No comments
Related manuals for 4901-0373-1
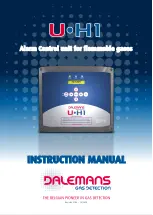
U-H1
Brand: DALEMANS Pages: 40

DAT 420
Brand: DALEMANS Pages: 20
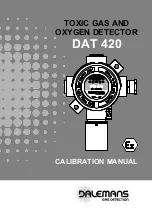
DAT 420
Brand: DALEMANS Pages: 17

DOMINO 105 Series
Brand: 4 tec SENSORTECHNOLOGY Pages: 3

22-1670
Brand: Radio Shack Pages: 24

TS4000H
Brand: General Monitors Pages: 105

FMG 1275
Brand: GEV Pages: 84

NS III LCD
Brand: DEGA Pages: 14

Gold Racer
Brand: makro Pages: 28

CGAS-A Series
Brand: Critical Environment Technologies Pages: 56

RS-MG41-O3
Brand: Renke Pages: 16

SmartGuard E-6006
Brand: polimek Pages: 20

Mini Merlin CH4CO v2-TX
Brand: AGS Pages: 16

Passport 7500S TurboCharged
Brand: Escort Pages: 32


