


Innovative Time and Attendance Solutions
Visit: MidexTimeAndAttendance.com | Call: 1-888-544-7878 | Email: [email protected]
/TimeAndAttendanceSoftware | /company/midex-software | @MidexSoftware
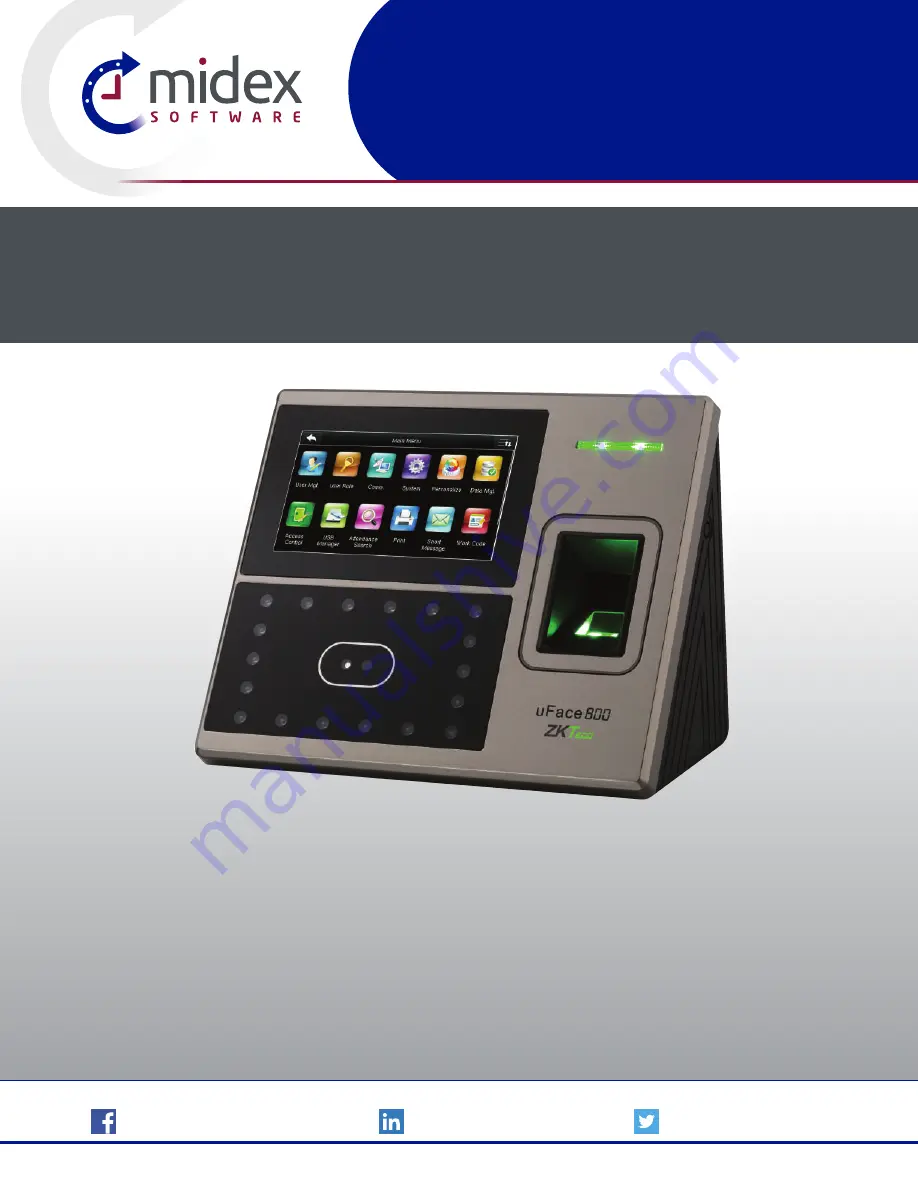
uFace800 Time Clock User Manual
©2003-2018 Midex Enterprises Ltd. | All designs and specifications are subject to change without notice.
Version 3.6.3
uFace800
Summary of Contents for uFace800
Page 5: ...USER MANAGEMENT 1 ...
Page 15: ...USER MANAGEMENT 1 15 Multiple line Mixed Line ...
Page 16: ...USER ROLE 2 ...
Page 18: ...COMMUNICATION 3 ...
Page 26: ...SYSTEM 4 ...
Page 34: ...PERSONALIZE 5 ...
Page 51: ...DATA MANAGEMENT 6 ...
Page 56: ...ACCESS CONTROL 7 ...
Page 61: ...USB MANAGER 8 ...
Page 65: ...ATTENDANCE SEARCH 9 ...
Page 68: ...SHORT MESSAGE 10 ...
Page 73: ...WORK CODE 11 ...
Page 77: ...JOB CODE 12 ...
Page 90: ...TIP CODE 13 ...
Page 96: ...AUTOTEST 14 ...
Page 101: ...SYSTEM INFORMATION 15 ...


