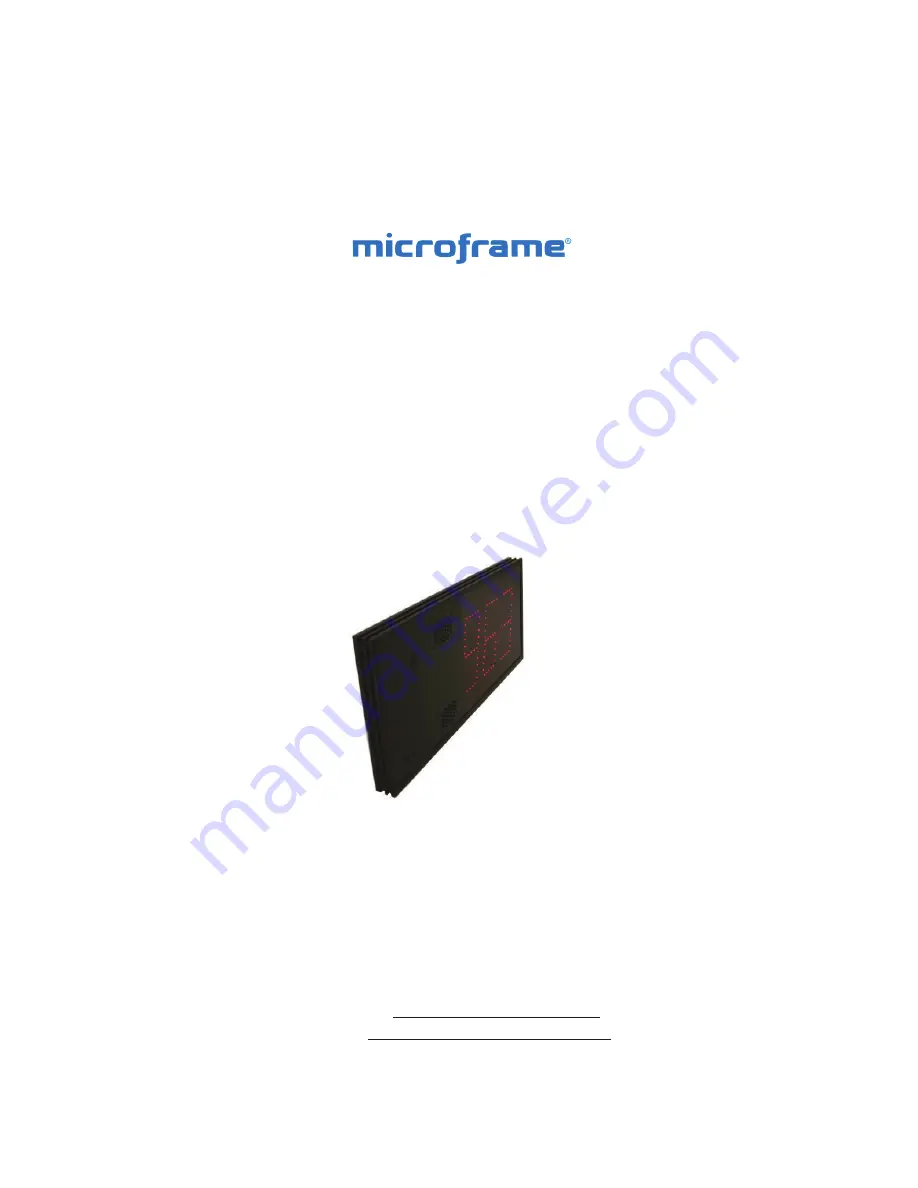
background image

SERIES 5100XXCX

INSTALLATION & SPECIFICATION GUIDE

ITEM NO: D5100XXCX-7010

REVISION DATE: 10/10

Microframe Corporation

604 S. 12th Street

Broken Arrow, OK  74012

Tel: (918) 258-4839

Toll Free: 1-800-635-3811

Website: www.microframecorp.com

E-mail: [email protected]


                                                                                                                                                       D5100XXCX-7010

*D5100XXCX-7010*

Summary of Contents for 5100 SERIES

Page 1: ...IDE ITEM NO D5100XXCX 7010 REVISION DATE 10 10 Microframe Corporation 604 S 12th Street Broken Arrow OK 74012 Tel 918 258 4839 Toll Free 1 800 635 3811 Website www microframecorp com E mail support microframecorp com D5100XXCX 7010 D5100XXCX 7010 ...

Page 2: ...t microframecorp com Safety Do not install substitute parts or perform any modi fication to the product without first contacting Micro frame Warning All power adapters line cords and electrical equip ment should be kept out of the reach of children and away from water If you are installing cable in an air plenum area such as a drop ceiling used for air return you must use plenum rated cable The ca...

Page 3: ...rvice System MWSS 9 Using Multiple Displays 10 Multi Window Service System Concept 11 Setting the Programmable Options 12 Options Table Summary 13 Options Definitions 14 Wiring Diagrams 16 Multi Window TAG System 17 Multiple AC Adapter Connection Detail Info 18 Optional External Chime Connection Detail Info 18 Model 5100 Specifications 19 General Troubleshooting Chart 20 ...

Page 4: ... Parts List 1 Display A 2 Remote B Optional 3 Push Buttons C 4 100 Wire not pictured 5 Power Adapter not pictured 6 Power Adapter Wire not pictured 7 Manual not pictured 8 Screwdriver not pictured 5 5 Character LEDs Extruded Aluminum Casing Red LEDs A CLEAR ENTER EXIT UP DOWN MENU NUMERIC KEYPAD B C ...

Page 5: ...Procedures Step 1 Screwdown Connectors All wire connections to Microframe displays are made with screwdown terminals located on the back of the display Step 2 Connecting Power Toconnectpowertothe 24VACterminal firstloosen the terminal s screw Then push the stripped end of the power adapter wire into the opening in the side of the terminal Tightenthescrewontothewire Checkthatthe wire is secure in t...

Page 6: ...D 2 1 PUSH BUTTONS Press input 1 button to count up Press input 2 button to count down Press both to reset to zero 2 2 REMOTE CONTROL Optional Although the system works with most Phillips RC5 remotes Microframe remotes are specifically de signed to work with these displays COMMON B A INPUT 2 24VAC INPUT 1 485 COMM 5100 PX 9803 ai Red Black Black Red Up Down ...

Page 7: ...ed to any of the displays will cause the numbers to change on all of the displays No program ming is necessary for this option Multi Window Service System A Multi Window Service System is a Take A Number system with the ability to have displays over multiple service counters Each service counter display can show the number of the customer that is actually being served ratherthanthehighestnumber Be...

Page 8: ...waspushed willshowthesamenumberas the lobby master Other window slaves will not change In this way customers in the waiting area will be able to see that their number is being called and see which clerk to go to for service Setting Up the System To set up a Take A Number System first wire the system as shown in the wiring diagrams Next program the display to the appropriate value in Area 1 Setting...

Page 9: ...9 Microframe Corporation Series 5100 Information Multi Window Service System Concept 127 Multiple Window Tag System Conceptu al Drawing 125 123 132 134 130 136 135 128 133 129 131 ...

Page 10: ... digit begins to blink You may now use the Count Up button to change the 10s digit or continue holding the button down until the next digit on your display begins to blink You can use this method to set all of the digits on your display Reset to Zero If you are using the remote control press the Clear button to reset the displays to zero If you have both the Count Up and Countdown push buttons con...

Page 11: ...clerks window Manual address mode allows multiple window displays to have the same address and thus show the same number Set Display to MWSS Slave Mode Push Buttons Press MODE then press ADVANCE until you see 16 Press and hold the MODE button for 3 seconds to save the change Remote Control Press MENU 6 ENTER The display is now in MWSS Slave mode Set Display to MWSS Slave Manual Address Push Button...

Page 12: ...DE button once You will see the first area along with its value Continue tapping the MODE button until you reach the desired area To set the value on an area tap the ADVANCE button until you see the desired value To save changes press and hold the MODE button for about three seconds To discard changes do nothing and the display will revert to the last settings Setting Options Remote Control Remote...

Page 13: ...e Chime Volume Low Low Low Low Low High High High High High External Chime Off 0 1s 0 2s 0 3s 0 5s 1 0s 3 0s 5 0s 10 0s 20 0s Address Tens 0 1 2 3 4 5 6 7 8 9 Address Ones 0 1 2 3 4 5 6 7 8 9 1 1 4 1 5 1 6 1 7 2 2 2 2 3 3 3 0 3 1 4 4 0 4 1 5 5 0 5 1 5 2 6 6 0 6 1 6 2 6 3 6 4 6 5 6 6 6 7 6 8 6 9 7 7 0 7 1 7 2 7 3 7 4 7 5 7 6 7 7 7 8 7 9 8 8 0 8 1 8 2 8 3 8 4 8 5 8 6 8 7 8 8 8 9 9 9 0 9 1 9 2 9 3 9 ...

Page 14: ...installation To toggle IR Lockout using the remote hold the EXIT button for 5 seconds The display will indicate the change by showing ir0 or ir1 4 0 Display will ignore the remote 4 1 Display will respond to the remote 5 Internal Chime This area controls how many times the internal chime will sound 5 0 Off no chime 5 1 Single chime once 5 2 Double two chimes 6 Chime Volume The internal chime can b...

Page 15: ... play the chime wav audio file only Switch 2 When this switch is on the VoiceBox will count up to 999 used for 3 digit displays When the switch is off the VoiceBox will count up to 99 used for 2 digit displays Switch 3 Controls the post number message Thank you Switch 4 Controls the pre number message Now serving Normal Operations When you change the number on your Take a Number display the VoiceB...

Page 16: ...amecorp com and click on Downloads These files will need to be unzipped and then transferred to your USB device By using your USB device you can easily install your audio files in the VoiceBox Once you have your audio files on your USB device simply plug in your VoiceBox then wait for the power light to flash slowly this could take up to 1 minute Once the power light is flashing slowly plug in you...

Page 17: ...17 Microframe Corporation Series 5100 Information Microframe Corporation Appendix ...

Page 18: ...18 Microframe Corporation Series 5100 General Information Wiring VoiceBox This figure shows how to wire the VoiceBox to a display using only one adapter ...

Page 19: ...19 Microframe Corporation Series 5100 Information Wiring VoiceBox This figure shows how to wire the VoiceBox to a display using a separate power adapter ...

Page 20: ...AC WALL MOUNTED WIRE IN TRANSFORMER 115 VAC 22 AWG NEC TYPE CMR 5 COND WIRE WPW P N 555 RED BLACK GREEN BROWN WHITE RED BLACK DOOR CHIME Model 5130 Display INCREMENT SELECT MODE COMMON B A DOWN 24VAC UP 485 GND Model 5130 Display INCREMENT SELECT MODE COMMON B A DOWN 24VAC UP 485 GND SWITCH 2 SWITCH 1 SWITCH 2 SWITCH 1 RED BLACK GREEN BROWN WHITE MODEL 5130 3 DIGIT DISPLAY MODEL 5130 3 DIGIT DISPL...

Page 21: ...MENT SELECT MODE COMMON B A DOWN 24VAC UP 485 GND Model 5130 Display INCREMENT SELECT MODE COMMON B A DOWN 24VAC UP 485 GND COUNT DOWN SWITCH COUNT UP SWITCH COUNT DOWN SWITCH COUNT UP SWITCH RED BLACK GREEN BROWN WHITE Master Lobby Display SHOWS HIGHEST NUMBER CURRENTLY BEING SERVED Window 1 Display SHOWS NUMBER BEING SERVED AT THIS WINDOW Window 2 Display SHOWS NUMBER BEING SERVED AT THIS WINDOW...

Page 22: ...O TONE SINGLE TONE ADAPTER 115 TO 24 VAC WALL MOUNTED WIRE IN Adapter 115 VAC OUTLET REQUIRED 24 VAC 20VA Power Adapter WILL DRIVE TWO CHIMES AT 200 FEET FURNISHED P N 9100 0101 COMMON B A INPUT 2 24VAC INPUT 1 485 COM Model 5130 Display ADVANCE SELECT MODE CHIME CONTROLER 24VAC MAX CHIME INTERNAL CHIME INTERNAL CHIME REAR VIEW DOOR CHIME Model 5140 Display INCREMENT SELECT MODE COMMON B A DOWN 24...

Page 23: ...ts 2 5 lbs 3 2 lbs 9 8 13 2 24 9 cm 33 5 cm Support and Sales 800 635 3811 Microframe Corporation www microframecorp com P O Box 1700 Broken Arrow OK 74013 Model 5100 Specifications 5120 5130 Features The 5100 Series display is a 2 or 3 digit intelligent LED display with infrared capabilities This display has two inputsforbuttonsorlogiccontrolsandacommunications link for communicating with other d...

Page 24: ...Model 1510 Specifications 5120XXCX 5130XXCX Features TheD1510Seriescanbestand aloneorintergratedwith a 2 or 3 digit intelligent LED display with infrared capa bilities This display has two inputs for buttons or logic controls and a communications link for communicating with other displays Displays are powered by a 24 Volt AC adapter included 1510 24 volts AC or DC 5 5 Inches 125 Feet 20 C to 60 C ...

Page 25: ...o master display or displays are in different modes Loss of communication to master display Remote Locked Up Batteries dead Check AC wall connection or change to another wall outlet Check signal cable connections to buttons and check for proper wiring on back panel Try with a short cable to prove whether the problem is in the units or in the cable CallMicroframetoreceiveanRMA and then return to fa...

Page 26: ...Microframe Corporation 604 S 12th Street Broken Arrow OK 74012 Tel 918 258 4839 Toll Free 1 800 635 3811 Website www microframecorp com E mail support microframecorp com ...

Reviews: