Metz 42TM92, Operating Instructions Manual
The Metz 42TM92 Operating Instructions Manual is a comprehensive guide offering step-by-step instructions to successfully operate and optimize your Metz 42TM92 product. This manual is available for easy download, completely free of charge, from manualshive.com. Enhance your user experience and unlock the full potential of your Metz 42TM92 with this essential manual.
Share
Download


Reviews:
No comments
Related manuals for 42TM92

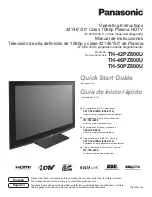
VIERA TH-42PZ800U
Brand: Panasonic Pages: 54

TH-C50HD18
Brand: Panasonic Pages: 48

TH-65PV500B
Brand: Panasonic Pages: 60

TC-P65V10
Brand: Panasonic Pages: 146

TC-P50X1
Brand: Panasonic Pages: 54

TC-P50X1
Brand: Panasonic Pages: 58
VIERA TH-42PZ800U
Brand: Panasonic Pages: 58

TCL37D2 - 37" LCD TV
Brand: Panasonic Pages: 54

PS42C450B1W
Brand: Samsung Pages: 201

PlasmaSync T1000
Brand: NEC Pages: 48

PXT-42XD2
Brand: NEC Pages: 34

HPT4254X/XAA
Brand: Samsung Pages: 96

PS51D550C1WXZF
Brand: Samsung Pages: 78


