Metrica 60821, Manual
"Looking for a user manual for Metrica 60821? Look no further! Our website offers a free download of the comprehensive Metrica 60821 manual. Discover step-by-step instructions, troubleshooting tips, and in-depth product information to maximize the potential of your Metrica 60821. Get the manual you need now from manualshive.com!"
Share
Download


Reviews:
No comments
Related manuals for 60821
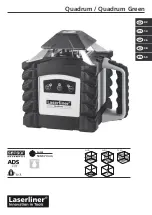
Quadrum
Brand: LaserLiner Pages: 16
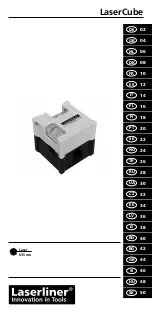
LaserCube
Brand: LaserLiner Pages: 52
DigiLevel Compact
Brand: LaserLine Pages: 8

SmartVision-Laser
Brand: LaserLiner Pages: 60

G40
Brand: LaserLiner Pages: 14

SuperCross-Laser 2
Brand: LaserLiner Pages: 60

PowerPlane-Laser 3G
Brand: LaserLiner Pages: 68

NRS 2-3
Brand: GESTRA Pages: 20

40-6543
Brand: AccuLine Pages: 18

ARMO 2D
Brand: ADA INSTRUMENTS Pages: 36


