


03/17
Medion Service Center
Visonic S.A.
c/ Miguel Faraday, 6
Parque Empresarial „La Carpetania“, N-IV Km. 13
28906 Getafe, Madrid
España
Hotline: 90 219 6437
Fax 91 460 4772
Utilice el formulario de contacto en:
www.medion.com/contact
www.medion.es
ES
Bitte aufklappen!
Please fold out!
¡Abrir aquí!
MEDION
®
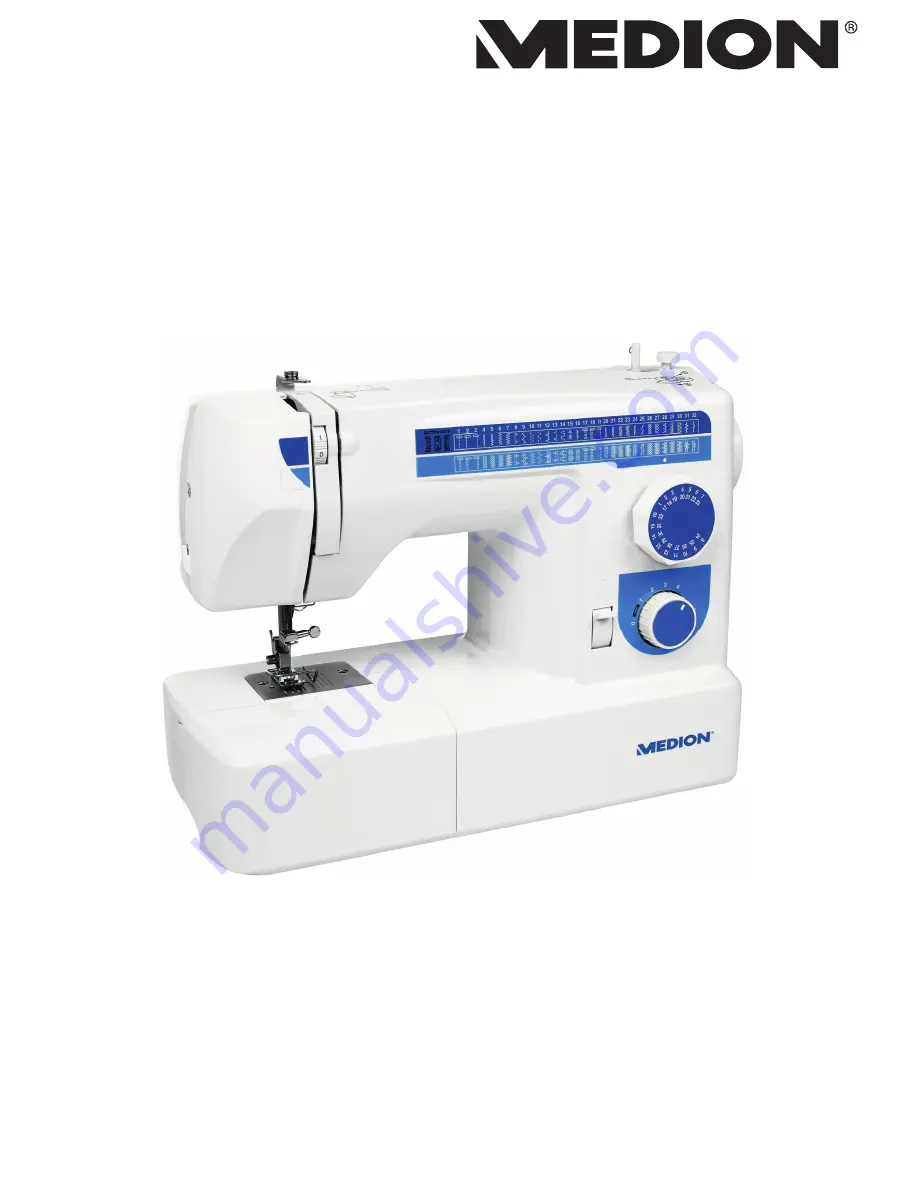
MD 17187
Manual de instrucciones
User Manual
Bedienungsanleitung
Freiarmnähmaschine
Sewing machine
Máquina de coser
Bitte aufklappen!
Please fold out!
¡Abrir aquí!
17187 ES ALDI ES Cover MSN 5005 3127 final.indd 1-5
17187 ES ALDI ES Cover MSN 5005 3127 final.indd 1-5
18.05.2016 07:17:51
18.05.2016 07:17:51
Summary of Contents for MD 17187
Page 2: ...nes ual ung Bitte aufklappen Please fold out Abrir aquí ...
Page 6: ...28 23 24 25 26 27 31 32 29 30 Mecánica de coser Sewing mechanisms Nähmechanik ...
Page 8: ...11 Especificaciones técnicas 39 12 Pie de imprenta 39 13 Índice 40 Índice 2 de 122 ...
Page 48: ...11 Technical data 79 12 Legal notice 79 13 Index 80 Contents 42 of 122 ...
Page 88: ...11 Technische Daten 119 12 Impressum 120 13 Index 121 Inhaltsverzeichnis 82 von 122 ...
Page 128: ...122 von 122 Letzte Seite Index ...


