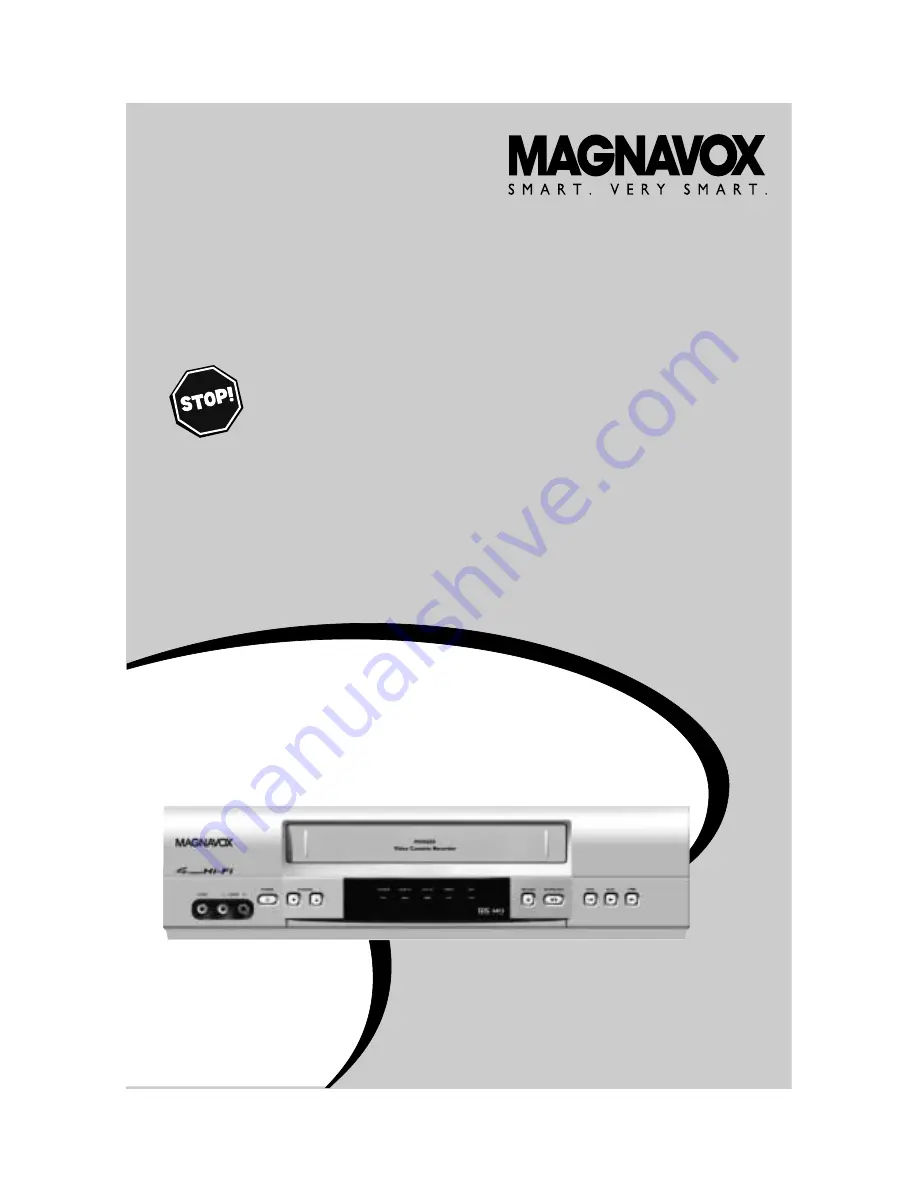
background image

MVR440MG/17
MVR450MG/17
MVR650MG/17

Video Cassette Recorder

O

WNER

S

M

ANUAL

T

HANK YOU FOR CHOOSING

M

AGNAVOX

.

N

EED HELP FAST

?

R

EAD YOUR

Q

UICK

-U

SE

G

UIDE AND

/

OR

O

WNER

S

M

ANUAL FIRST FOR

QUICK TIPS THAT MAKE USING YOUR

M

AGNAVOX PRODUCT MORE ENJOYABLE

.

I

F YOU HAVE READ YOUR INSTRUCTIONS AND STILL NEED ASSISTANCE

,

YOU MAY ACCESS OUR ONLINE HELP AT WWW

.

MAGNAVOX

.

COM

OR CALL

1-800-705-2000 

WHILE WITH YOUR PRODUCT

.

I

MPORTANT

R

ETURN YOUR

W

ARRANTY

R

EGISTRATION

C

ARD WITHIN

10 

DAYS

.

S

EE WHY INSIDE

.

Summary of Contents for MVR440MG/17

Page 1: ...GUIDE AND OR OWNER S MANUAL FIRST FOR QUICK TIPS THAT MAKE USING YOUR MAGNAVOX PRODUCT MORE ENJOYABLE IF YOU HAVE READ YOUR INSTRUCTIONS AND STILL NEED ASSISTANCE YOU MAY ACCESS OUR ONLINE HELP AT WW...

Page 2: ...f saying welcome and thanks for investing in a MAGNAVOX product P S Remember to get the most from your MAGNAVOX product you must return your Warranty Registration Card within 10 days So please mail it...

Page 3: ...k Using other tapes may result in poor picture quality and excessive deposits on the video heads which may not be cov ered by the warranty if damage occurs Note to the Cable TV System Installer This r...

Page 4: ...ntrol 18 19 Display Panel 20 Front Panel 21 Rear Panel 22 Basic Operations Playing 23 Recording 24 Recording One Touch Recording 25 Timer Recording 26 30 Recording One Channel Watching Another 31 Rere...

Page 5: ...Control Point the remote at the VCR s remote sensor see page 21 when using the remote to operate the VCR Do not put objects between the remote and the VCR Recording Prevention Videotapes have record t...

Page 6: ...you have a Stereo TV see page 10 After you hook up the VCR go to page 11 to turn on the VCR The MVR650MG 17 is illustrated here The MVR440MG 17 and MVR450MG 17 have single AUDIO IN OUT jacks ANTENNA I...

Page 7: ...annel If you cannot use channel 3 at your TV use channel 4 instead To change the VCR s output channel to 4 press and hold PLAY on the VCR for three seconds during tape play The VCR s RF output channel...

Page 8: ...able Box Satellite on for a timer recording ANT AUDIO VIDEO IN OUT OUT IN OUT L R IN OUT IN 75 ANT CABLE TV s ANTENNA IN Jack Cable Box Satellite VCR Connections 1 Connect a Cable TV or Satellite sign...

Page 9: ...ANT enna IN Jack 2 Use an RF coaxial cable supplied to connect the OUT Jack on the VCR to the IN Jack on the Cable Box Satellite 3 Use a second RF coaxial cable to connect the OUT Jack on the Cable B...

Page 10: ...s VIDEO IN Jack 3 MVR650MG 17 Connect a stereo audio cable to the VCR s red and white AUDIO OUT Jacks and to the TV s AUDIO IN Jacks Match cable colors to jack colors MVR440MG 17 MVR450MG 17 Connect a...

Page 11: ...s then try again If you still do not see any displays follow the steps under Automatic Channel Setup on page 12 and Language Selection on page 16 If you try to set up channels when there is no antenna...

Page 12: ...s if you are using a Cable Box Satellite See pages eight nine To stop channel setup press CLEAR Helpful Hints M E N U TIMER PROGRAMMING AUTO REPEAT OFF B CHANNEL SET UP CLOCK SET LANGUAGE SELECT AUDIO...

Page 13: ...V once 1 Press MENU until MENU appears 2 Press PLAY or STOP repeatedly to select CHAN NEL SET UP Press F FWD 1 6 CHANNEL SET UP AUTO SET UP B MANUAL SET UP MANUAL SET UP CHANNEL 30 CATV ADD M E N U TI...

Page 14: ...lay the time on theTV press STATUS repeatedly Power failures exceeding 30 sec onds can erase your clock setting Press REW to go back one step Helpful Hints 1 2 4 M E N U B TIMER PROGRAMMING AUTO REPEA...

Page 15: ...4 HOUR MINUTE AM PM 0 5 4 0 P M AM B PM 5 9 9 5 WhileYEAR is flashing press PLAY or STOP repeat edly until the desired year appears Press F FWD The day of the week will appear automatically 6 While HO...

Page 16: ...ess PLAY or STOP repeatedly to choose SELEC IDIOMA or SELEC TION LANGUE Press F FWD 3 Press PLAY or STOP to select ENGLISH 4 Press CLEAR to remove the menu Helpful Hint 4 M E N U B TIMER PROGRAMMING A...

Page 17: ...the availability of stereo or second audio MVR650MG 17 only will also appear on the screen Press STATUS once again The on screen status display will disappear If the channel you select has no broadca...

Page 18: ...r Buttons Press to select channels at the VCR Enter channel numbers as a two digit number for the quickest results For example to select channel 6 press 0 6 If you only press the Number 6 button chann...

Page 19: ...e 13 STATUS Button Press to access or remove the status display See page 17 SPEED Button Press to select a recording speed SP or SLP See pages 24 and 44 SEARCH MODE Button Press to set an Index or Tim...

Page 20: ...n VCR position REC ord Light This red light appears during recording It flashes when recording is paused CST IN Light This green light appears when a tape is in the VCR POWER Light This red light indi...

Page 21: ...WER RECORD REW PLAY F FWD STOP EJECT CHANNEL VIDEO AUDIO In Jacks Connect video and audio cables coming from the video and audio out jacks of a camcorder another VCR or other audio video equipment her...

Page 22: ...sual system laser disc player video disc player etc here See pages 10 32 and 39 AC Power Cord Connect to a standard AC outlet to supply power to the VCR ANT AUDIO VIDEO IN OUT OUT IN OUT L R IN 22 Rea...

Page 23: ...moved play will begin automatically 3 If play does not start automatically press PLAY 4 Press STOP to stop play 5 Press REW to rewind the tape 6 Press EJECT to remove the tape Turn on the TV Insert a...

Page 24: ...e CH or the Number buttons to select a channel to record 5 Press REC once to start recording The red REC ord light will appear If the tape is missing the record tab the VCR will eject the tape 6 To pa...

Page 25: ...before recording is finished press STOP on the remote or STOP EJECT on the VCR To cancel the OTR but continue recording press REC or RECORD repeatedly until REC appears in the upper left cor ner of t...

Page 26: ...NG PROG 12345678 DATE START TIME END TIME CHANNEL REC SPEED Only programs that air Monday Friday can be recorded on a DAILY basis If you select DAILY at step 3 then enter a Saturday or Sunday DATE at...

Page 27: ...ress STOP EJECT on theVCR More Helpful Hints are on pages 42 43 Helpful Hints 4 Enter the date of the recording Press PLAY or STOP repeatedly until the desired month appears Press F FWD Next press PLA...

Page 28: ...ess PLAY or STOP repeatedly until the desired channel number appears Press F FWD If you are using a standard antenna Cable TV hookup as shown on pages six seven select the channel of the TV pro gram y...

Page 29: ...3 While the program number is flashing press REW to cancel the timer recording 4 Press CLEAR to remove the menu Cancelling a Timer Recording 1 First press MENU until MENU appears Press PLAY or STOP re...

Page 30: ...ress F FWD 2 Press PLAY or STOP repeatedly to select the timer recording you want to correct 1 5 1 4 3 Select the information you want to change by repeat edly pressing F FWD Press REW to go back one...

Page 31: ...to start recording the current channel See page 24 2 PressVCR TV to put theVCR inTV position The VCR TV light will disappear 3 Use theTV remote control to select the channel you want to watch at theTV...

Page 32: ...of VCR 1 to AUDIO IN Jacks of VCR 2 2 Video cable from VIDEO OUT Jack of VCR 1 to VIDEO IN Jack of VCR 2 3 RF coaxial cable from the OUT jack of VCR 2 to the TV s ANTEN NA IN Jack 1 Make the connectio...

Page 33: ...Helpful Hints 2 Press PLAY or STOP repeatedly to select AUTO REPEAT 3 Press F FWD so ON appears beside AUTO REPEAT Tape play will begin immediately AUTO REPEAT B will appear on the screen briefly If y...

Page 34: ...P or SLP speeds Each press of F FWD or REW alternates the search speed 3 To return to play press PLAY Viewing a Still Picture 1 During play press STILL PAUSE to freeze the picture Advance the still pi...

Page 35: ...mory at one location at a time Setting the counter to zero at a second loca tion will erase the previous setting To erase the counter memory press MEMORY repeatedly so the M disappears from the screen...

Page 36: ...he tape is reached during aTime Search theVCR will cancel the search and rewind the tape See page 38 Helpful Hints 2 Within 30 seconds press PLAY or STOP repeatedly until your desired length of time a...

Page 37: ...minutes for LP recording and 3 minutes for SLP recording If the end of the tape is reached during an Index Search theVCR will cancel the search and rewind the tape See page 38 Helpful Hints 2 Within 3...

Page 38: ...VCR will not eject the tape or shut itself off Tape Eject A tape can be ejected with the VCR power on or off but the VCR must be plugged in If a Timer Recording is programmed a tape can only be eject...

Page 39: ...low will appear when you press STATUS on the remote The indication SAP or STEREO that appears on the status display tells you if the program you re watching is available in second audio or stereo Even...

Page 40: ...available theVCR will record normal audio Helpful Hints Make sure The VCR is on and is in VCR position The VCR TV light will appear If it does not press VCR TV once 1 Press MENU until MENU appears 1 2...

Page 41: ...y to select MONO Press CLEAR to remove the menu If you play non Hi Fi tapes while AUDIO OUT is set to HIFI HIFI will not appear on the status dis play The tape will play in monau ral sound For more hi...

Page 42: ...ing Make sure the start and end times are correct See pages 26 30 Make sure a tape is in theVCR and the tape has a record tab See page five Make sure theVCR power is off TheVCR will not remind you of...

Page 43: ...rs This technology is used on programs that are recorded on video tapes or DigitalVideo Discs DVDs as well as some programs broadcast by antenna cable satellite television channels Programs broadcast...

Page 44: ...nd VIDEO In jacks on the front of the VCR select channel 002 LineIn Front L2 If you use the AUDIO and VIDEO IN jacks on the back of the VCR select channel 001 LineIn Rear L1 If you accidentally enter...

Page 45: ...t Signal Channel 3 or 4 switchable 75 ohms unbalanced Power Requirement 120V AC 60Hz Power Consumption 14W Operating Temperature 41 F 5 C to 104 F 40 C Relative Humidity 10 to 80 Weight 4 18 lbs 1 9 k...

Page 46: ...thorized repair or other cause not within the control of Magnavox A product that requires modification or adaptation to enable it to operate in any country other than the country for which it was desi...

Page 47: ...18 on screen status displays 17 one touch recording 25 out jack 7 9 22 32 play button 18 21 23 34 playing a tape 23 power button 18 21 cord 7 22 light 20 rear panel 22 rec button 18 rec ord light 20...

Reviews: