1-866-341-3738
1-866-341-3738
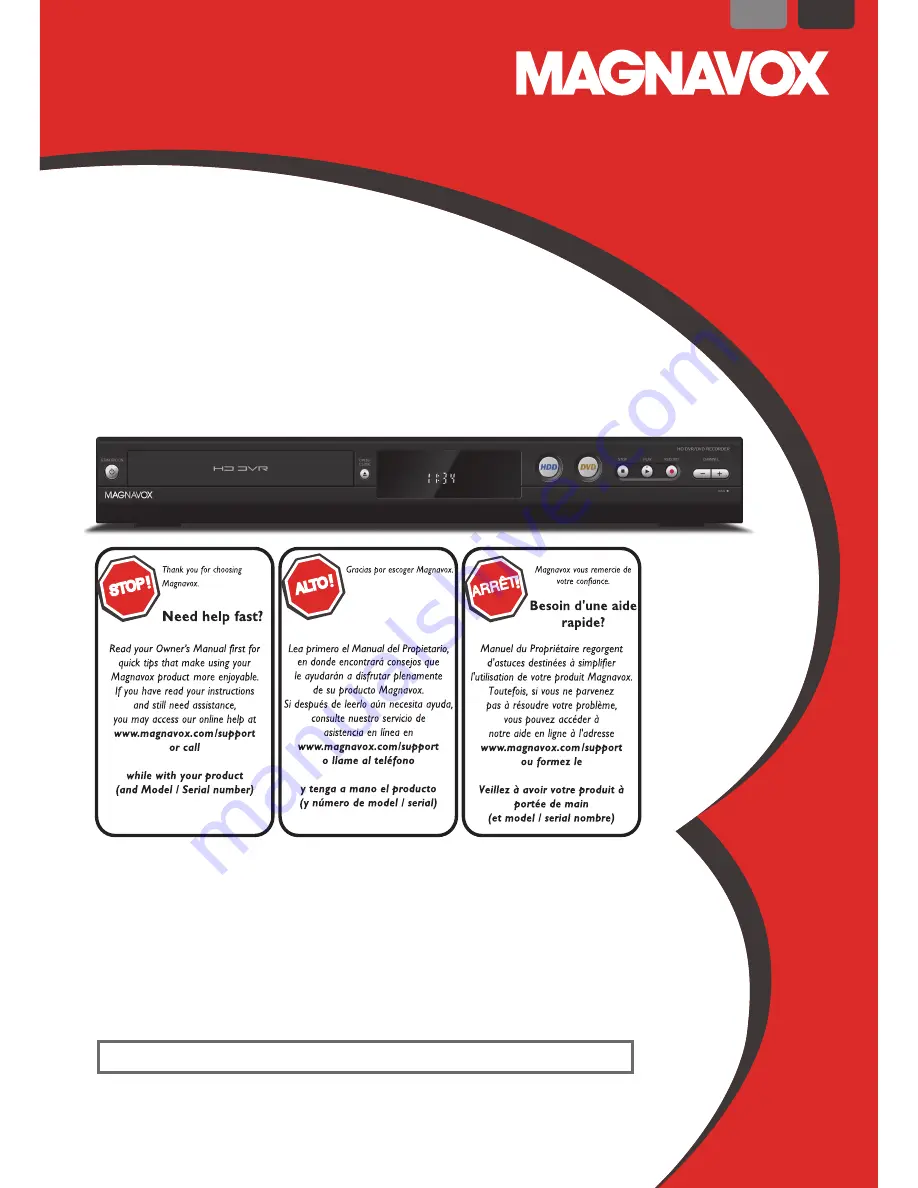
Owner’s Manual
Manuel del Propietario
Manuel du Propriétaire
1-866-341-3738
Necesita ayuda
inmediata?
© 2015 Funai Electric Co., Ltd.
MDR868H
MDR867H
MDR865H
HD DVR/DVD RECORDER with Digital Tuner
INSTRUCCIONES SIMPLIFICADAS INCLUIDOS EN ESPAÑOL.
EN
ES
EN.indd 1
2015/09/02 19:00:17