Macpower & Tytech DC-SATA, User Manual
Looking for a User Manual for the Macpower & Tytech DC-SATA? You can download it for free from our website. Get detailed instructions on how to use your product efficiently and effectively. Grab your manual today and make the most of your DC-SATA device.
Share
Download


Reviews:
No comments
Related manuals for DC-SATA

Elite Shark CA300H
Brand: Sharkoon Pages: 15

T1-US2DS01
Brand: Datoptic Pages: 2

V0700A1N3N
Brand: Thermaltake Pages: 12

Urban T81
Brand: Thermaltake Pages: 14
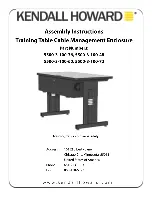
5500-3-100-36
Brand: Kendall Howard Pages: 2

MD1280
Brand: Dell EMC Pages: 57

E-10
Brand: Viking Pages: 4

HDCS04
Brand: E-Tech Pages: 15

CM335
Brand: UGREEN Pages: 24

ARGUS M3
Brand: GAMDIAS Pages: 13

PZWIFIEN
Brand: Panduit Pages: 8

Aura CM-57GR
Brand: CAMDEN Pages: 5

I2004AB-M1
Brand: Lcdmod Kit Pages: 18

LCAP44
Brand: Vantage Hearth Pages: 2

USB 2.0 / Fire Wire Combo
Brand: Hama Pages: 2

iR8777-S3
Brand: Raidon Pages: 2

Mantas 28
Brand: Outline Pages: 28

UL-10
Brand: Peavey Pages: 6


