background image

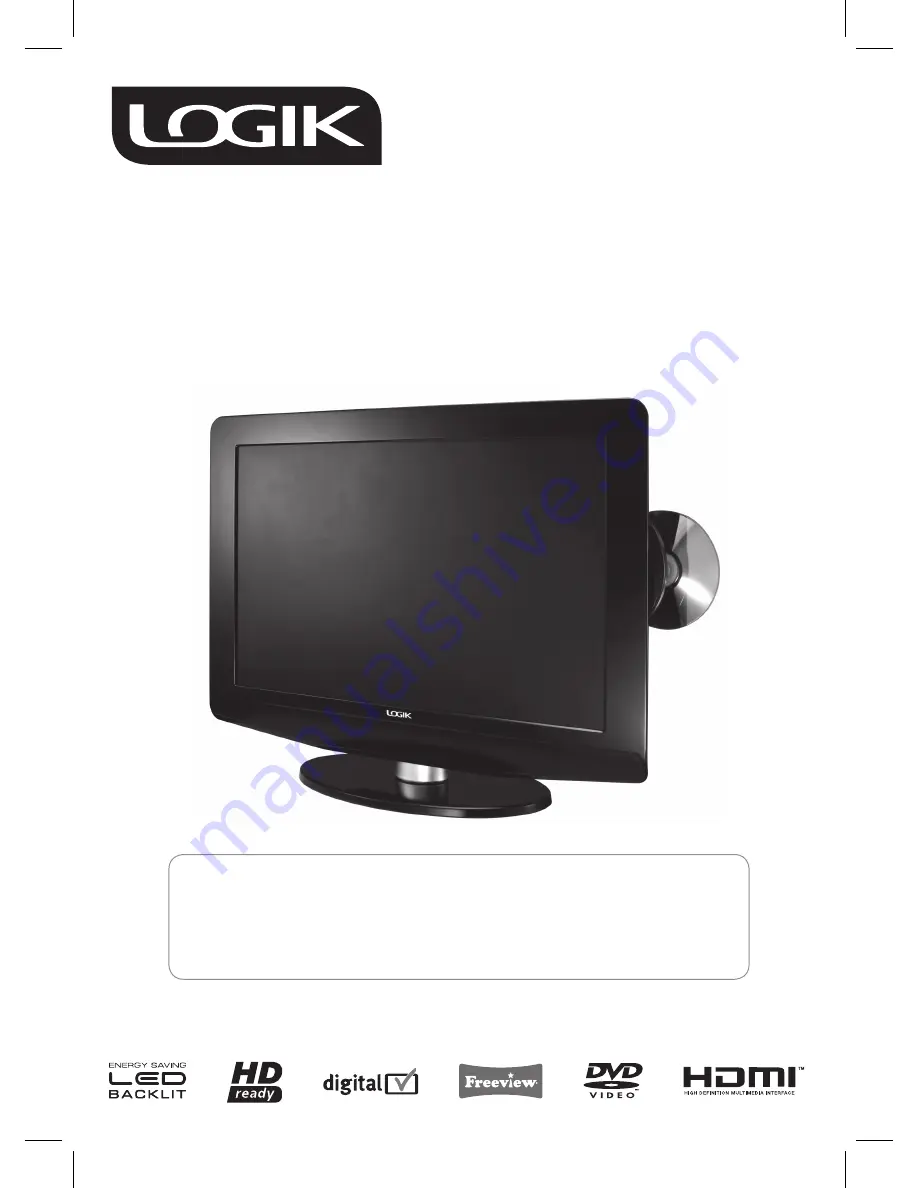
22” LED Backlit LCD TV

with DVD Player

L22LDVB19

INSTRUCTION MANUAL

Congratulations

 on the purchase of your new LOGIK TV.

Your new television has many features and  incorporates the latest technology to enhance your viewing 
experience. We recommend that you spend some time reading this instruction manual in order that you fully 
understand these features. You will also find some hints and tips to help you resolve any issues.

Read all the safety instructions carefully before use and keep this instruction manual for future reference.

Summary of Contents for L22LDVB19

Page 1: ...orporates the latest technology to enhance your viewing experience We recommend that you spend some time reading this instruction manual in order that you fully understand these features You will also...

Page 2: ...st Time 14 Selecting the Input Source 15 Channel Selection 15 Volume Adjustment 15 Using the Features 16 Customising the TV Setting Analogue TV DTV or Radio Mode 16 Auto Tuning 16 DTV Manual Tuning 16...

Page 3: ...on DVD 31 Angle Selection DVD 31 Special Functions 32 Display DVD 32 Locating a Specific Title DVD 32 Locating a Specific Chapter Track 32 Locating a Specific Time 32 Repeat Playback 33 Repeating a Sp...

Page 4: ...ain the packaging If you dispose it please do so according to local regulations The following items are included TV TV Base Remote Control AAA Batteries x 2 P N 043 A55656W170 Instruction Manual P N 8...

Page 5: ...ling Removing the Base Stand The LCD display is very fragile and must be protected at all times when removing the base stand Be sure that no hard or sharp object or anything that could scratch or dama...

Page 6: ...e sensor as its function may be affected 2 VOL Adjust the volume 3 CH Select a channel Select sub menu of OSD menu Press to skip to the beginning of the previous next chapter or track DVD mode 4 FUNCT...

Page 7: ...and any HDMI device such as a set top box Blu ray player and A V receiver 3 SCART Input Connect to VCR DVD Player or other AV devices with SCART output jacks 4 Connect earphones for private listening...

Page 8: ...ART or HDMI 7 0 9 Number Button Select a programme Select numbered items in a menu 8 REVEAL Reveal hidden information such as the answer to a quiz in Teletext TV mode 9 LAST CH Return to previously vi...

Page 9: ...ter programmed playback DVD mode CLEAR green Press to clear input selections and cancel certain playback functions DVD mode REPEAT A B yellow Repeat a segment between A and B DVD mode REPEAT DISC blue...

Page 10: ...o property Use only the types of the batteries which are indicated in this manual When the batteries are exhausted the remote will not function Replace both batteries at the same time with new ones Do...

Page 11: ...e control to select AV1 mode and then press the ENTER OK button Or you may just press the AV button on the remote control to select AV1 mode directly Not all A V devices have the ability to connect to...

Page 12: ...mote control to display the Source List Use the buttons to select YUV SCART mode and then press the ENTER OK button Or you may just press the AV button on the remote control to select YUV SCART mode d...

Page 13: ...n on the top panel of the TV or on the remote control to display the Source List Use the buttons to select HDMI mode and then press the ENTER OK button Or you may just press the AV button on the remot...

Page 14: ...TV enters standby mode and the power LED on the front panel of the TV will illuminate In standby mode press the 2 I button on the top panel of the TV or the button on the remote control to turn the TV...

Page 15: ...ion Press the CH CH buttons on the top panel of the TV or the CH PAGE buttons repeatedly or 0 9 buttons on the remote control to select the channel Alternative Press the LIST button to enter the Chann...

Page 16: ...rt on the screen then the ENTER OK button on the remote control to start the Auto Tuning Press the 5 TV MENU button to return back to the previous menu Press the 6 EXIT button to exit the menu Customi...

Page 17: ...turn back to the previous menu Press the 6 EXIT button to exit the menu ATV Manual Tuning Allows you to make manual fine tuning adjustments if the channel reception is poor under analogue TV mode Pres...

Page 18: ...NU button to confirm the new name MOVE c ATV mode Press the YELLOW button and use the buttons to move to the selected channel then press the TV MENU button to confirm SKIP d Press the BLUE button to s...

Page 19: ...ies To insert the Common Access Module Before you insert the Common Access Module ensure that the 1 TV is switched off and the viewing card is inserted in accordance with the Service Provider s instru...

Page 20: ...Contrast Adjusts the difference between light and dark levels in the picture for Personal mode Brightness Increase or decrease the amount of white in the picture for Personal mode Sharpness Adjusts t...

Page 21: ...ntensity of higher pitched sounds Bass Controls the relative intensity of lower pitched sounds Balance Adjusts the relative volume of the speakers in a multiple speaker system Press the 3 TV MENU butt...

Page 22: ...eceiving a digital signal Time must be set before using Sleep Timer function Press the buttons to select a period of time after which the TV automatically switches to standby mode Off 5 90 120 min The...

Page 23: ...exit the menu Video Size Aspect Ratio Allows you to watch the screen in various picture formats Full 16 9 4 3 Auto Expand Zoom LCD Off Press the LCD mode button repeatedly to select the desired forma...

Page 24: ...unction to operate If the Lock System is set to On a valid password must be entered when you access the Auto Tuning Manual Tuning Program Edit New Installation Block Programme Parental Guidance Press...

Page 25: ...buttons to select the LOCK menu Press the 2 buttons to select Parental Guidance then press the buttons to select different rating Off 4 18 Press the 3 TV MENU button to return to the previous menu Pre...

Page 26: ...over the TV programme Press the MIX button again to return to the text page Page search while watching TV Press the CANCEL button while watching TV with teletext enter the page number you want by usi...

Page 27: ...fast Breakfast No Info Arth Mio Old No In Arthur No Information No Information Casual Co QVC Outlet Closedown No Information This is BBC THREE Best of Friends Animal 24 7 Homes Under the current date...

Page 28: ...ed programme and then press the ENTER OK button to confirm Button Functions in a 7 Days Guide Remote Control Button Function YELLOW Press the buttons to view schedule of the previous next day then pre...

Page 29: ...mat or JPEG files AUDIO VIDEO JPEG AUDIO CD Compact Disc Digital Audio AUDIO Supported Formats JPEG The file extensions has to be jpg and not jpeg Pictures encoding must comply with ISO format Some re...

Page 30: ...k number Fast Forward Fast Reverse Press the 1 buttons when a disc is playing The disc begins a fast scan at two times normal x2 speed Each time the buttons is pressed the speed of the fast scan chang...

Page 31: ...ltiple languages On some DVDs subtitles are activated from the main menu of the DVD Press the DVD MENU button to activate the main menu Angle Selection DVD Some DVDs contain scenes which have been sho...

Page 32: ...play you can locate a specific chapter track by directly selecting a chapter track number Press the 1 GOTO button to search for your desired chapter track Press the 2 buttons to highlight a chapter tr...

Page 33: ...track repeatedly While the disc is playing press the REPEAT DISC button blue button until the indicator displays on the screen The current track is played repeatedly 2 Repeating an entire disc While...

Page 34: ...A screen will be shown as right Press the 2 button to highlight the Title Press the buttons to choose the desired title Press the button again to highlight the Chapter Press the buttons to choose the...

Page 35: ...n highlight the Exit Setup Mode and then press the ENTER OK button Some DVDs may not play in the audio language you selected A prior language may be programmed on the disc Some DVDs may be set to disp...

Page 36: ...to highlight the option Parental Ctrl Password or Default then press the button to enter Use the 4 buttons to select the desired setup option To exit the 5 SETUP MENU and return to the normal screen...

Page 37: ...uld lock out playback of the disc altogether You cannot play password function equipped DVDs rated higher than the level you selected unless you cancel the parental lock function The parental lock lev...

Page 38: ...other chemicals Do not use compressed air to remove dust Handling Discs Do not touch the playback side of the disc Do not attach paper or tape to disc Cleaning Discs Fingerprints and dust on the disc...

Page 39: ...nce such as an electrical appliance or power tool Poor reception on some channels Station or cable channel may be experiencing problems tune to another station Station signal is weak reposition the ae...

Page 40: ...ur retailer or contact your local aerial installer Can I watch Freeview using a portable set top aerial Some but only a few homes may be able to use a set top aerial However for a much better receptio...

Page 41: ...576 AUTO Fullscreen 4 3 720P 1280 x 720 50 AUTO Fullscreen 4 3 60 1080I 1920 x 1080 50 AUTO Fullscreen 4 3 60 AUTO Fullscreen 4 3 HDMI Mode Resolution Vertical Frequency Hz Aspect Ratio 576P 720 x 576...

Page 42: ...ns supply before connecting disconnecting other devices or moving the unit Unplug the unit from the mains socket during a lightning storm Mains Cable Make sure the unit or unit stand is not resting on...

Page 43: ...hildren push anything into the holes slots or any other openings in the case this could result in a fatal electric shock DVD Class 1 Laser Product This unit utilises a laser Use of controls adjustment...

Page 44: ...terface are trademarks or registered trademarks of HDMI Licensing LLC The FREEVIEW word and logo are trademarks of DTV services Ltd and are used under licence DTV Services Ltd 2002 The HD Ready Logo i...

Reviews: