Logik L19DVDB19, Instruction Manual
The Logik L19DVDB19 is a sleek and versatile TV with built-in DVD player. Easily set up and navigate its features with the included Instruction Manual. For a free download of the manual, visit manualshive.com. Enjoy high-quality entertainment with this affordable and user-friendly TV.
Share
Download


Reviews:
No comments
Related manuals for L19DVDB19

MV19N2
Brand: Toshiba Pages: 2
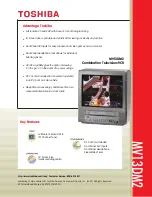
MV 13DM2
Brand: Toshiba Pages: 2

CV32F68
Brand: Toshiba Pages: 29

MV13Q41
Brand: Toshiba Pages: 44

M-V19H01
Brand: Toshiba Pages: 38

MV20P2
Brand: Toshiba Pages: 56

MV20FL4C
Brand: Toshiba Pages: 60

MV13P3
Brand: Toshiba Pages: 56

MV13N3
Brand: Toshiba Pages: 56

MV19N2
Brand: Toshiba Pages: 64

CV27D48
Brand: Toshiba Pages: 50

MV19K2R
Brand: Toshiba Pages: 63

CV27G68
Brand: Toshiba Pages: 55

MV14FM4
Brand: Toshiba Pages: 60

MV13K2
Brand: Toshiba Pages: 58

CV32F68
Brand: Toshiba Pages: 56

MV20FL3
Brand: Toshiba Pages: 72

MV13Q41
Brand: Toshiba Pages: 66


