


Wireless Access Point / Ethernet Bridge
Model Name:
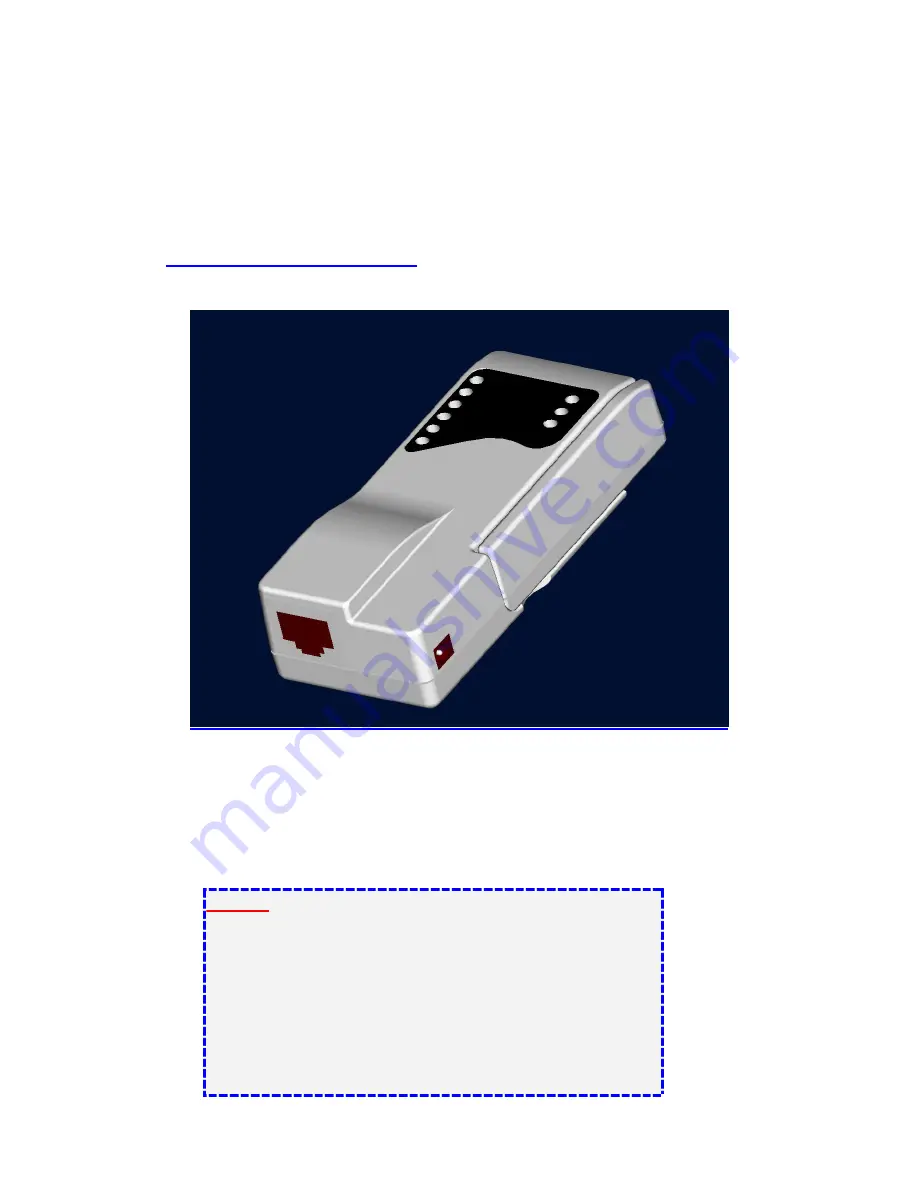
WP310A
Quick Install Guide
Hardware Installation
Making a Connection
1. RJ45 port connects to a hub/switch or PC - Use a standard Ethernet RJ-45
cable.
2. Check the LED of “LAN” port on front panel, it must be on.
If not, to ensure that the cable is connected properly.
3. Connect the power adapter to “DC 5V”.
Attention:
The cable distance between the Router and PC/hub/Switch should
not exceed 100 meters.
Make sure the wiring is correct. In 10Mbps operation, Category
3/4/5 cable can be used for connection. To reliably operate your
network at 100Mbps, you must use Category 5 cable, or better
Data Grade.
Summary of Contents for WP310A
Page 8: ......


