

USB 2.0 Print Server
Quick Start guide
English
LINDY No. 42394
www.lindy.com
Introduction
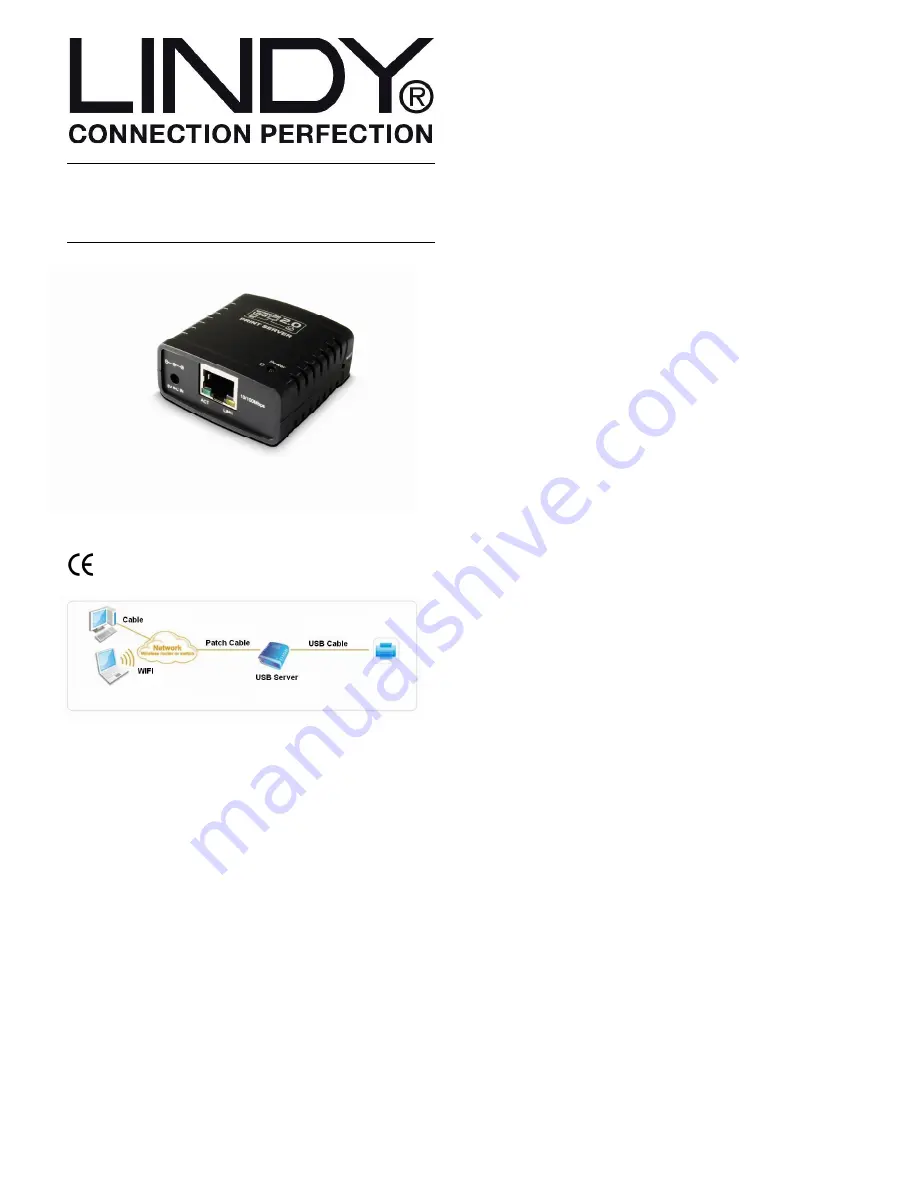
Thank you for purchasing the LINDY USB 2.0 Print Server. This print
server allows any networked computer to share a USB printer over your
home or office network. The server has an auto-sensing Ethernet port
that works with either 10base-T or 100base-T networks and can also
support multiple protocols and operating systems. The built in web
management interface allows the user to configure and reset the USB
print server via a web browser.
Package Contents
•
USB 2.0 Print Server
•
1.5m CAT5e patch cable
•
5V DC 2A PSU
•
Installation CD
•
User manual
Features
•
Easily connects your USB printer to a network
•
Allows multiple computers to share a USB printer over the
network
•
Supports DHCP client and multiple network protocols
•
10/100base-T Auto-sensing
•
Supports web management software
•
Supports Windows 2000/2003/XP/Vista/7, Mac OSX 10.2 or
later
Installation
1.
Ensure all devices are powered off before attaching any
cables
2.
Connect a USB cable from the USB printer to the USB print
server
3.
Connect the included patch cable to the USB print server and
to the network. (via router, switch, hub or bridge)
4.
Connect the PSU to the USB print server
Windows installation
1.
Insert the Driver CD and click “setup”
2.
To start installation click “Networking printer wizard for
Windows”
3.
Follow the on screen instruction and then click “finish”
4.
A shortcut will be placed on your desktop, double click this
shortcut
5.
Follow the on screen instructions and select the printer you
want to install from the list provided
6.
Continue to follow the on screen instructions and click finish
when prompted
7.
Once complete, reboot your machine
Mac Installation
1.
To start, go to the “system preferences” on the dock menu
2.
Select the “print & fax” icon
3.
Select “+” printer
4.
Select the printer you want to install from the list provided
5.
As you select the printer, bonjour will select the correct printer
driver
6.
Click on the “add” button to install the printer
7.
Follow the on screen instructions and the printer will appear in
your “print & fax” window
Your printer is now ready to be used on your network.
For a more comprehensive manual on how to use your USB 2.0 Print
Server, please see the manual included or the installation CD.


