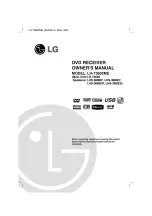
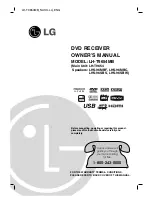
LG DR265, Owner'S Manual
The LG DR265 Owner's Manual is a comprehensive guide providing detailed instructions and valuable information for operating and troubleshooting the product. Available for free download on manualshive.com, this manual ensures users can maximize their experience with the LG DR265 with ease and confidence.
Share
Download


Reviews:
No comments
Related manuals for DR265

MP70B
Brand: Mustek Pages: 2

DVS-2
Brand: Yaesu Pages: 14

BULLSHOOTER ENDLESS LOOP BS2C
Brand: Ramsey Electronics Pages: 28

VTR9000
Brand: Philips Pages: 32

GC967NP1
Brand: LG Pages: 17
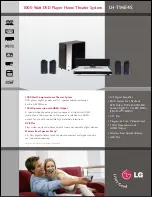
LH-T9654S
Brand: LG Pages: 2

DR4912
Brand: LG Pages: 64
LH-T3602ME
Brand: LG Pages: 24
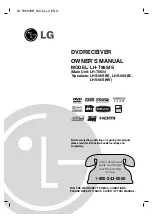
LH-T9654S
Brand: LG Pages: 29

DR7400
Brand: LG Pages: 38

DR7400
Brand: LG Pages: 48
LH-T9654
Brand: LG Pages: 29

DRT389H
Brand: LG Pages: 40
SH53SH-C
Brand: LG Pages: 24

HDR-798
Brand: LG Pages: 59

DR175S
Brand: LG Pages: 49

DR197
Brand: LG Pages: 51

DR1F9H
Brand: LG Pages: 52


