


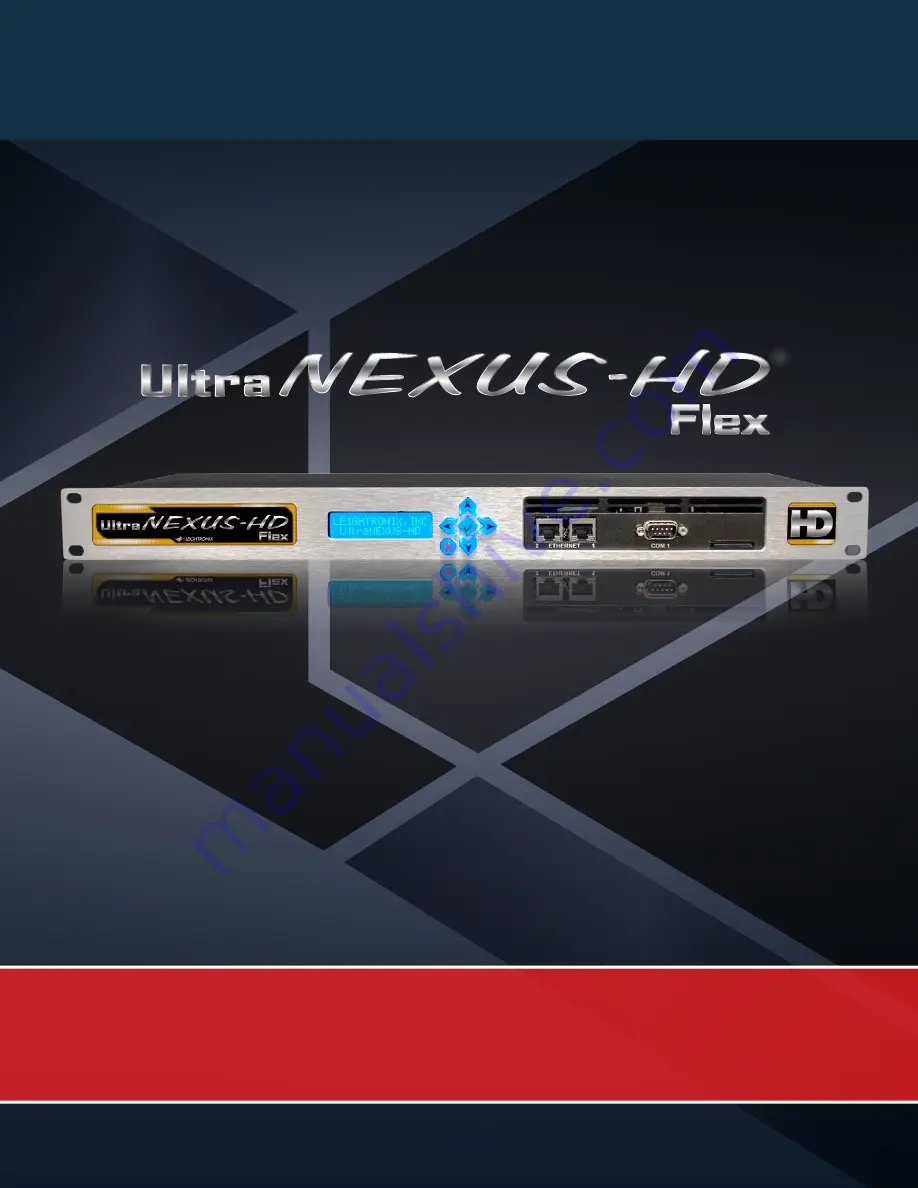
PRODUCT
QUICK GUIDE
Hardware Setup | Network Configuration | WinLGX Software Installation | Web Control
H.264 HD/SD
Digital Video Server
Television Automation
Network Configuration
2
Web Control
4
How to Properly Shutdown Your UltraNEXUS-HD Flex
Press and hold the red
X
[ ] on the front panel for approximately seven (7) seconds until the front panel display shows
EXECUTING SYSTEM SHUTDOWN.
After approximately three (3) seconds,
SYSTEM HALTING REMOVE POWER
will appear
on the front panel display. At this point, all services will be stopped and the operating system will shut down. Power off the
system by pressing
0
on the power switch.
Access your UltraNEXUS-HD Flex from your network with WebNEXUS
™
, a built-in password-protected web interface.
WebNEXUS provides the ability to manage slides, create and display overlays, create looping playlists for Virtual
Channel between, as, or in place of scheduled programming, transfer video files to specified destinations, and view the
UltraNEXUS-HD Flex system’s status, program guide, and log files.
Accessing WebNEXUS
Open the UltraNEXUS-HD Flex web interface through one of the two following steps:
1.
If you already have WinLGX open and are logged into the desired UltraNEXUS-HD Flex unit’s IP address, select
Web interface
from the Tools menu or click the [ ] toolbar icon to open the web interface in your default
web browser.
2.
Enter your UltraNEXUS-HD Flex unit’s IP address into the address bar of a web browser.
A login prompt will appear. Enter the username and password initially set up in WinLGX to access WebNEXUS.
Refer to the WinLGX Software Installation section of this quick guide for more information.
More Information
Head to the Web Control section of the full manual for more information on WebNEXUS and its functions.
4.
Either press right [ ] again to save changes or
left [ ] to abort them.
Gateway Address
5.
From the CONFIG MENU screen, press up/
down [ ] and navigate to Set Gateway 1.
6.
Press right [ ] to select Set Gateway 1.
7.
Press right/left [ ] to position the cursor
under editable fields and press up/down [ ]
to edit values. Press right [ ] at the end of all
editable fields to enter the next screen.
8.
Either press right [ ] again to save changes or
left [ ] to abort them.
NOTE:
The UltraNEXUS-HD Flex must be rebooted by
holding down the center check mark [ ] for seven (7)
seconds to apply any network address changes.
IP Address
1.
From the CONFIG MENU screen, press up/down
[ ] and navigate to Set IP Address.
2.
Press right [ ] to select Set IP Address.
3.
Press right/left [ ] to position the cursor under
editable fields and press up/down [ ] to edit
values. Press right [ ] at the end of all editable
fields to enter the next screen.
4.
Either press right [ ] again to save changes or
left [ ] to abort them.
Subnet Mask Address
1.
From the CONFIG MENU screen, press up/down
[ ] to navigate to Set Subnet Mask.
2.
Press right [ ] to select Set Subnet Mask.
3.
Press right/left [ ] to position the cursor under
editable fields and press up/down [ ] to edit
values. Press right [ ] at the end of all editable
fields to enter the next screen.
Entering the Front Panel Password
From the front panel of your UltraNEXUS-HD Flex server, press right [ ] from any status screen to display the password
entry screen. Press right [ ] five (5) times to enter the default front panel password and access configuration menus.
NOTE:
To replace the unit’s password, refer to the Changing Front Panel Password section in the full manual.
Editing TCP/IP Network Addresses
Obtain network addresses from your technical support personnel or network administrator.
TM
LEIGHTRONIX, INC.
1125 N Cedar Rd | Mason, MI 48854
Phone: (800) 243-5589 or (517) 694-8000 | Fax: (517) 694-1600
www.leightronix.com
05/09/18
© 2018 LEIGHTRONIX, INC. All rights reserved.
The information in this manual is subject to change without notice.
UltraNEXUS-HD
,
WinLGX
, and
WebNEXUS
are
trademarks of LEIGHTRONIX, INC.
At LEIGHTRONIX, every customer of our standard product
line receives technical support at no extra charge. There are
no service contracts, no annual renewals, no allowances, no
deductibles, and no exclusions.
In addition to a 5 year hardware warranty, benefits include
access to:
• Priority toll-free telephone support
• Email support
• Online support, desktop to desktop via Webex
®
• Software updates
• Firmware updates
• Assistance with updates
Looking for firmware/software or additional documentation? Go
to
www.leightronix.com/support.html
to download important
updates and full product manuals.
Phone:
(800) 243-5589
Email:
Support


