background image


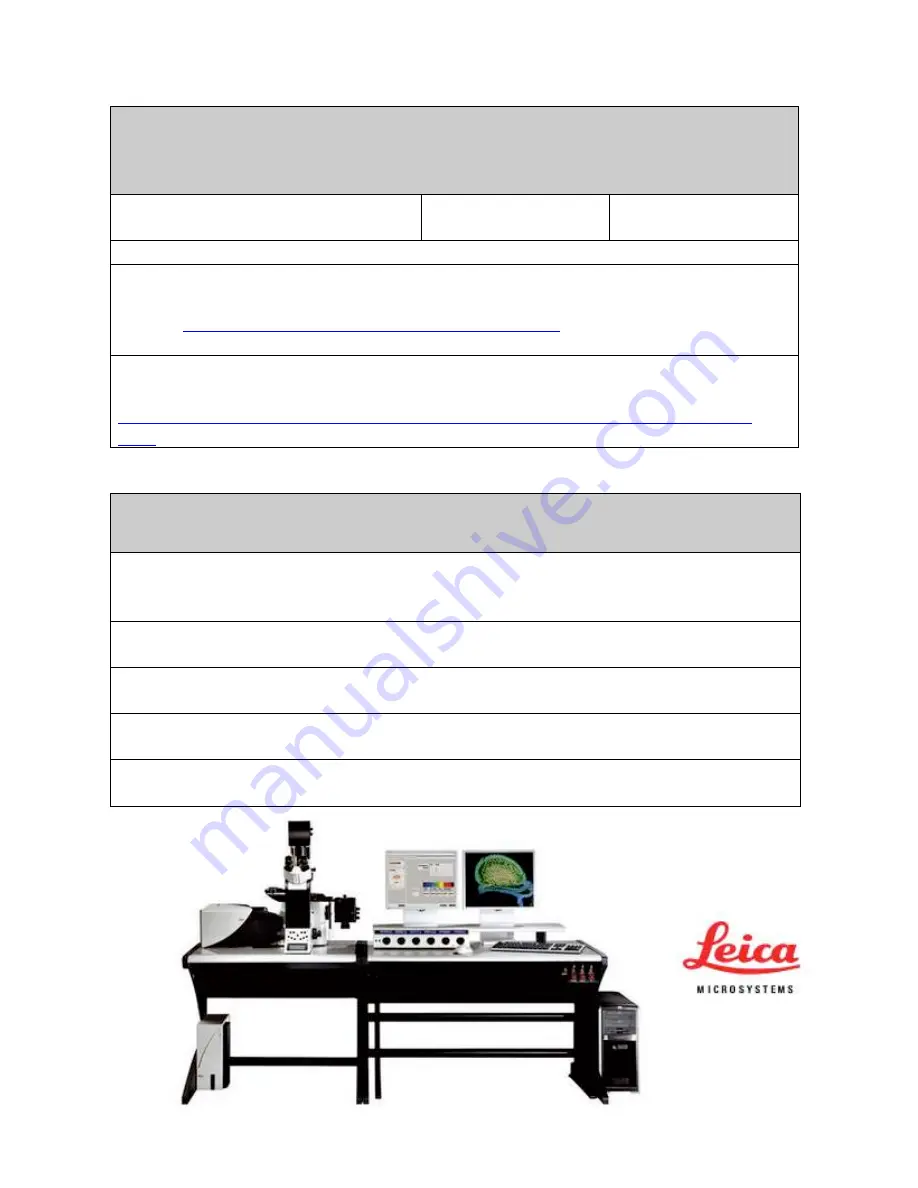
Title: Leica SP5 Confocal User Manual 


Date of first issue: 23/10/2015 
 

Date of review: 

Version: Admin  


For assistance or to report an issue 
Office: CG07 or 05 
Email: 

[email protected]


Website: 

www.igmm-imaging.com 

Download a PDF copy of manual: 
 

\\igmm-smbhost\microscope-users\microscope user manuals\Leica 
SP5


Facility Usage Policy 


1.  You must have the relevant Risk Assessment/COSHH form for the 

work you are undertaking before using imaging facility resources 
 

2.  Users must be trained before using facility equipment  


3.  Please leave the microscope clean and tidy for the next user  


4.  Please report any issue, even if it seems minor, to facility staff 


5.  Any clinical waste must be placed in the orange bins provided 


Summary of Contents for SP5 confocal

Page 1: ...smbhost microscope users microscope user manuals Leica SP5 Facility Usage Policy 1 You must have the relevant Risk Assessment COSHH form for the work you are undertaking before using imaging facility...

Page 2: ...ting 8 Simultaneous vs Sequential scanning modes 8 Setting up Sequential Scanning Recommended 9 Image Optimisation Procedure 10 Capturing a Multi Wavelength 2D Image Optical Slice 11 Saving Images 11...

Page 3: ...e Laser Emission key to the ON position 3 The PC will boot automatically login using your windows user account If you have been trained on the system a user account will have been created for you 4 La...

Page 4: ...andby 3 Close the LAS AF program and shut down the PC 4 Turn the Laser Emission key to the horizontal position 5 DO NOT SWITCH OFF THE LASER POWER SWITCH UNTIL THE ARGON FAN HAS STOPPED Continue to ne...

Page 5: ...he XY speed of the stage by pressing the black buttons on the left side of the joystick base The black buttons on the right change the speed in Z Finding the sample by eye 1 Choose a fluorescence filt...

Page 6: ...he coverglass 40x lenses can be either a dry or oil type The software menu used to select the lenses tells you if the lens requires oil Configuration Menu Turning the Lasers on 1 Select Configuration...

Page 7: ...7...

Page 8: ...h the width of the slider to the emission spectrum of the dye Avoid overlapping the spectral sliders with the excitation laser lines 5nm min separation 5 Select the Channel colour box for each detecto...

Page 9: ...edure but this time enable the laser line and detector for RFP and switch off the first detector and 488 laser by setting to 0 power 5 Now when you scan the lasers detectors are sequentially turned on...

Page 10: ...each channel a number of times and averaging the resulting signal Only use if you have a noisy image Image capture time is increased as is the likelihood of phoobleaching 7 Rotation allows the whole s...

Page 11: ...re a few blue pixels Press the saturation indicator button again twice to see the channel images in their original colours Capturing a Multi Wavelength 2D Image Optical Slice 1 If you have followed th...

Page 12: ...cus using the joystick Z control until you find the top bottom of your sample Click on the Begin arrow on the diagram to record that position Then move to the opposite end of the sample and click the...

Page 13: ...d box allows you to define how many images should be captured in XY For example type 2x2 for a square grid of 4 tiles 5 Click on the rubbish bin button to remove the scan field setting 6 You can custo...

Page 14: ...itions button will highlight within the stage area the fields of view you have marked for scanning 7 You can delete a single position using the Clear Position button or delete all using the rubbish bi...

Page 15: ...ect the Delete button 5 To save a copy of the image with the scale bar right click on the image then select Snapshot all Exporting Images 1 To export an experiment or single image right click on it in...

Page 16: ...16 FRAP...

Page 17: ...17...

Page 18: ...18...

Page 19: ...19...

Page 20: ...20...

Page 21: ...21...

Page 22: ...22...

Page 23: ...23...

Page 24: ...24...

Page 25: ...25 FRET Acceptor Photobleaching...

Page 26: ...26...

Page 27: ...27...

Page 28: ...28...

Page 29: ...29...

Page 30: ...30...

Page 31: ...31...

Page 32: ...32 FRET Sensitised Emission...

Page 33: ...33...

Page 34: ...34...

Page 35: ...35...

Page 36: ...36...

Page 37: ...37...

Page 38: ...38...

Page 39: ...39...

Page 40: ...40...

Page 41: ...41...

Page 42: ...42 Spectral Imaging...

Page 43: ...43...

Page 44: ...44...

Page 45: ...45...

Page 46: ...46...

Page 47: ...47...

Page 48: ...48...

Page 49: ...49...

Page 50: ...50...

Page 51: ...51...

Page 52: ...52...

Page 53: ...53...

Page 54: ...54...

Page 55: ...55...

Page 56: ...56...

Page 57: ...57...

Page 58: ...58...

Page 59: ...59...

Page 60: ...60...

Page 61: ...61...

Page 62: ...62...

Page 63: ...63...

Page 64: ...64...

Page 65: ...65...

Reviews: