La Crosse C87207, User Manual
The La Crosse C87207 User Manual is a comprehensive guide that provides step-by-step instructions on operating and setting up your La Crosse C87207. With a quick and convenient download, users can easily access this manual for free exclusively from manualshive.com. Enjoy seamless navigation and full control of your product with this essential resource.
Share
Download


Reviews:
No comments
Related manuals for C87207

RM20
Brand: Abus Pages: 13

D-25WE
Brand: Crosley Pages: 6
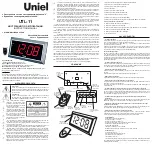
UTL-11
Brand: Uniel Pages: 2

00136211
Brand: Hama Pages: 18

Z30300B
Brand: Auriol Pages: 47

RM-7970
Brand: Sanyo Pages: 2

RM-5750
Brand: Sanyo Pages: 8

RM 5900
Brand: Sanyo Pages: 8
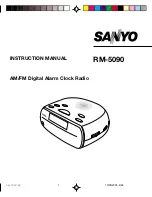
RM-5090
Brand: Sanyo Pages: 9

RM-X500
Brand: Sanyo Pages: 15
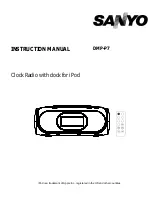
DMP-P7
Brand: Sanyo Pages: 16

DMP-P3
Brand: Sanyo Pages: 14

DMP-P8
Brand: Sanyo Pages: 20

VIKIS
Brand: IKEA Pages: 36

Titanus Micro-Sens
Brand: WAGNER Pages: 238

98.1099
Brand: TFA Pages: 2

60.5015
Brand: TFA Pages: 46

iP230
Brand: iHome Pages: 12


