La Crosse Technology WS-7208TWC, Instruction Manual
The La Crosse Technology WS-7208TWC is a state-of-the-art weather station that provides accurate temperature and humidity readings. For easy setup and operation, be sure to download the free Instruction Manual at manualshive.com. Stay informed about the weather conditions with this reliable device for your home or office.
Share
Download


Reviews:
No comments
Related manuals for WS-7208TWC

MP3 Docking Station
Brand: Harman Kardon Pages: 8

Professional Weather Station
Brand: NexxTech Pages: 25

POWER DOCK STATION II FOR WII
Brand: GAMERON Pages: 32

KN-WS700
Brand: König Electronic Pages: 79

SIP562
Brand: Sylvania Pages: 9

2606151000
Brand: Emos Pages: 84
VSN800
Brand: ABB Pages: 16

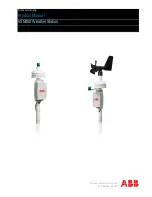
WS-1
Brand: ABB Pages: 28

Signature Series
Brand: WeatherHawk Pages: 34

DK31C4DPPD
Brand: StarTech.com Pages: 2

10006240
Brand: Electronic.Star Pages: 15

00439DI
Brand: ACU-RITE Pages: 20

USB-A 3.0
Brand: i-tec Pages: 60

WS0835
Brand: Sainlogic Pages: 32

B0360WST2H2PR-V2
Brand: BALDR Pages: 112

PWC-50 M4
Brand: Lakeside Pages: 4

VS5001
Brand: VENOM Pages: 18

1big Dock SSD Pro
Brand: LaCie Pages: 40


