1
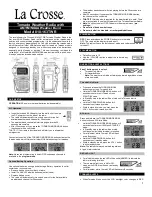
WS- 1912 WEATHER CENTER
Instruction Manual
2
Table of Contents
Topic Page
Inventory of contents
3
Features 4
Setting up
6
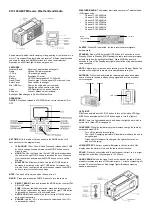
Function keys
11
LCD screen
12
Manual settings
14
Weather forecast and weather tendency
20
Wind speed measurement
22
Rainfall measurement
22
Viewing history data
23
Viewing the MIN/MAX weather data
25
Outdoor transmission 915 MHz reception
21
Positioning 32
Care and maintenance
35
Specifications 36
Warranty information
37