


a member of the KOMDRUCK group
KOMDRUCK Systeme GmbH
Benzstrasse 2a
64646 Heppenheim (Germany)
Tel: +49 (0)6252-7900 0
Fax: +49 (0)6252-7900 111
Mail: [email protected]
www.komdruck.com
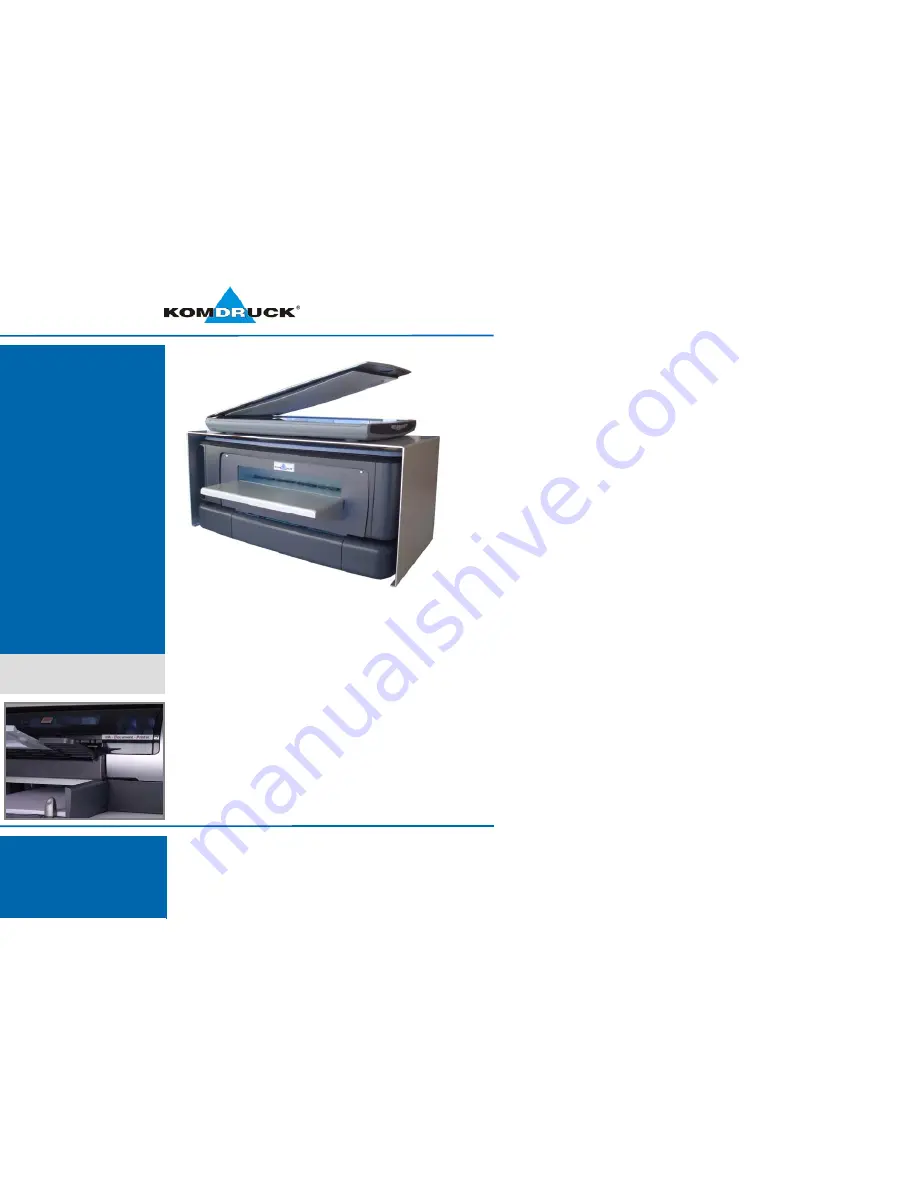
IDP
I
nk-
D
ocument-
P
rinter
Users Manual
KOMDRUCK
IDP
(
I
nk-
D
ocument-
P
rinter)
1. revision, October 2004
2. revision, January 2009
Copyright 2004, 2009 KOMDRUCK Systeme GmbH
Notice:
The information contained in this document is subject to change without
notice.
KOMDRUCK makes no warranty of any kind with regard to this material
including, but not limited to, the implied warranties of merchantability
and fitness for a particular purpose.
KOMDRUCK shall not be liable for any errors or for incidental or
consequential damages in connection with the furnishing, performance,
or use of this material.
All rights reserved. Reproduction, adaptation, or translation of this
material is prohibited without prior written permission of KOMDRUCK
Systeme GmbH, except as allowed under copyright laws.
Acknowledgements:
Microsoft, MS, MS-DOS, Windows, and XP are registered trademarks of
Microsoft Corporation.
Adobe and Acrobat are trademarks of Adobe Systems Incorporated.


