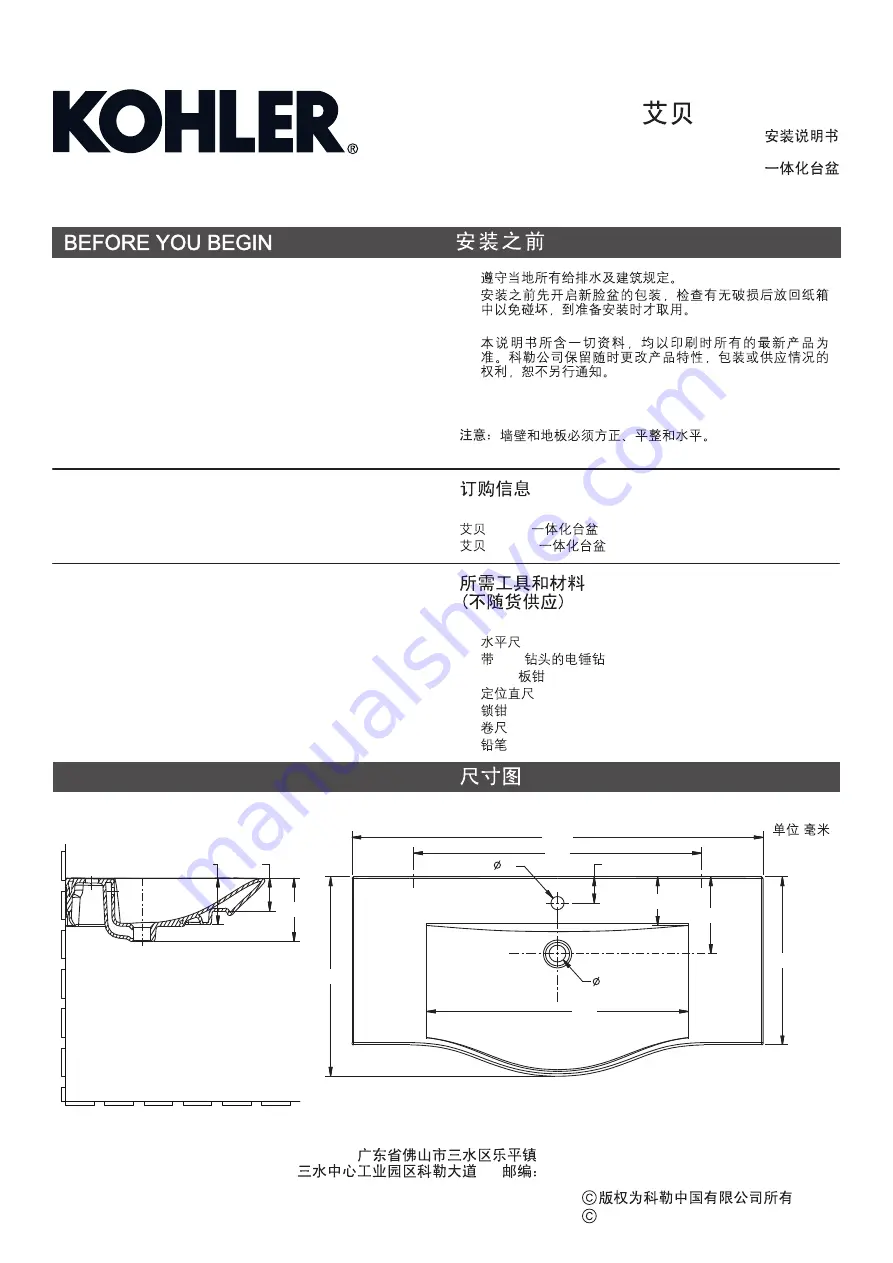
background image

URBANITY

INSTALLATION INSTRUCTIONS

VANITY TOP

K-15095T/K-15096T

-1-

, 2009

Copyright Kohler China Ltd., 2009

·

·

·

Observe all local plumbing and building codes.
Prior to installation, unpack the new lavatory and inspect it
for damage. Return the lavatory to its protective carton
until you are ready to install it.
All information in these instructions are based the latest
product information available at the time of publication.
Kohler China reserves the right to make changes in
product characteristics, packaging, or availability at any
time without notice.

Make sure that the wall and floor are square

and plumb to ensure proper installation.

IMPORTANT:

·

·

·

ORDERING INFORMATION

URBANITY 800mm Vanity........................................K-15095T
URBANITY 1100mm Vanity......................................K-15096T

800mm

.............................................K-15095T

1100mm

...........................................K-15096T

528137

REQUIRED MATERIALS/
(NOT SUPPLIED)

TOOLS

·

·

·

·

·

·

·

Level
Drill with

bit

6mm

14mm wrench
Framing square
Channel lock pliers
Tape measure
Pencil

·

·

·

·

·

·

·

6mm

14mm

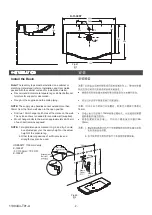
ROUGHING-IN

UNIT: mm

:

K-15096T

125

88

174

536

1105

70

35

45

700

130

769

205

454

1130444-T01-A

Summary of Contents for URBANITY 15096T

Page 1: ... time of publication Kohler China reserves the right to make changes in product characteristics packaging or availability at any time without notice Make sure that the wall and floor are square and plumb to ensure proper installation IMPORTANT ORDERING INFORMATION URBANITY 800mm Vanity K 15095T URBANITY 1100mm Vanity K 15096T 800mm K 15095T 1100mm K 15096T 528137 REQUIRED MATERIALS NOT SUPPLIED TO...

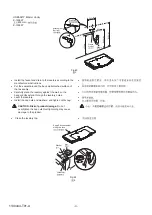
Page 2: ...10mm 65 75mm 1 2 3 2 Drill two 10mm hanger bolt holes at the marks on the wall The nylon anchors is needed for concrete wall supplied Mount hanger bolts to the wall so approximately 65 75mm of each bolt remains exposed 1 Height dimensions marked in fig 2 and fig 3 could be adjusted per your the vanity height or the actual height of the console leg 2 Other fastening devices of sufficient size and s...

Page 3: ...through the lavatory holes Level the lavatory Install the cap nuts and washers and tighten until snug Do not overtighten the cap nuts Overtightening may cause damage to the product Clean the lavatory top CAUTION Risk of product damage Put the sealant around the back wall attached surface of the lav evenly Fig 3 3 Apply Silicone sealant along this face Washer Nut Offset Nut Fig 4 4 URBANITY 800mm V...

Page 4: ...ATION IMPORTANT CONSUMER INFORMATION CARE AND CLEANING To keep your lavatory looking new make sure you rinse it out thoroughly after each use on this product as they will scratch and ruin the surface Stubborn stains paint or tar can be removed with turpentine or paint thinner DO NOT USE ABRASIVES Caution Risk of product damage Many cleaners contain abrasive and chemical substances and should not b...

Reviews: