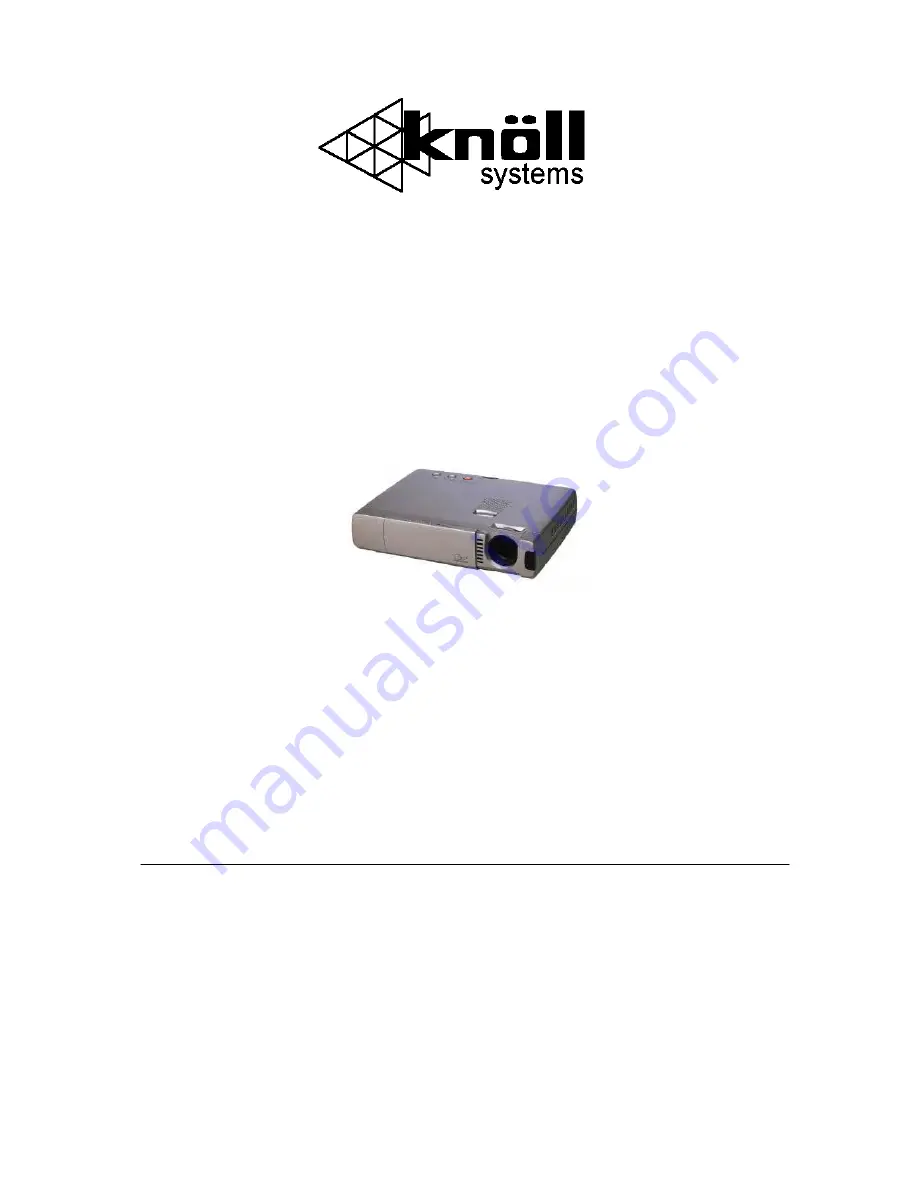
background image

        
      HT201/HT211 

 
Users Manual v1.1 


Includes PLUS CORPORATION

 micro light engine


Complies with part 15 of the FCC rules. Operation is subject to:  
1. This device may not cause harmful interference 

2. This device must accept any interference received    


including interference that may cause undesired operation.


WARNING:

 TO REDUCE THE RISK OF ELECTRIC SHOCK, DO NOT 

REMOVE THE COVER, NO USER SERVICEABLE PARTS INSIDE. 
REFER SERVICING TO QUALIFIED SERVICE PERSONNEL. 

 
WARNING:

 TO PREVENT FIRE OR SHOCK HAZARDS, DO  

NOT EXPOSE THIS PRODUCT TO RAIN OR MOISTURE

.


1

Summary of Contents for HT201

Page 1: ...armful interference 2 This device must accept any interference received including interference that may cause undesired operation WARNING TO REDUCE THE RISK OF ELECTRIC SHOCK DO NOT REMOVE THE COVER NO USER SERVICEABLE PARTS INSIDE REFER SERVICING TO QUALIFIED SERVICE PERSONNEL WARNING TO PREVENT FIRE OR SHOCK HAZARDS DO NOT EXPOSE THIS PRODUCT TO RAIN OR MOISTURE 1 ...

Page 2: ...isconnect the plug from the power outlet Cleaning Unplug the projector before cleaning Clean the cabinet periodically with a damp cloth If heavily soiled use a mild detergent Never use strong detergents or solvents such as alcohol or thinner Use a blower or lens cloth to clean the lens and be careful not to scratch the lens Lamp Replacement Be sure to replace the lamp when the Status light comes o...

Page 3: ... 13 Selecting the input source 14 Turning the projector off 14 Changing the computer s video resolution 15 Freezing the picture 16 Enlarging the picture 16 Menu operations 16 Selecting ceiling floor front or rear projection 17 Selecting input mode to component 17 Changing aspect ratios 17 Adjusting the image from the source connected to the RGB input 19 Adjusting the picture elements 19 Manual adj...

Page 4: ...the 3 basic colors RGB required for color reproduction on a single DMD That means superior brightness smaller size and lighter weight Sharp clear images There is no RGB color separation and the spaces between the individual pixels are not noticeable That means sharp and clear reproduction of small characters and figures Take a closer look and notice the difference in quality Outstanding beauty whe...

Page 5: ...t and humidity If you will not be using the remote control for a long time remove the batteries Do not mix new and old or different types of batteries There are operations that can only be carried out by remote control Handle the remote control carefully Remote control effective range Each side of the projector has a remote sensor The controllable range is 50 degrees horizontally and 30 degrees ve...

Page 6: ... connecting to the projector are disconnected before moving the projector When moving the projector cover the lens with the sliding cap Only use your Projector on a solid flat level surface If the projector falls to the floor you can be injured and the projector severely damaged Do not use the Projector where temperatures vary greatly The projector must be used at temperatures between 5 degree Cel...

Page 7: ...following information to position the projector Horizontally the projector needs to be positions with the lens centered left to right Projection Distance 4 3 Video Screen Screen Diagonal 72 78 84 100 120 160 200 Projection Distance 96 4 104 4 112 4 133 8 160 6 214 1 267 6 Image Drop Or Rise 8 0 8 6 9 3 11 1 13 3 17 7 22 2 Projection distance to screen is 1 338 x screen diagonal size 4 3 screens Dr...

Page 8: ...below You can switch the input source picture to VIDEO or S VIDEO even if you connect more than one piece of equipment S VIDEO connection provides more vivid color and higher resolution compared to VIDEO connection You can output the sound of one component through the unit speaker even when two components are connected Before connecting Turn off the components that are to be connected The unit and...

Page 9: ...uter will be turned on in Using the Projector Do not turn on either the computer or unit until you read this section Please also refer to the manual of the video component to be connected If you are connecting a 5 wire BNC cable to a 15 pin D sub you may need three 21 131 0 BNC to RCA adaptors Connect the 15 pin D sub into the projector Connect the red BNC to the Cr output Connect the green BNC to...

Page 10: ...ew graphics board for installation instructions Notes Refer to the owner s manual supplied with your computer for more information about the computer video output requirements and any special identification or configuring required by the projector image and monitor Some Macintosh PowerBooks may need to set the mirroring to off to output 800x600 dot signals Please consult your PowerBook manual or c...

Page 11: ...ntrol operates the computer mouse functions If a Windows computer is connected the L CLICK button on the remote control operates as the computer mouse left click button and the R CLICK button as the computer mouse right click button If the Macintosh computer is connected the L CLICK and R CLICK buttons operate in the same way as the computer mouse click button While the menu is displayed on the sc...

Page 12: ...plied serial cable to the IBM Mac connector on the remote mouse receiver Connect the supplied mouse adapter to the other end of the serial cable and the computer mouse port Note that two types of mouse adapters are supplied one is for IBM PS 2 and the other is for Macintosh D Sub Pin Assignments 1 Red 6 Red Gnd 11 GND 2 Green 7 Green Gnd 12 No Connection 3 Blue 8 Blue Gnd 13 Horizontal Sync 4 GND ...

Page 13: ... of the connected computer can be changed 5 Adjust the position and height of the unit Move the unit to the position where the projected image is horizontally centered to the screen The internal keystone adjustment can adjust for some horizontal problems but the best image is obtained when the projector is optimality positioned When the projected image is offset horizontally Adjust the position of...

Page 14: ...ed Turning the Projector Off 1 Operating with the remote control Press the POWER OFF button a little bit longer Operating with the projector keypad 1 Press the POWER button POWER OFF ENTER appears on the screen 2 Press ENTER When the projector is turned off the POWER indicator will start blinking then turn to amber in about one minute Never turn off the POWER switch main power while the POWER indi...

Page 15: ...Macintosh 1 Under the Apple menu select Control Panels and open Monitors 2 Click and open Options 3 Select your new resolution and click OK Notebook computers and resolution standards This Projector is designed to project industry standardized video such as VESA Video Electronics Standards Association or VGA Video Graphics Array Notebook computers do not use industry standards They use whatever ti...

Page 16: ...rce with the remote Press Video or RGB For S Video press the video button twice Selecting menu options 1 The normal menu will be displayed when the flip cover is closed and the menu button is pressed To go to the advanced menu open the flip cover and then press the menu button 2 Adjust the normal menu features for your taste the room brightness and source material and content 3 Use the advanced me...

Page 17: ... and vertical position of the image Changing Aspect Ratio The aspect ratio can be set individually for each input 1 Select the input to the desired video source 2 Open the flip cover and press the menu button 3 Use the left right cursor to select VIEW 4 Display the image then use the up down cursor to select ASPECT 5 Use the left right cursor to set the aspect ratio Aspect ratios setting are shown...

Page 18: ...00 39 375 87 7 35 5 22 VESA 800 X 600 35 16 56 25 36 23 VESA 800 X 600 37 879 60 32 40 24 VESA 800 X 600 48 077 72 19 50 25 VESA 800 X 600 46 88 75 49 5 26 VESA 800 X 600 53 674 85 06 56 25 27 Mac 832 X 624 49 725 74 55 57 283 28 VESA 1024 X 768 48 363 60 65 29 VESA 1024 X 768 57 476 70 07 75 30 IBM 1024 X 768 58 131 72 03 79 31 Mac 1024 X 768 60 241 74 93 80 32 33 34 34 36 37 38 39 40 41 VESA Mac...

Page 19: ... clock frequency and phase above 2 Press the cursor up down keys and select POSITION 3 Press the cursor up down and keys to adjust the horizontal and vertical position Checking hours of lamp use The lamp housing must be replaced after 1000 hours of use When 1000 hours have elapsed the STATUS indicator will light in red The projector will not turn on if 1100 hours of lamp use have been exceeded bec...

Page 20: ... simultaneously Horizontal Resolution NTSC 550 PAL 550 SECAM 350 NTSC4 43 350 TV lines RGB 1024 dots horizontal 768 dots vertical Power Requirement 100 to 120 220 to 240 VAC 50 60 Hz 180 watts Mechanical Dimensions 23 0cm W x 4 8cm H x 17 7cm D Net Weight 1 3kg 3 0 lbs Operational Temperatures Data projector 5 degree to 35 degree Celsius 41 degree to 95 degree Fahrenheit 30 to 85 humidity Remote c...

Page 21: ... improve its angle to the screen Picture is blurred Adjust the focus Reposition the projector to improve its angle to the screen Ensure that the distance between the projector and screen is within the adjustment range of the lens Is lens dirty or have condensation on it Remote control does not work Install new batteries Low batteries may be insufficient to generate IR commands Make sure there are ...

Page 22: ...rror detection protector has been triggered Wait at least one minute before switching it on again If this does not solve the problem please contact your dealer Blinking Slowly On and off in a cycle of 8 sec The cooling fan has stopped Contact your Knoll dealer for service Blinking Very Slowly On and off in a cycle of 12 sec The lamp is not turned on The projector was turned off and back on too qui...

Page 23: ...ws 10 Replace and secure the lamp cover with the securing screw 11 Return the unit to the normal position connect the power cord and turn on the unit 12 Reset the lamp time See Resetting the lamp use hours to zero Note When the lamp usage time reaches 1100 hours it becomes impossible to switch on the power and menus are not displayed In this case press the remote control POWER OFF button for at le...

Reviews: