Kenmore 385.12912, Owner'S Manual
The Kenmore 385.12912 Owner's Manual is an essential tool for anyone seeking guidance in operating their sewing machine. This comprehensive manual can be easily downloaded for free from our website. Discover step-by-step instructions and troubleshooting tips to make the most out of your Kenmore 385.12912 experience.
Share
Download


Reviews:
No comments
Related manuals for 385.12912

SmartBase PC1270D
Brand: Canon Pages: 88

WF361 Series
Brand: Samsung Pages: 72

WF1804WP series
Brand: Samsung Pages: 88

UNO
Brand: Pallmann Pages: 36

LW30 - Lavinia
Brand: Lindhaus Pages: 25

43-3804
Brand: Radio Shack Pages: 36

63400B
Brand: UnionSpecial Pages: 86

GF-1117 Series
Brand: Garudan Pages: 30

MOBILE MB-55
Brand: Antari Pages: 12

CK-441
Brand: Chikon Pages: 17

BlastRazor Z-25RC
Brand: Contracor Pages: 40

2700 Series
Brand: Singer Pages: 67

1669U101
Brand: Singer Pages: 38

WKR571
Brand: Miele Pages: 112
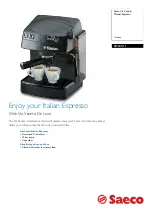
Saeco Via Veneto RI9345/11
Brand: Philips Pages: 2
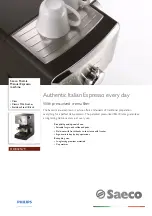
Saeco Poemia HD8325/79
Brand: Philips Pages: 2
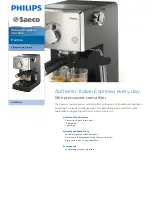
Saeco Poemia HD8325/47
Brand: Philips Pages: 3
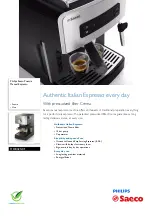
Saeco Poemia HD8425/01
Brand: Philips Pages: 3


