background image

Operating manual

Brugsanvisning

Gebrauchsanweisung

Manual de instrucciones

Käyttöohje

Manuel d’utilisation

Manuale d’uso 

Gebruiksaanwijzing

Bruksanvisning

Instrukcja obsługi

Manual de utilização

Инструкции по эксплуатации

Bruksanvisning

操作手册


EN
DA
DE
ES
FI
FR
IT
NL
NO
PL
PT
RU
SV
ZH

FreshAir

Flow Control

Summary of Contents for FreshAir Flow Control

Page 1: ...anual de instrucciones Käyttöohje Manuel d utilisation Manuale d uso Gebruiksaanwijzing Bruksanvisning Instrukcja obsługi Manual de utilização Инструкции по эксплуатации Bruksanvisning 操作手册 EN DA DE ES FI FR IT NL NO PL PT RU SV ZH FreshAir Flow Control ...

Page 2: ......

Page 3: ...EN 3 Kemppi Oy 1309 OPERATING MANUAL English 3 Kemppi Oy 1309 ...

Page 4: ...Inspection before every use 8 4 2 Air flow test 8 4 3 Using the FreshAir Flow Control 8 4 4 Checking the battery state 9 4 5 Checking the filter 10 5 Maintenance 10 6 Spare parts 10 6 1 About the filters 10 6 2 Changing the filter 11 6 3 About the batteries 12 6 4 Charging the battery 12 6 5 Changing the battery 13 7 Troubleshooting 14 8 Storage 15 9 Warranty 15 10 Technical data 16 11 Ordering co...

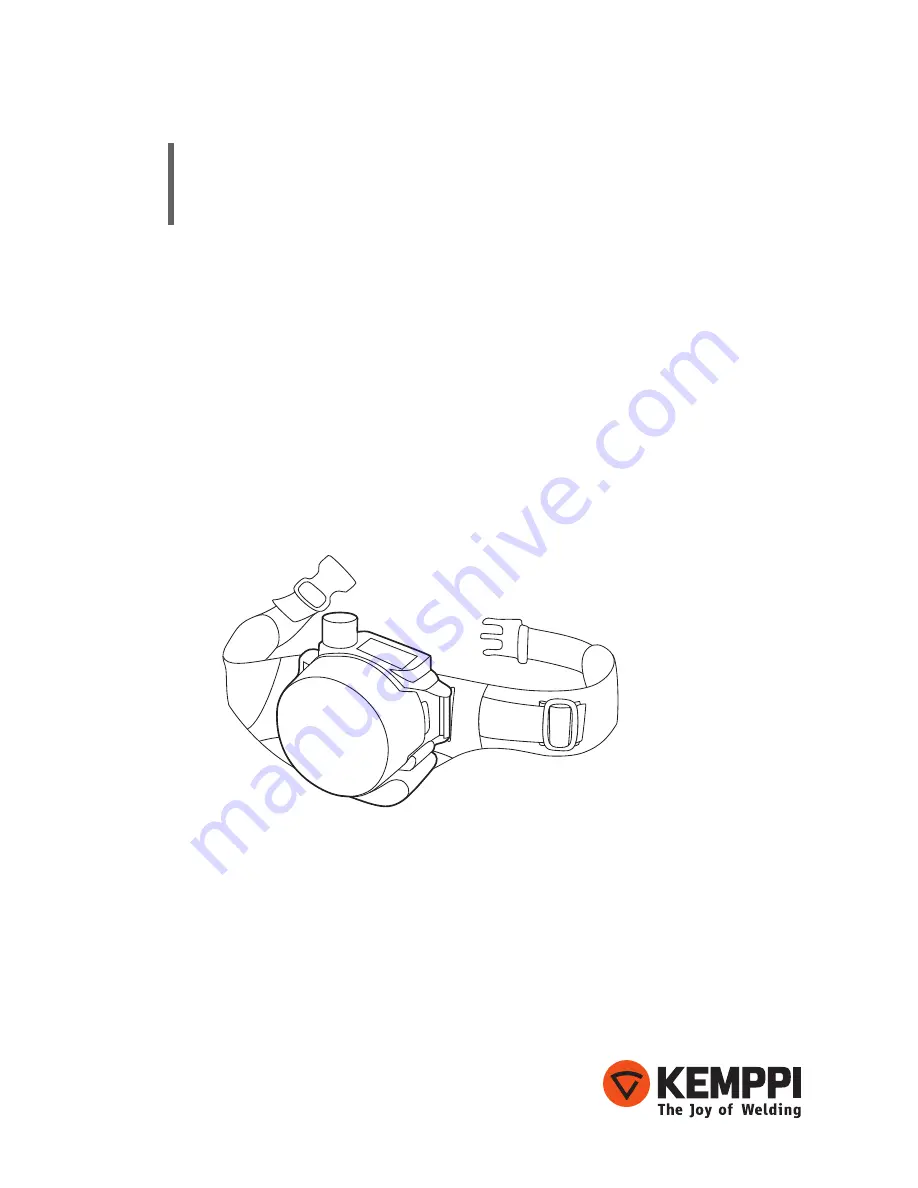
Page 5: ...ly and follow their instructions 1 2 About FreshAir Flow Control system FreshAir is a respiratory protective system which is based on the principle of circulated pressurized air in the hood The belt mounted blower unit delivers air through a filter and via an air hose into a headpiece The supply of filtered air creates positive pressure inside the headpiece which prevents the external contaminated...

Page 6: ...minated area immediately If the blower unit is switched off the respiratory system gives little or no respiratory protection There is also a risk of high concentration of carbon dioxide CO and of oxygen reduction inside the headpiece NOTE During a period of really hard work when user s breathing becomes very intense pressure may decrease inside the hood and thus the protective effect can decrease ...

Page 7: ...r respiratory system NOTE If the recommendations stated in this manual are ignored the warranty is automatically invalidated and the level of personal protection may not meet the designated standards 3 UNPACKING AND ASSEMBLY 3 1 Unpacking Check that the package is complete and that no part has been damaged in transit or for other reasons A package with the complete system including accessories con...

Page 8: ...Air flow test Check that the air is supplied through the whole respiratory system from the blower to the hood Fully charge the battery before first use 4 2 Air flow test Before every use you should conduct an air flow test on the equipment as follows 1 Disconnect the air hose from the hood 2 Cover the disconnected end of the air hose with your hand The blower starts to run faster after about 20 se...

Page 9: ...possible the microprocessor automatically reduces the airflow to the next lower level When the airflow falls below the minimum level the alarm intensifies Then the user must stop working at once and change the filter or recharge change the battery To check the alarm function perform the air flow test as explained in section 4 2 Air flow test 4 4 Checking the battery state Press and hold the left b...

Page 10: ...The outer surface of the blower unit can be cleaned with a soft cloth and mild detergent solution The unit must be completely dry before assembling the filler and cover Ensure that no water or detergents enter the blower unit The air hose itself detached from the blower unit and the headpiece can be rinsed in clean water 6 SPARE PARTS 6 1 About the filters The respiratory power unit is equipped wi...

Page 11: ...the following 1 Put your index fingers and middle fingers into the gaps between the body of the unit and the filter cover on both sides 2 Rest your thumbs on the top of the orange filter cover 3 Pull your fingers placed in the gaps outwards lifting the filter cover off the unit NOTE Never use any tools to uncover the filter Remove the filter 1 Hold gently rotate and pull away from the main body 2 ...

Page 12: ... the following precautions Do not charge the battery where there is a risk of explosion The battery charger is intended for indoor use only The charger must be protected against damp 6 4 Charging the battery 1 Check that the voltage of the electrical power supply is correct 2 Plug the charger into the socket 3 Connect the battery to the charger The socket of the battery is positioned on the back T...

Page 13: ...en the battery latch with your thumb The latch is positioned in the middle of the battery 3 Push the battery off the unit using your thumbs Mount the new battery 1 Hold the blower unit in the same position as before 2 Put the battery on the guide rail and push it back onto the unit until the latch locks it in the correct positon 13 Kemppi Oy 1309 ...

Page 14: ... at all Entirely discharged battery Verify if the blower unit works with another charged battery Charge the battery If problem persists replace the battery Faulty motor circuit board or connector Contact your supplier Low airflow Blocked air hose or airduct Check and remove blockage Leakage Check all seals connectors and the air hose Make sure that air cannot leak through holes or tears Battery is...

Page 15: ...ery 12 months 9 WARRANTY There is a 12 month warranty covering production defects and a 6 month warranty for batteries The warranty begins from the date of purchase The claim must be lodged with the dealer The paid invoice or receipt must be produced if claiming on the warranty The claiming procedure will be successful only if there were no changes made on the blower unit including the battery and...

Page 16: ... C Recommended humidity range 20 80 Rh Certification EN 12 941TH2 Operation time See the following table Notified body for CE testing Výzkumný ústav bezpečnosti práce v v i ZL Testing Laboratory No 1024 Jeruzalémská 9 116 52 Praha 1 Authorized Body 235 Notified Body 1024 Expected operating time of the blower unit after being fully charged hours Airflow Filter min middle max PSL R X 10 h X 6 7 h X ...

Page 17: ... Control Flexi hose W007487 FA Flow Control Flow indicator W007488 FA Comfort belt W007489 FA Basic filter 2 pcs standard W007490 FA Flow Control Sealing ring for filter W007491 FA Flow Control pre filter 10 pcs W007492 FA Battery pack NIMH 4 8V 4 5 AH W007493 FA Basic odour pre filter 10 pcs W007494 FA Flow Control Filter cover W007495 Optional FA Flexi hose cover W007788 FA Heavy duty comfort be...

Page 18: ...45 sales fr kemppi com KEMPPI GmbH Perchstetten 10 D 35428 Langgöns DEUTSCHLAND Tel 49 6 403 7792 0 Telefax 49 6 403 779 79 74 sales de kemppi com KEMPPI SPÓŁKA Z O O Ul Borzymowska 32 03 565WARSZAWA POLAND Tel 48 22 7816162 Telefax 48 22 7816505 info pl kemppi com KEMPPI AUSTRALIA PTY LTD 13 Cullen Place P O Box 5256 Greystanes NSW 2145 SMITHFIELD NSW 2164 AUSTRALIA Tel 61 2 9605 9500 Telefax 61 ...

Reviews: