


LVT0875-009A
[B]
INSTRUCTIONS
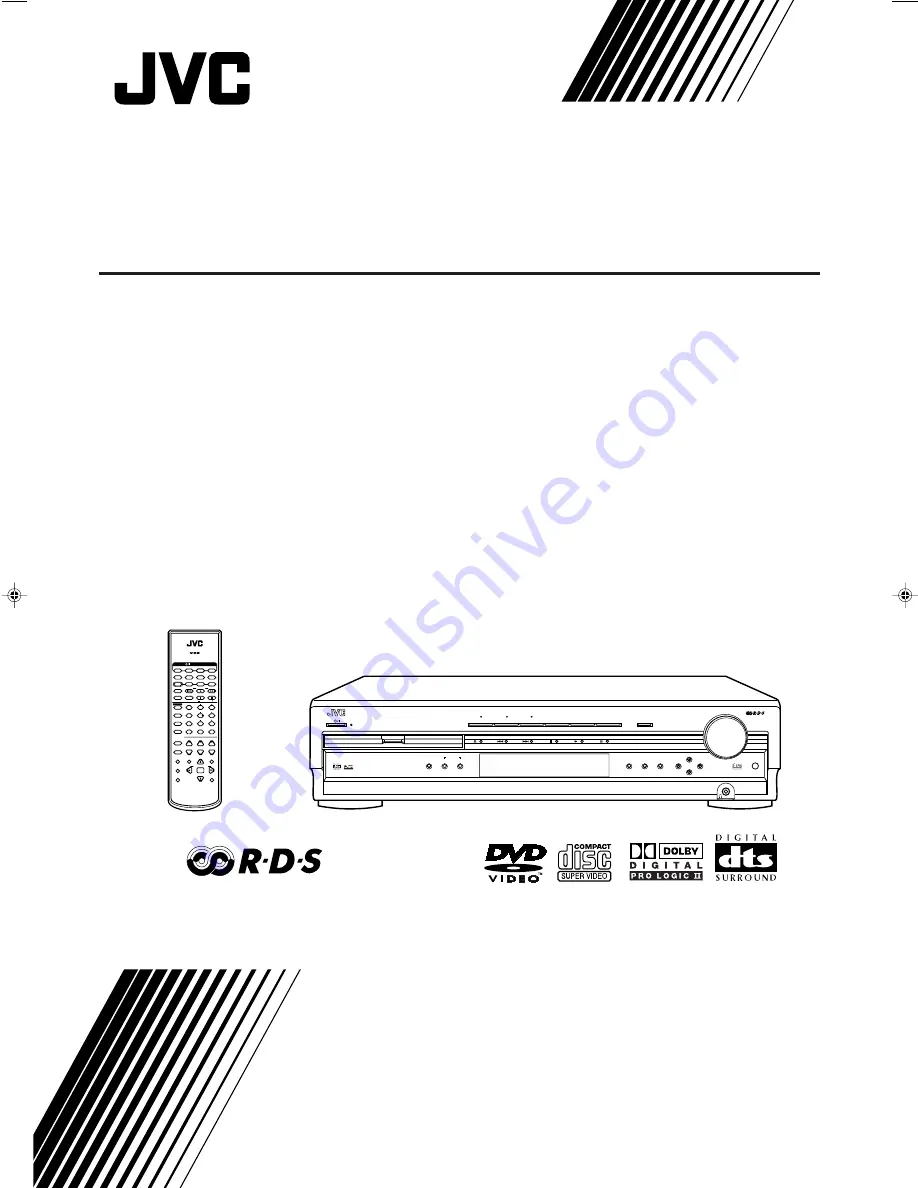
HOME CINEMA DVD/CD CONTROL CENTER
RX-DV3RSL
TV DIRECT
MASTER VOLUME
DVD/SUPER VCD/VCD/CD
INPUT ATT.
REC MODE
INPUT
ANALOG/DIGITAL
COMPACT
SUPER VIDEO
SETTING
ADJUST
MEMORY
R X - D V 3 R H O M E C I N E M A D V D / C D C O N T R O L C E N T E R
ON/OFF
SURROUND
MODE
FM/AM
TAPE/CDR
SOURCE NAME
TV
VCR
STB
DVD
CONTROL
STANDBY
STANDBY/ON
+
–
+
–
2
3
1
5
6
4
8
9
7
VFP
10/0
+10
100+
TV RETURN
REMOTE CONTROL
RM-SRXDV3R
VCR
STB
DVD
TV/VIDEO
TV DIRECT
REW/
(
TUNING
9
/FF
REPEAT
SLEEP
VCR
STB
TV
AUDIO
TAPE
TV
CDR
FM/AM
FM MODE
STROBE
EFFECT
TV/STB CH
ANALOG
/DIGITAL
TEST
AUDIO
INPUT
SUBTITLE
CHOICE
ENTER
ON SCREEN
ANGLE
ZOOM
DIGEST
TOP MENU
MENU
RETURN
DISPLAY
SURR ON/OFF
SURR MODE
DIMMER
MUTING
TV VOL
TA/NEWS/INFO
PTY SEARCH
VOLUME
– SUB
HOME CINEMA
DVD/CD CONTROL CENTER
SOUND
PROGRESSIVE
STANDBY/ON
CENTER
REAR·L
REAR·R
PTY
PTY
9
(
RX-DV3RSL[B]cover_f.pm5
02.6.6, 2:43 PM
1


