


For Customer Use:
Enter below the Model No. and Serial
No. which are located either on the rear,
bottom or side of the cabinet. Retain this
information for future reference.
Model No.
Serial No.
LVT0396-005A
[E]
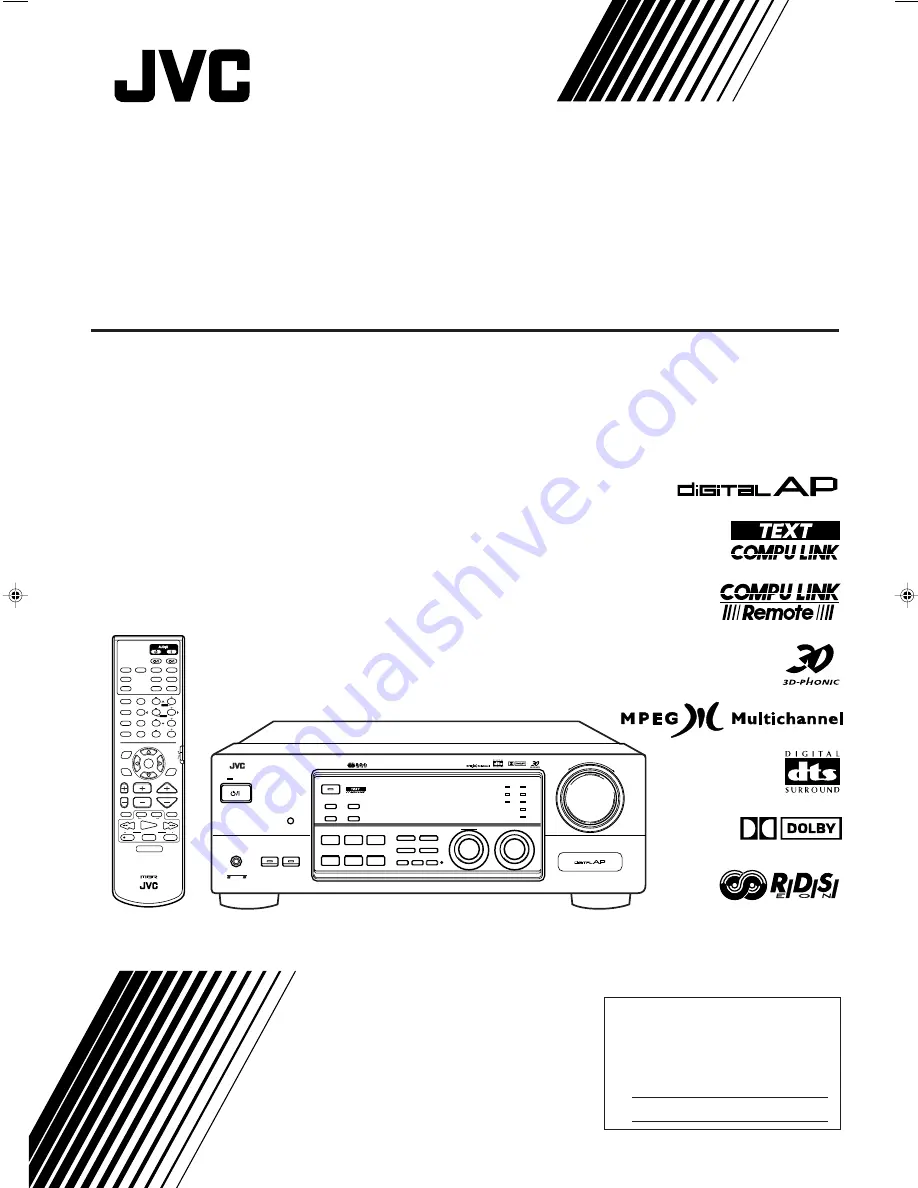
RX-7000RBK
INSTRUCTIONS
BEDIENUNGSANLEITUNG
MANUEL D’INSTRUCTIONS
GEBRUIKSAANWIJZING
MANUAL DE INSTRUCCIONES
ISTRUZIONI
AUDIO/VIDEO CONTROL RECEIVER
AUDIO/VIDEO-RECEIVER MIT STEUEREINHEIT
AMPLI/TUNER DE COMMANDE AUDIO/VIDEO
GEINTEGREERDE AUDIO/VIDEO-VERSTERKER
RECEPTOR DE CONTROL DE AUDIO/VÍDEO
RICEVITORE DI CONTROLLO AUDIO/VIDEO
RM-SRX7000R REMOTE CONTROL
CONTROL
CHANNEL
VOLUME
TV VOL
STOP
PAUSE
FF/
/REW
VCR
TV/VIDEO
TAPE/MD
MUTING
REC
PLAY
DVD
DVD MUILTI
CD
TAPE/MD
TV/DBS
PHONO
FM/AM
VCR
ANALOG/DIGITAL
SURROUND
CENTER
SURROUND
TEST
REAR-L
CD-DISC
MODE
ON/OFF
EFFECT
REAR-R
SOUND
SEA MODE
SUBWOOFER
RETURN
SET
MENU
AUDIO/
TV/VCR
EXIT
TEXT
DISPLAY
SLEEP
1
2
3
4
5
6
7
/P
8
9
10
0
+10
100+
FM MODE
CATV/DBS
MENU
MENU
ENTER
ENTER
TV/CATV/DBS
VCR
PTY SEARCH
PTY
PTY
–
+
RX-7000R AUDIO/VIDEO CONTROL RECEIVER
STANDBY
SPEAKERS
1
2
PHONES
SURROUND ON/OFF
DSP MODE
BALANCE/SURROUND
ADJUST
SEA MODE
SEA ADJUST
SETTING
MULTI JOG
MASTER VOLUME
SOURCE SELECTOR
THEATER
LIVE CLUB
DANCE CLUB
HALL
PAVILION
INPUT
ANALOG/DIGITAL
FM/AM TUNING
TUNER PRESET
TUNER/SEA MEMORY
FM MODE
DVD
TV SOUND/DBS
PHONO
TAPE/MD
VCR
FM
AM
CD
SOUND SELECT
INPUT ATT.
BASS BOOST ONE TOUCH OPERATION
SOURCE NAME
COMPULINK
Remote
D I G I T A L
ENHANCED COMPULINK CONTROL SYSTEM
PTY SEARCH
DISPLAY MODE
EON
TA/NEWS/INFO
STANDBY/ON
D I G I T A L
RX-7000R[E]COVER/f
00.4.25, 0:01 PM
1


