


INSTRUCTIONS
PU30425-1939
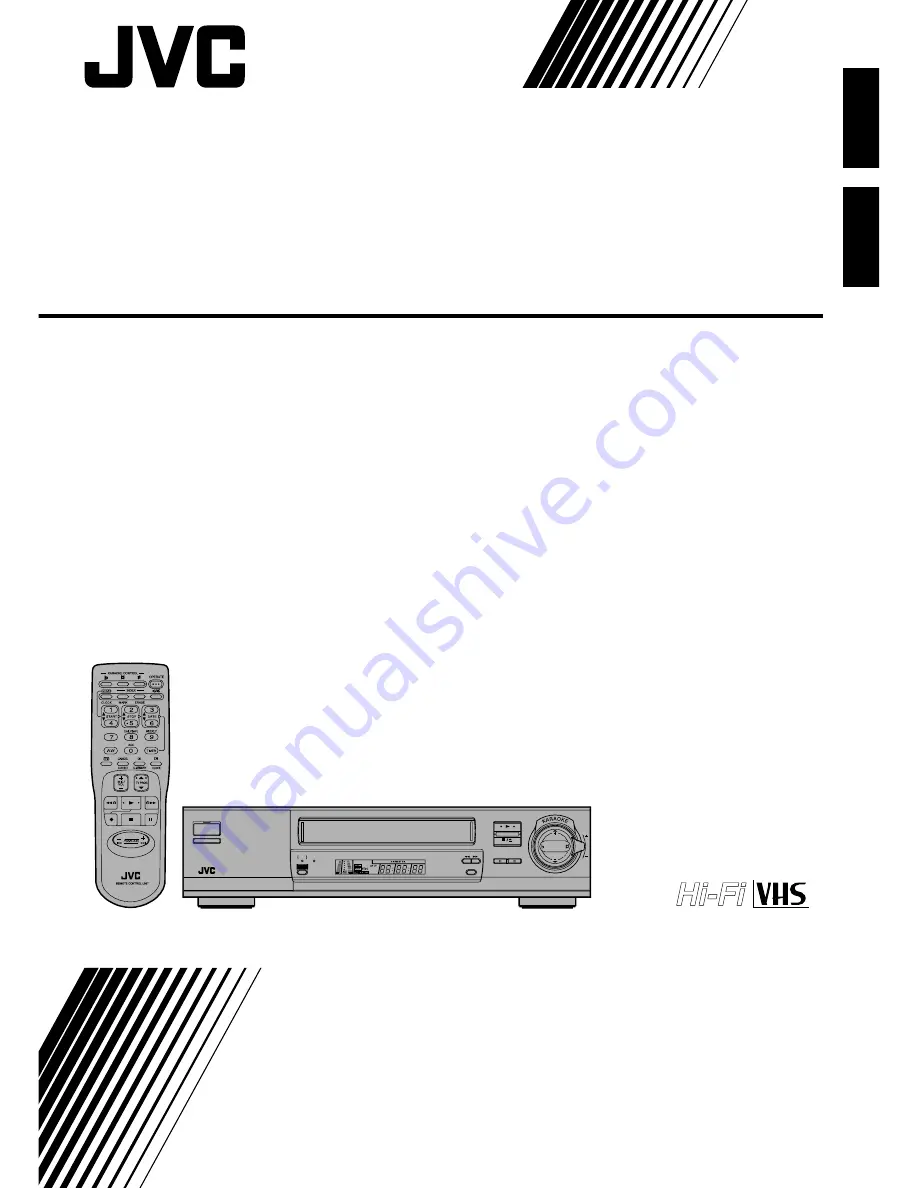
HR-J83MS
VIDEO CASSETTE RECORDER
ENGLISH
PAL NTSC
REC
WIRELESS
MIC
MIC
1/2
SEARCH
SYSTEM
SP/LP/EP
COLOUR
SYSTEM
CH SET
SINGING AND
RECORDING
AUDIO
MONITOR
OPERATE
TIMER
MIC
2
1
STORE
OK
KEY CONTROL
ECHO
TV PROG.
ECHO
TV PROG.
MIC
VOLUME
AUTO SP/LP
TIMER
WIRELESS
MIC
BLANK
SEARCH
SYSTEM
OPERATE
TIMER
PULL-OPEN
WIDE
QUALITY


