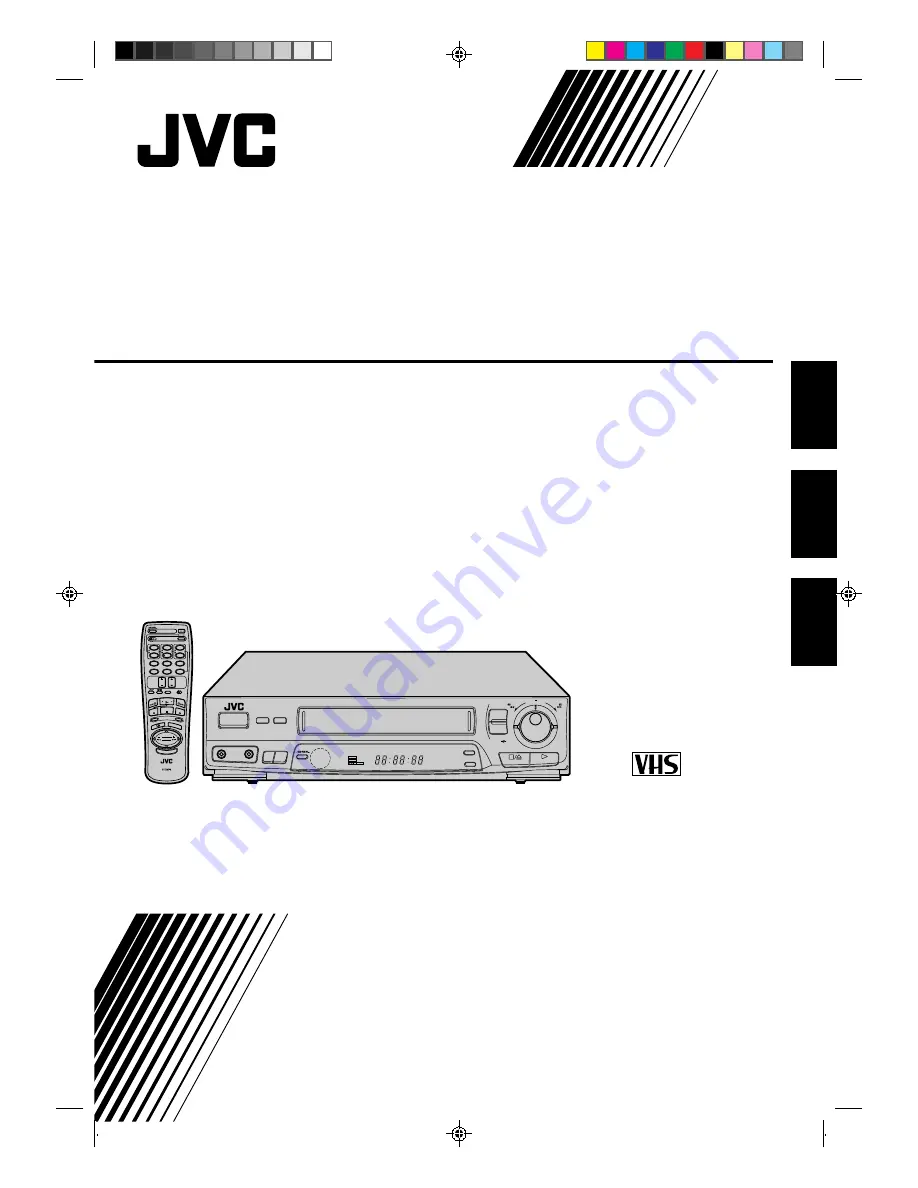
background image

HR-J439EE

MAGNETOWID KASET VIDEO

VIDEO PŘEHRÁVAČ

VIDEO CASSETTE RECORDER

INSTRUCTIONS

POKYNY

INSTRUKCJA

PU30425-1948

PAL NTSC

SCE

NE FI

NDER

DISPLA

Y

OPERATE

PROG.

PLAY

STOP

CLOCK

DAILY (M-F)

AUX

C.RESET

CANCEL

TV

VOL.

TV

PROG.

TV/VIDEO

TV

VCR

TIMER

WEEKLY

A

1

2

4

5

3

6

8

0

7

9

B

MULTI BRAND

REMOTE CONTROL UNIT

REW

REC

FF

PAUS

E

PUSH JOG

START

STOP

DATE

OK

/C.MEM

ORY

TV VOL.

FF

REW

STORE

OK

SHUTTLE

AUTO SP / LP

TIMER

CHSET

TIMER

SCENE FINDER

SP/LP/EP

VIDEO

AUDIO

OPERATE

COLOUR
SYSTEM

TV PROG /

JOG

6

q

R E C

TIMER

PLAY

NTSC

M

SP LP

ENGLISH

ČESKY

POLSKI

Summary of Contents for HR-J439EE

Page 1: ... CLOCK DAILY M F AUX C RESET CANCEL TV VOL TV PROG TV VIDEO TV VCR TIMER WEEKLY A 1 2 4 5 3 6 8 0 7 9 B MULTI BRAND REMOTE CONTROL UNIT REW REC FF PAUSE PUSH JOG START STOP DATE OK C MEMORY TV VOL FF REW STORE OK SHUTTLE AUTO SP LP TIMER CHSET TIMER SCENE FINDER SP LP EP VIDEO AUDIO OPERATE COLOUR SYSTEM TV PROG JOG 6 q REC TIMER PLAY NTSC M SP LP ENGLISH ČESKY POLSKI ...

Page 2: ...s precautions on this page and page 31 before installing or operating the recorder n It should be noted that it may be unlawful to re record pre recorded tapes records or discs without the consent of the owner of copyright in the sound or video record ing broadcast or cable programme and in any literary dramatic musical or artistic work embodied therein The OPERATE button does not completely shut ...

Page 3: ... of the recorder and the TV s aerial terminal AV CONNECTION To Connect To A TV With AV Input Terminals a Connect the aerial recorder and TV as per RF CONNECTION b Connect an optional AV cable between the AUDIO OUT and VIDEO OUT connectors on the rear panel of the recorder and the TV s AV IN terminals CONNECT RECORDER TO MAINS 4 Plug the end of the mains power cord into a mains outlet It s essentia...

Page 4: ...Back of recorder Tune The TV To Your Video Recorder The video recorder sends picture and sound signals via the RF connecting cable to your TV on UHF channel 36 TURN ON THE RECORDER 1 Press OPERATE SELECT OUTPUT MODE 2 Set the TEST switch on the back of the recorder to ON SET TV CHANNEL 3 Set your TV to the video channel UHF channel 36 Two white bars appear on screen vertically Tune the TV until th...

Page 5: ...cture System indicator q6 PR 12 SP 23 59 PAL 31 12 96 B E S T M 9 59 59 0 8 2 7 1 Turn on the TV and select the VIDEO channel or AV mode INITIAL SETTINGS 3 10 5 4 1 2 4 5 3 6 8 0 7 9 OPERATE OK OSD TV PROG 5 TURN ON THE RECORDER 1 Press OPERATE SELECT LANGUAGE 2 Press OSD The Language screen appears Place the pointer next to the language of your choice by pressing TV PROG 5 then press OK to enter ...

Page 6: ...to initiate Auto Channel Search SET DESIRED CHANNEL 5 The following screen appears when a station is detected To store the detected station place the pointer next to STORE by turning the TV PROG dial then press OK If you don t want to store the station turn the TV PROG dial to place the pointer next to CONTINUE then press OK Auto Channel Search will start resume The blueback screen and the TV pict...

Page 7: ... OPERATE ACCESS CHANNEL SET MODE SELECT SCREEN 2 Press and hold CH SET for more than 2 seconds The Channel Set Mode Select screen appears SELECT MODE 3 Turn the TV PROG dial to place the pointer next to DELETE then press OK SELECT CHANNEL 4 Turn the TV PROG dial until the position number of the channel you wish to delete appears If the on screen display is hard to read refer to the recorder s disp...

Page 8: ...OK SELECT CHANNEL 4 Turn the TV PROG dial so that the position number of the channel you want to fine tune appears then press OK PERFORM TUNING 5 Turn the TV PROG dial until the picture becomes clearer then press STORE To fine tune another channel press OK and repeat steps 4 5 RETURN TO NORMAL SCREEN 6 Press CH SET TV PROG 1 STORE STORE TV PROG5 FINE TUNING TV PROG FINE TUNING CH SET EXIT 1 2 4 5 ...

Page 9: ... Use NUMBER key 3 5 or 6 to set the year RETURN TO NORMAL SCREEN 7 Press CLOCK TIMER PROGRAMMING CLOCK SET TV PROG5 CANCEL EXIT Turn on the TV and select the VIDEO channel or AV mode Use the buttons on the remote control for this procedure 1 2 4 5 3 6 8 0 7 9 OPERATE C L O C K TV PROG OK NUMBER5 6 q OPERATE CLOCK SET TIME DATE YEAR 0 00 01 01 00 1 6 PROG CLOCK EXIT To Make Corrections Perform step...

Page 10: ...rt point press REW or turn the SHUTTLE ring to the left and release it To go forward press FF or turn the SHUTTLE ring to the right and release it START PLAYBACK 3 Press PLAY B E S T appears on screen Z pg 16 STOP PLAYBACK 4 Press STOP on the remote or STOP EJECT on the recorder s front panel Then press STOP EJECT to remove the cassette Turn on the TV and select the VIDEO channel or AV mode 6 q 1 ...

Page 11: ...rse high speed search For forward search with a visible picture turn the SHUTTLE ring all the way to the right and release it within 1 second For reverse search with a visible picture turn the SHUTTLE ring all the way to the left and release it within 1 second OR Press FF for forward high speed search or REW for reverse high speed search For short searches press and hold FF or REW for over 2 secon...

Page 12: ...ke sure that the recorder is off and that the Timer mode is disengaged Turn on the TV and select the VIDEO channel or AV mode ACTIVATE INSTANT REVIEW 1 Press REVIEW The recorder power comes on and the recorder searches for the index code indicating the start of the last timer recorded programme Once it s found playback begins automatically If you have for example 3 programmes and wish to watch the...

Page 13: ...winds or fast forwards and stops at about 0 00 00 automatically To cancel Counter Memory press C MEMORY again REMOVE POWER SUPPLY 1 Unplug the mains power cord from the mains outlet SET A B CODE SWITCH 2 Set to B RE SUPPLY POWER 3 Plug the mains power cord back into the mains outlet TURN THE RECORDER ON 4 Press OPERATE on the remote control The recorder will now only respond to B code signals NOTE...

Page 14: ...lect a channel SET TAPE SPEED 3 Press SP LP EP Check the SP LP indicator on the recorder display panel to confirm the selected tape speed EP is displayed on screen only START RECORDING 4 Press and hold RECORD and PLAY on the remote control or press RECORD on the recorder PAUSE RESUME RECORDING 5 Press PAUSE Press PLAY to resume recording STOP RECORDING 6 Press STOP on the remote control or STOP EJ...

Page 15: ...ounter RESET COUNTER 2 Press C RESET before starting recording or playback The counter is reset to 0 00 00 and shows the exact elapsed time as the tape runs START RECORDING 1 Press RECORD on the recorder ENGAGE ITR MODE 2 Press RECORD again REC blinks and 0 30 appears on the front display panel SET RECORDING DURATION 3 If you want to record for more than 30 minutes press RECORD to extend the time ...

Page 16: ...power comes on automatically ACCESS MODE SELECT SCREEN 2 Press OSD and the Language screen appears To change the language Z pg 5 Press OK on the remote control CONFIRM B E S T STATUS 3 The default setting is ON If this is the case go to step 4 If not press TV PROG to place the pointer next to B E S T then press OK to set to ON CLOSE MODE SELECT SCREEN 4 Press OSD START RECORDING 5 Press and hold R...

Page 17: ...tomatically checks the condition of the tape and after approximately 7 seconds re enters RECORD PAUSE 2 Press PLAY to start recording If you want to bypass the B E S T system and begin recording immediately set B E S T to OFF in step 3 on page 16 Playback The recorder assesses the quality of the tape once you initiate playback When watching a tape recorded with B E S T set to ON it is recommended ...

Page 18: ...t to TIMER PROGRAM MING then press OK on the remote control ENTER PROGRAMME START TIME 3 Press NUMBER key 1 5 or 4 to enter the time you want recording to start Press and hold either button to delay or advance the time by 30 minutes If the Programme is already used press PROG until a vacant Programming screen appears ENTER PROGRAMME STOP TIME 4 Press NUMBER key 2 5 or 5 to enter the time you want ...

Page 19: ...s TIMER to engage the recorder s timer mode ENGAGE AUTO SP LP TIMER 1 Press AUTO SP LP TIMER on the recorder front panel The button lights orange For Example Recording a PAL broadcast program of 210 minutes in length onto a 180 minute tape Make sure you press AUTO SP LP TIMER before performing timer programming NOTES The Auto SP LP Timer feature is not available during ITR Instant Timer Recording ...

Page 20: ...ealer NTSC tapes being played back in the NTSC PAL mode Z p 23 cannot be dubbed to another recorder When you dub an NTSC tape using your recorder as the playback deck select NTSC 3 58 or NTSC 4 43 with the COLOUR SYSTEM button Z p 22 1 2 4 5 3 6 8 0 7 9 NUMBER 0 TV PROG Another recorder Recorder Player Another recorder VIDEO CHANNEL TV Receiver TV Receiver RF Cable provided Player Your recorder Re...

Page 21: ...ART CAMCORDER 3 Engage its Play mode START RECORDER 4 Engage its Record mode NOTE Connections made to the front panel AUDIO VIDEO input connectors automatically override those made to the rear panel AUDIO VIDEO input connectors IMPORTANT To edit both the player and the recorder must be of the same colour system Press your recorder s COLOUR SYSTEM button to select the appropriate colour system PAL ...

Page 22: ...an additional mode which allows NTSC tapes to be played back and viewed on PAL TVs NOTES In the AUTO mode NTSC signals will be automatically recorded as NTSC 3 58 In the AUTO mode NTSC tapes will be played back as NTSC 3 58 SECAM signals will always be recorded as MESECAM Select the AUTO or the MESECAM mode when recording SECAM signals When playing back a SECAM tape select the AUTO or the MESECAM ...

Page 23: ...rrected if the TV does not have a V HOLD control During search still or frame by frame playback the picture will be distorted and there may be a loss of colour ATTENTION When this recorder is connected to a multi system TV the audio signal may not be heard or may be noisy if the colour system select switch of the TV is adjusted to the AUTO position In such a case change the setting of the colour s...

Page 24: ...l Your TV Using Addi tional Buttons The NUMBER keys on the remote can also be used to select the TV s channel by setting the remote control to the TV mode 1 Set the TV VCR switch to TV 2 Use the NUMBER keys and the DIGIT ENTRY button the PUSH JOG button the DISPLAY button or the OK button to select the TV s channel With televisions under Code 01 03 04 06 07 10 or 11 the DIGIT ENTRY button correspo...

Page 25: ...ack picture has a loss of colour 8 No sound accompanies the playback picture POSSIBLE CAUSE If you re using the RF OUT connec tion the TV receiver s channel selector is set to the wrong video channel If you re using the AV connection the TV receiver is not set to the AV mode This is normal The automatic tracking mode is engaged The automatic tracking mode is engaged The video heads may be dirty Th...

Page 26: ...ogrammed data and re program as necessary then press TIMER again The programme may not have been recorded in its entirety Next time make sure you have enough time on the tape to record the entire programme SYMPTOM 1 Timer recording won t work 2 On screen timer programming is not possible 3 TIMER and on the display panel won t stop blinking 4 The cassette is automatically ejected and TIMER and on t...

Page 27: ...rding the end of the recording before the pause is overlapped by the beginning of the continuation of recording Why does this happen A This is normal It reduces distortion at the pause and resume points Q Can the video recorder indefinitely remain in the Record Pause mode A No The video recorder goes to its Stop mode auto matically after 5 minutes to protect the heads Q What happens if the tape ru...

Page 28: ...per VHS cassettes However it will record and play back regular VHS signals only It is not possible to play back a recorded Super VHS tape 1 OPERATE Button Z pg 4 2 TIMER Button Z pg 19 3 SCENE FINDER Button Z pg 12 4 Cassette Loading Slot 5 RECORD Button Z pg 14 6 PAUSE Button Z pg 11 7 TV PROG Dial Z pg 6 JOG Dial Z pg 11 8 SHUTTLE Ring Z pg 10 9 VIDEO and AUDIO Input Connectors Z pg 21 0 COLOUR ...

Page 29: ... 3 NTSC Indicator Z pg 22 4 Tape Speed Indicators Z pg 14 REAR VIEW ANT IN RF OUT 32 40 PAUSE TEST OFF ON OUT AUDIO VIDEO IN OUT IN SYSTEM K G 1 3 4 6 7 8 2 9 5 1 Mains Power Cord Z pg 3 2 AUDIO and VIDEO IN Connectors Z pg 20 3 AUDIO and VIDEO OUT Connectors Z pg 3 4 ANT IN Connector Z pg 3 5 Remote PAUSE Connector Z pg 21 6 TEST Switch Z pg 4 7 SYSTEM Switch Z pg 4 8 RF OUT Connector Z pg 3 9 RF...

Page 30: ...ATE Button Z pg 4 PROG Button Z pg 18 CLOCK Button Z pg 9 DATE 5 Buttons Z pg 9 DAILY Button Z pg 19 WEEKLY Button Z pg 19 q TIMER Button Z pg 19 w AUX Button Z pg 20 e TV PROG 5 Buttons Z pg 5 r TV VCR Switch Z pg 24 t TV VIDEO Button Z pg 24 y Fast Forward FF Button Z pg 10 u PAUSE Button Z pg 11 i STOP Button Z pg 10 o DISPLAY Button Z pg 15 p OK Button Z pg 5 C MEMORY Button Z pg 13 Installing...

Page 31: ...unit R6 UM 3 battery x 2 Specifications shown are for SP mode unless otherwise specified Design and specifications subject to change without notice Precautions Failure to heed the following precautions may result in damage to the recorder remote control or video cassette 1 DO NOT place the recorder in an environment prone to extreme temperatures or humidity in direct sunlight in a dusty environmen...

Page 32: ...HR J439EE COPYRIGHT 1996 VICTOR COMPANY OF JAPAN LTD VICTOR COMPANY OF JAPAN LIMITED EE Printed in Japan 1096YOV UN VP ...

Reviews: