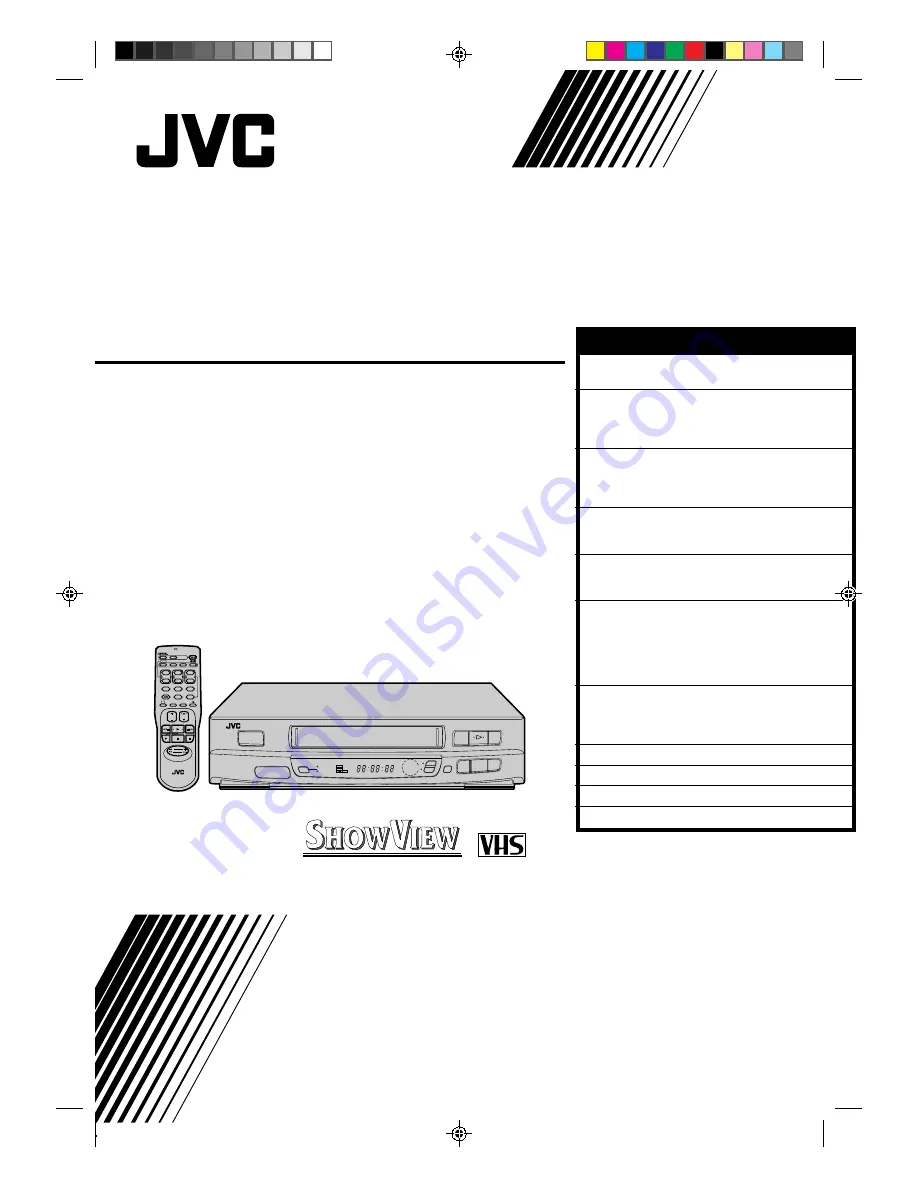
background image

HR-J231SA

VIDEO CASSETTE RECORDER

INSTRUCTIONS

PU30425-1932-1

PAL

OPERATE

PROG.

TV/VIDEO

PICTURE

DISPLAY

1

2

3

4

5

6

7

8

9

DAILY(M-F)

WEEKLY

ADD

AUX

START

TIMER

0

CANCEL

C.RESET

VOL.

TV PROG.

REMOTE CONTROL UNIT

OK

TV

C.MEMORY

CLOCK

Press and hold  TV  button while pressing
OPERATE, TV PROG.+ / –, TV/ VIDEO

STOP

DATE

PUSH JOG

INTELLIGENT

PICTURE

AUTO SP/LP

TIMER

2

2

q

OK

STORE

CH

SET

5

/

8

OPERATE

TV

PROG

R E C

TIMER

PLAY

M

SP LP

6

CONTENTS

SAFETY FIRST

2

Safety Precautions ................................... 2

INSTALLING YOUR NEW RECORDER

3

Basic Connections ................................... 3
Tune The TV To Your Video Recorder ...... 4
Select Television System .......................... 4

INITIAL SETTINGS

5

On-Screen Displays ................................ 5
Tuner Set ................................................. 6
Clock Set ................................................. 9

PLAYBACK

10

Basic Playback ...................................... 10
Playback Features .................................. 11

RECORDING

14

Basic Recording .................................... 14
Recording Features ................................ 15

TIMER RECORDING

16

ShowView Setup ................................... 16
ShowView Timer Programming ............. 18
Regular Timer Programming .................. 20

Check And Cancel Programmes .......... 21
Auto SP/LP Timer ................................ 21

EDITING

22

Edit To Or From Another Video
Recorder ............................................... 22
Edit From A Camcorder ......................... 23

TROUBLESHOOTING

24

QUESTIONS AND ANSWERS

26

SPECIFICATIONS

27

INDEX

28

Summary of Contents for HR-J231SA

Page 1: ...NTENTS SAFETY FIRST 2 Safety Precautions 2 INSTALLING YOUR NEW RECORDER 3 Basic Connections 3 Tune The TV To Your Video Recorder 4 Select Television System 4 INITIAL SETTINGS 5 On Screen Displays 5 Tuner Set 6 Clock Set 9 PLAYBACK 10 Basic Playback 10 Playback Features 11 RECORDING 14 Basic Recording 14 Recording Features 15 TIMER RECORDING 16 ShowView Setup 16 ShowView Timer Programming 18 Regula...

Page 2: ...ssette 1 DO NOT place the recorder in an environment prone to extreme temperatures or humidity in direct sunlight in a dusty environment in an environment where strong magnetic fields are generated on a surface that is unstable or subject to vibration 2 DO NOT block the recorder s ventilation openings 3 DO NOT place heavy objects on the recorder or remote control 4 DO NOT place anything which migh...

Page 3: ...r and the TV s aerial terminal AV CONNECTION To Connect To A TV With AV Input Terminals a Connect the aerial recorder and TV as per RF CONNECTION b Connect an optional AV cable between the AUDIO OUT and VIDEO OUT connectors on the rear panel of the recorder and the TV s AV IN terminals CONNECT RECORDER TO MAINS 4 Plug the end of the mains power cord into a mains outlet It s essential that your vid...

Page 4: ... to the channel designated for use with a video recorder or to a spare channel if there is not a specified video channel on your TV RESET OUTPUT MODE 4 Return the TEST switch to OFF NOTES If CH36 is occupied by a local station adjust the RF output channel adjustment screw to use another channel between CH32 and CH40 instead If some interference noise is continually seen on the screen consult your ...

Page 5: ...irection 8 Tape position indicator Z pg 12 9 Counter display including Counter Memory indicator q6 PR 12 SP 23 59 31 12 96 M 9 59 59 0 7 2 5 6 1 Turn on the TV and select the VIDEO channel or AV mode 8 INITIAL SETTINGS 3 9 4 2 2 q 5 8 6 1 2 3 4 5 6 7 8 9 0 OPERATE OPERATE TV PROG 5 O K OSD TURN ON THE RECORDER 1 Press OPERATE ACCESS O S D SET SCREEN 2 Press OSD The O S D On Screen Display Set scre...

Page 6: ...e Band Select screen appears SELECT BAND 4 Press TV PROG 5 to place the pointer next to the band of your choice then press OK to initiate Auto Channel Search SET DESIRED CHANNEL 5 The following screen appears when a station is detected To store the detected station place the pointer next to STORE by pressing TV PROG 5 then press OK If you don t want to store the station press TV PROG 5 to place th...

Page 7: ... ACCESS CHANNEL SET MODE SELECT SCREEN 2 Press and hold CH SET for more than 2 seconds The Channel Set Mode Select screen appears SELECT MODE 3 Press TV PROG 5 to place the pointer next to DELETE then press OK SELECT CHANNEL 4 Press TV PROG 5 until the position number of the channel you wish to delete appears If the on screen display is hard to read refer to the recorder s display panel DELETE CHA...

Page 8: ...K SELECT CHANNEL 4 Press TV PROG 5 so that the position number of the channel you want to fine tune appears then press OK PERFORM TUNING 5 Press TV PROG 5 until the picture becomes clearer then press STORE To fine tune another channel press OK and repeat steps 4 5 RETURN TO NORMAL SCREEN 6 Press CH SET TV PROG 1 STORE STORE TV PROG5 FINE TUNING TV PROG FINE TUNING CH SET EXIT 1 2 3 4 5 6 7 8 9 0 2...

Page 9: ...1 5 or 4 to set the time Press and hold either button to delay or advance the time by 30 minutes SET DATE 5 Use NUMBER key 2 5 or 5 to set the date Press and hold either button to change the date by 15 days SET YEAR 6 Use NUMBER key 3 5 or 6 to set the year RETURN TO NORMAL SCREEN 7 Press CLOCK To Make Corrections Perform steps 1 3 to call up the Clock Set screen use NUMBER keys 1 6 to make the co...

Page 10: ...ROGRAMME START POINT 2 If the tape is advanced past the start point press REW To go forward press FF START PLAYBACK 3 Press PLAY STOP PLAYBACK 4 Press STOP on the remote or STOP EJECT on the recorder s front panel Then press STOP EJECT to remove the cassette Turn on the TV and select the VIDEO channel or AV mode 2 2 q 5 8 6 1 2 3 4 5 6 7 8 9 0 P L A Y Usable cassettes Compact VHS camcorder recordi...

Page 11: ...ing still picture press and hold PAUSE for 2 seconds then release Press and release again to return to still picture OR During still picture press and hold PUSH JOG or Release to return to still picture To resume normal playback press PLAY Variable Speed Search ACTIVATE VARIABLE SPEED SEARCH 1 During playback press PUSH JOG or The more times you press the faster the playback picture moves To decre...

Page 12: ...es repeatedly Repeat Playback START PLAYBACK 1 Press PLAY ACTIVATE REPEAT PLAYBACK 2 Press PLAY and hold for over 5 seconds then release PLAY on the display panel blinks slowly The tape plays 20 times automatically and then stops STOP PLAYBACK 3 Press STOP at any time to stop playback NOTE Pressing PLAY REW FF or PAUSE also stops Repeat Playback Intelligent Picture To get a better picture when vie...

Page 13: ...rewinds or fast forwards and stops at about 0 00 00 automatically To cancel Counter Memory press C MEMORY again NTSC Playback Your video recorder is equipped with NTSC circuitry that can play back NTSC tapes LOAD A CASSETTE 1 Insert a cassette recorded in NTSC START PLAYBACK 2 Press PLAY Some TVs shrink the picture vertically and place black bars at the top and bottom of the screen This is not a m...

Page 14: ...h to record SET TAPE SPEED 3 Press SP LP Check the SP LP indicator on the recorder display panel to confirm the selected tape speed START RECORDING 4 Press and hold RECORD and PLAY on the remote control or press RECORD on the recorder PAUSE RESUME RECORDING 5 Press PAUSE Press PLAY to resume recording STOP RECORDING 6 Press STOP on the remote control or STOP EJECT on the recorder Then press STOP E...

Page 15: ...R 2 Press C RESET before starting recording or playback The counter is reset to 0 00 00 and shows the exact elapsed time as the tape runs START RECORDING 1 Press RECORD on the recorder ENGAGE ITR MODE 2 Press RECORD again REC blinks and 0 30 appears on the front display panel SET RECORDING DURATION 3 If you want to record for more than 30 minutes press RECORD to extend the time Each press extends ...

Page 16: ...urposes of ShowView programming Check the chart in your TV listings and see if the Guide Prog numbers listed for the stations you receive are the same as the channel number on which each is received by your recorder If the numbers match go directly to ShowView Timer Programming Z pg 18 If the numbers are different and you want to be able to timer record programs from those stations you have to inf...

Page 17: ...ROG START SETTING 3 Press OK The GUIDE PROG number starts blinking INPUT GUIDE PROG NUMBER 4 Press TV PROG 5 to input the Guide Prog number then press OK The TV PROG number starts blinking INPUT RECEIVING CHAN NEL TV PROG NUMBER 5 Press TV PROG 5 to input the TV Prog number then press OK Repeat steps 3 5 as necessary RETURN TO NORMAL SCREEN 6 Press CH SET ...

Page 18: ...ED 4 Press SP LP RETURN TO NORMAL SCREEN 5 Press OK Repeat steps 1 5 for each additional programmes ENGAGE TIMER MODE 6 Press TIMER SHOWVIEW 0 9 PROG CLOCK MENU SHOWVIEW 12345678 0 9 P 1 SHOWVIEW 12345678 START STOP 1 23 22 59 WEEKLY SP DATE TV PROG 25 12 29 OK To Delay The Stop Time press ADD after pressing OK in step 3 Each time you press the Stop time is delayed by 5 minutes meaning that 5 minu...

Page 19: ...ty your recorder disables all other functions while in the Timer mode If you want to use the recorder but its Timer mode is engaged press TIMER and all other functions are operable To re engage the timer press TIMER In case of a power failure after programming the recorder s memory backup keeps your selections for 18 hours Backup time becomes shorter as the unit s internal parts become old When th...

Page 20: ...RAMME START TIME 3 Press NUMBER key 1 5 or 4 to enter the time you want recording to start Press and hold either button to delay or advance the time by 30 minutes If the Programme is already used press PROG until a vacant Programming screen appears ENTER PROGRAMME STOP TIME 4 Press NUMBER key 2 5 or 5 to enter the time you want recording to stop Press and hold either button to delay or advance the...

Page 21: ... to normal screen Press TIMER to engage the recorder s timer mode Auto SP LP Timer If when recording in SP mode there is not enough tape to record the entire programme the recorder automatically switches to LP mode to allow complete recording P1 START STOP 21 00 22 00 SP DATE TV PROG 25 12 1 1 6 TV PROG5 PROG CLOCK NEXT Check And Cancel Programmes ACCESS TIMER PROGRAM MING SCREEN 1 Perform steps 1...

Page 22: ...o recorder press NUMBER Key 0 or TV PROG AU will appear instead of a channel number START SOURCE PLAYER 3 Engage its Play mode START RECORDING DECK 4 Engage its Record mode NOTE All necessary cables can be obtained from your dealer 1 2 3 4 5 6 7 8 9 0 AV Cable not provided Another recorder Recorder AV Cable not provided VIDEO CHAN NEL Player Another recorder RF Cable provided VIDEO CHANNEL Your re...

Page 23: ...EO OUT connectors to the recorder s AUDIO IN and VIDEO IN connectors SET RECORDER S INPUT MODE 2 Press NUMBER key 0 AU appears in place of a channel number START CAMCORDER 3 Engage its Play mode START RECORDER 4 Engage its Record mode 1 2 3 4 5 6 7 8 9 0 Player Camcorder AUDIO IN VIDEO IN AV Cable not provided AUDIO OUT VIDEO OUT Recorder Your recorder NUMBER 0 ...

Page 24: ...g still play back 6 The playback picture is blurred or interrupted while TV broadcasts are clear POSSIBLE CAUSE If you re using the RF OUT connec tion the TV receiver s channel selector is set to the wrong video channel If you re using the AV connection the TV receiver is not set to the AV mode This is normal The automatic tracking mode is engaged The automatic tracking mode is engaged The video h...

Page 25: ...owView Setup and re perform the procedure Z pg 16 SYMPTOM 1 Timer recording won t work 2 On screen timer programming is not possible 3 TIMER and on the display panel won t stop blinking 4 The cassette is automatically ejected and TIMER and on the display panel won t stop blinking 5 TIMER blinks for 10 seconds and the Timer mode is disengaged 6 The cassette is automatically ejected the power shuts ...

Page 26: ...ing the end of the recording before the pause is overlapped by the beginning of the continuation of recording Why does this happen A This is normal It reduces distortion at the pause and resume points Q Can the video recorder indefinitely remain in the Record Pause mode A No The video recorder goes to its Stop mode auto matically after 5 minutes to protect the heads Q What happens if the tape runs...

Page 27: ... two head helical scan system Signal to noise ratio 45 dB Horizontal resolution 250 lines Frequency range 70 Hz to 10 000 Hz Input Output RCA connectors IN x 1 OUT x 1 SPECIFICATIONS TUNER TIMER TV channel storage capacity 48 positions AUX position AU Tuning system Voltage synthesized tuner Channel coverage VHF Low 42 153MHz High 153 470MHz UHF 470 870MHz Aerial output UHF channels 36 Adjustable 3...

Page 28: ...utton Z pg 6 5 Fast Forward FF Button Z pg 10 6 AUTO SP LP TIMER Button Z pg 21 7 AUTO SP LP TIMER Indicator Z pg 21 8 INTELLIGENT PICTURE Indicator Z pg 12 9 Display Panel Z pg 29 0 Infrared Beam Receiving Window TV PROG 5 Buttons Z pg 6 CH SET Button Z pg 6 RECORD Button Z pg 14 STOP EJECT Button Z pg 10 STORE Button Z pg 7 PAUSE Button Z pg 11 INTELLIGENT PICTURE AUTO SP LP TIMER 2 2 q OK STORE...

Page 29: ...LAY M SP LP 1 7 5 2 3 6 4 5 Cassette Loaded Mark 6 Counter Memory Indicator Z pg 13 7 Timer Indicator Z pg 18 1 PLAY Indicator Z pg 10 2 REC Indicator Z pg 14 3 Tape Speed Indicators Z pg 14 4 Clock Counter Channel Display Z pg 6 ...

Page 30: ...pg 13 y TV PROG 5 Buttons Z pg 5 u Fast Forward FF Button Z pg 10 i PAUSE Button Z pg 11 o STOP Button Z pg 10 Buttons shown in white can also be used to operate JVC TVs Installing Batteries 1 Open the battery compartment cover 2 Insert 2 R03 UM 4 size batteries provided in the correct directions 3 Replace the cover NOTE If for some reason the remote control doesn t work properly remove its batter...

Page 31: ...31 MEMO ...

Page 32: ...HR J231SA COPYRIGHT 1996 VICTOR COMPANY OF JAPAN LTD SA Printed in Japan 0796HOV UN VP VICTOR COMPANY OF JAPAN LIMITED ...

Reviews: