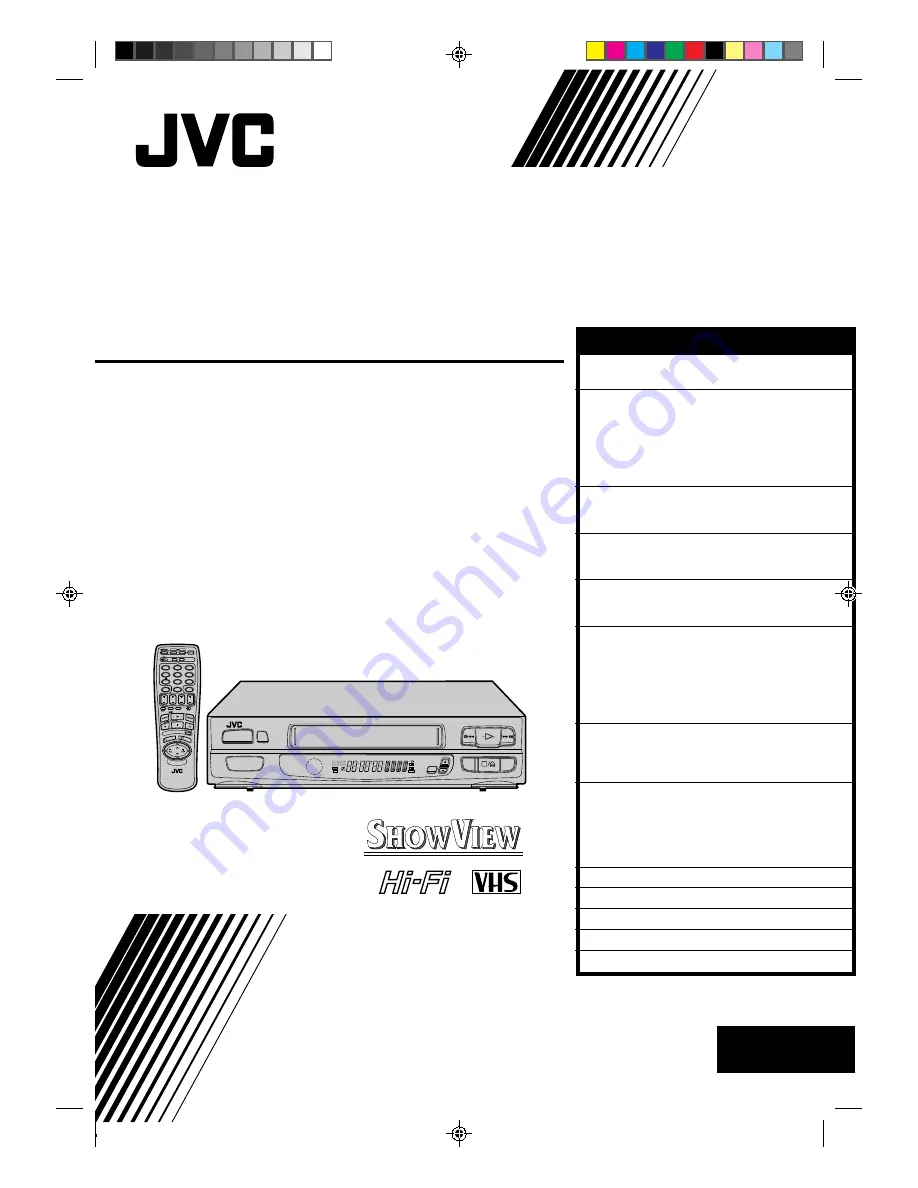
background image

HR-A637E/EH

VIDEO CASSETTE RECORDER

INSTRUCTIONS

PU30425-1859

PAL

PROG CHE

CK

TV VOL.

OPERATE

CLOCK

CH SET

DISPLAY

DAILY

AUX

ADD TIME

C.RESET

CANCEL

DATE

STOP

START

AUDIO MONITOR

(MONITOR)

TV/VIDEO

TV

VCR

TIMER

WEEKLY

A

1

2

4

5

3

6

8

0

7

9

B

PUSH JOG

TV

PROG.

PRO

G

OK

EXPRESS PROGRAMMING

STORE

2

1

3

q

6

TV PROG

SP/LP

TIMER

OPERATE

SP 
LP
EP

M

D

D

I T R

W

L R

NORM

VIDEO

CONTENTS

SAFETY FIRST

2

Safety Precautions ................................... 2

INSTALLING YOUR NEW RECORDER

3

Basic Connections ................................... 3
Tune The TV To Your Video Recorder ...... 3
Connecting/Using A Decoder
[A637EH only] ........................................ 4
Connecting/Using A Satellite Tuner ......... 5
Connecting/Using A Stereo System .......... 6

INITIAL SETTINGS

7

Tuner Set ................................................. 7
Clock Set ................................................. 8

PLAYBACK

10

Basic Playback ...................................... 10
Playback Features .................................. 11

RECORDING

14

Basic Recording .................................... 14
Recording Features ................................ 15

TIMER RECORDING

17

Information On ShowView .................... 17

Guide Prog. Number Set ..................... 17

ShowView Timer Recording .................. 19
Regular Timer Programming .................. 20

Check And Cancel Programmes .......... 21
PDC/VPS Recording ........................... 21

EDITING

22

Edit To Or From Another Video
Recorder ............................................... 22
Edit From A Camcorder ......................... 23

USING THE CONFIRMATION DISPLAY

24

Storing Channels Manually ................... 24
Delete A Channel .................................. 24
Change Station Channel Position .......... 24
Set Stations ............................................ 25
Fine-Tuning Channels Already Stored .... 25

TV STATION AND ID LIST

26

TROUBLESHOOTING

27

QUESTIONS AND ANSWERS

29

INDEX

30

SPECIFICATIONS

33

Unless otherwise indicated, the recorder
illustrations appearing in this instruction
manual are of the HR-A637EH.

Please find quick set up guide (3 pages) on the
rear at that instruction book.

EN

ENGLISH

Summary of Contents for HR-A637E

Page 1: ...Clock Set 8 PLAYBACK 10 Basic Playback 10 Playback Features 11 RECORDING 14 Basic Recording 14 Recording Features 15 TIMER RECORDING 17 Information On ShowView 17 Guide Prog Number Set 17 ShowView Timer Recording 19 Regular Timer Programming 20 Check And Cancel Programmes 21 PDC VPS Recording 21 EDITING 22 Edit To Or From Another Video Recorder 22 Edit From A Camcorder 23 USING THE CONFIRMATION DI...

Page 2: ... SHOCK HAZARD DO NOT EXPOSE THIS UNIT TO RAIN OR MOISTURE Safety Precautions n Only cassettes marked VHS can be used with this videorecorder n HQ VHS is compatible with existing VHS equipment n ShowView is a trademark applied for by Gemstar Develop ment Corporation The ShowView system is manufactured under licence from Gemstar Development Corporation PAL CAUTION n When you are not using the record...

Page 3: ...ect an optional SCART cable between the AV1 IN OUT socket on the rear panel of the recorder and the TV s 21 pin SCART connector c Set the RF TEST switch to OFF Before operating the recorder make sure the TV is set to the VIDEO or AV mode CONNECT RECORDER TO MAINS 4 Plug the end of the mains power cord into a mains outlet It s essential that your video recorder be properly connected Follow these st...

Page 4: ...channel between CH32 and CH40 instead If some interference noise is continually seen on the screen consult your JVC dealer SELECT INPUT MODE 1 Set the AV2 SELECT switch to DECODER CONNECT DECODER 2 Connect your recorder s AV2 IN DECODER connector to the decoder s Euroconnector using a 21 pin SCART cable SET TUNER 3 Follow the procedure starting on page 7 The AV2 IN DECODER connector can be used as...

Page 5: ...RE TO WATCH A SATELLITE PROGRAMME 3 Select the appropriate channel on the satellite tuner Then set the auxiliary mode by pressing NUMBER key 0 or TV PROG on the remote control until AU2 appears on the recorder s front display panel TV Receiver RF Cable provided TV Aerial Cable Decoder Satellite antenna Satellite tuner AV2 SELECT switch AV2 IN DECODER NOTE When connecting a satellite tuner together...

Page 6: ...h the connected stereo system turn the TV s volume down completely CAUTIONS This recorder has a dynamic range of more than 80 dB with regards to its Hi Fi audio capability It is recommended that you check the maximum level if you are going to listen to the Hi Fi audio signals through a stereo amplifier A sudden surge in the input level to the speakers may damage them Some speakers and televisions ...

Page 7: ...ET for more than 2 seconds AUTO appears on the front display panel ACCESS COUNTRY DIS PLAY 3 Press OK and the Country display appears on the front display panel SELECT COUNTRY 4 Press PUSH JOG fi to select your country s name The available country names appear in the following order If you selected BELG or SUIS above refer to INFORMATION at the end of this page START AUTO CHANNEL SET 5 Press OK an...

Page 8: ...ust Clock display and can be set ON or OFF the default setting is ON Press OK until the Just Clock setting begins blinking then press PUSH JOG fi to change the setting IMPORTANT If you turn off Just Clock off the accuracy of your recorder s built in clock may be reduced which could adversely effect timer recording Both Auto and Manual clock setting procedures begin from step 3 SET CLOCK AUTOMATICA...

Page 9: ...ck when set to ON enables adjustment of the recorder s built in clock every hour on the hour except for 11 o clock in the evening and midnight Just Clock is not effective when the recorder s power is on unless the recorder is tuned to the same channel position selected in the Just Clock display the recorder is in the Timer mode a difference of more than 3 minutes exists between the built in clock ...

Page 10: ...r is reset to 0 00 00 If the record safety tab has been removed playback begins automatically FIND PROGRAMME START POINT 2 If the tape is advanced past the start point press REW To go forward press FF START PLAYBACK 3 Press PLAY STOP PLAYBACK 4 Press STOP on the remote or STOP EJECT on the recorder s front panel Then press STOP EJECT to remove the cassette Compact VHS camcorder recordings can be p...

Page 11: ...LAY Slow Motion ACTIVATE SLOW MOTION PLAYBACK 1 During still picture press and hold PAUSE for 2 seconds then release Press and release again to return to still picture OR During still picture press and hold PUSH JOG or Release to return to still picture To resume normal playback press PLAY Variable Speed Search ACTIVATE VARIABLE SPEED SEARCH 1 During playback press PUSH JOG or The more times you p...

Page 12: ...automatically The front display panel tells you how many programmes have been recorded If you have for example 3 programmes REV 3 appears and blinks To watch the first of the 3 programmes press REVIEW three times The recorder searches and begins playback automatically You can access a programme as far as 9 index codes away from the current tape position NOTE Instant ReView is not possible while th...

Page 13: ...pond to A code signals You can easily modify your video recorder to respond to B code signals ACTIVATE INDEX SEARCH 1 Press PUSH JOG or or 1 or 1 is displayed on the display panel and search begins in the corresponding direction To access index codes 2 through 9 press PUSH JOG or repeatedly until the correct index number is displayed Ex To locate the beginning of B from the current position press ...

Page 14: ...f the station appears in the recorder s display panel for 5 seconds followed by the channel position number Only stations that appear in the Confirmation display will be displayed SET TAPE SPEED 3 Press SP LP Check the SP LP indicator on the recorder display panel to confirm the selected tape speed START RECORDING 4 Press and hold RECORD and PLAY on the remote control or press RECORD on the record...

Page 15: ...ilingual broadcasts possible To listen to a stereo programme press AUDIO MONITOR until L and R appear on the front display panel To listen to a bilingual programme press AUDIO MONITOR until either L or R appears on the front display panel as required To listen to the Standard regular monaural audio while receiving a NICAM broadcast press AUDIO MONITOR until NORM appears on the front display panel ...

Page 16: ...s easy method lets you record for from 30 minutes to 6 hours selectable in 30 min increments and shuts the recorder off after recording is finished START RECORDING 1 Press RECORD on the recorder ENGAGE ITR MODE 2 Press RECORD again ITR blinks and 0 30 appears on the front display panel SET RECORDING DURATION 3 If you want to record for more than 30 minutes press RECORD to extend the time Each pres...

Page 17: ...age 8 After setting the Guide Prog Numbers the station names and channel positions may be incorrect if you stored or skipped channels In this case re perform Guide Prog Number setting Guide Prog Number Set MAKE LIST OF STORED CHANNEL POSITIONS AND STATION NAMES 1 Ex ACCESS CH SET DISPLAY 2 Press and hold CH SET for over 2 seconds AUTO appears on the front display panel ACCESS GUIDE PROG SET DISPLA...

Page 18: ...number of a program that has already aired Err or appears on the front display for a few seconds Input the correct ShowView number Repeat steps 4 and 5 as necessary RETURN TO NORMAL DISPLAY 6 Press CH SET and selection is complete TIMER RECORDING cont Channel Position Guide Prog If you already know the Guide Prog number for a station 1 After step 3 press PUSH JOG The Guide Prog number begins blink...

Page 19: ...on the front display panel To record the extra programme you must first cancel any unnecessary programmes Z pg 21 ACCESS TIMER PROGRAM MING DISPLAY 1 Press PROG ENTER SHOWVIEW NUMBER 2 Press the NUMBER keys to enter the ShowView number of a programme you wish to record If you make a mistake press CANCEL and then input the correct number ACCESS PROGRAMME DISPLAY 3 Press OK and the Programme display...

Page 20: ...is recorder to timer record as many as 8 programmes If you try to programme the recorder to record a ninth FULL appears on the front display panel To record the extra programme you must first cancel any unnecessary programmes Z pg 21 M D SP Day Month Channel position ACCESS TIMER PROGRAM MING DISPLAY 1 Press PROG ACCESS PROGRAMME DISPLAY 2 Press START If you re not receiving PDC VPS press NUMBER k...

Page 21: ...m are service designed to assure safe accurate timer recording With this system special code signals are transmitted together with the audio video signals These code signals control your video recorder and have precedence over advertised times you preset in the timer This means that your recorder will start and stop recording when the preset TV programmes actually start and end even if the broadca...

Page 22: ...ss NUMBER key 0 and or TV PROG to select depending on the connector being used AU 1 for the AV1 IN OUT connector or AU 2 for the AV2 IN connector For A637EH When using the AV2 IN connector make sure the AV2 SELECT switch is set to AV2 START SOURCE PLAYER 3 Engage its Play mode START RECORDING DECK 4 Engage its Record mode NOTE All necessary cables can be obtained from your dealer 1 2 4 5 3 6 8 0 7...

Page 23: ... you re using the AV1 IN OUT connector select AU1 by pressing NUMBER key 0 and or TV PROG If you re using the AV2 IN connector select AU2 by pressing NUMBER key 0 or TV PROG If you own the A637EH make sure that the AV2 SELECT switch is set to AV2 START CAMCORDER 3 Engage its Play mode START RECORDER 4 Engage its Record mode 1 2 4 5 3 6 8 0 7 9 1 3 2 NUMBER 0 TV PROG Player Camcorder Audio Video si...

Page 24: ...INPUT CHANNEL 4 The channel number 01 appears blinking Press the NUMBER keys to input the channel number you want to store For fine tuning adjustment press PUSH JOG until the channel number blinks then press PUSH JOG fi While tuning or appears If necessary to change the band between Ch regular and CC cable press PUSH JOG until Ch or CC is blinking then press PUSH JOG fi to select the band For A637...

Page 25: ...erform step 1 of the above procedure SELECT STATION NAME CHARACTER 2 Press PUSH JOG and the first letter of the station name or begins blinking ENTER NEW CHARACTER 3 Press PUSH JOG fi to cycle through the characters A Z 0 9 space and stop when the desired one is indicated then press PUSH JOG to enter Enter the remaining characters the same way maximum of 4 After entering all characters press OK Re...

Page 26: ...N TV NBC NBC SUPER NDR NDR NED1 NED1 NED2 NED2 NED3 NED3 NEWS NRK NRK ODE ODEON ORF1 ORF1 ID STATION NAME ORF2 ORF2 ORF3 ORF3 OWL3 OWL3 PREM PREMIERE PRO7 PRO7 RAI1 RAI1 RAI2 RAI2 RAI3 RAI3 RET4 RETE4 21 TELE21 RTBF RTBF1 or 2 RTL RTL RTL2 RTL2 RTL4 RTL4 RTP RTP S4 SCHWEIZ4 SAT1 SAT1 SBS SBS SHOW SHOW SIC SOCIEDADE SKY SKY CHANNEL SKYN SKY NEWS SPRT SPORT SRTL SUPER RTL STAR STAR TV SVT1 SVT1 SVT2...

Page 27: ... still play back 6 Breaks are noticeable in Hi Fi soundtrack 7 The playback picture is blurred or interrupted while TV broadcasts are clear PLAYBACK POSSIBLE CAUSE If you re using the RF OUT connec tion the TV receiver s channel selector is set to the wrong video channel If you re using the AV connection the TV receiver is not set to the AV mode This is normal The automatic tracking mode is engage...

Page 28: ...ks for 10 seconds and the Timer mode is disengaged 5 The cassette is automatically ejected the power shuts off and and won t stop blinking 6 ShowView does not timer record properly POSSIBLE CAUSE The clock and or the timer have been set incorrectly The timer is not engaged The timer is engaged but there s no cassette loaded The loaded cassette has had its Record Safety tab removed TIMER has been p...

Page 29: ...es too close together RECORDING Q When I pause and then resume a recording the end of the recording before the pause is overlapped by the beginning of the continuation of recording Why does this happen A This is normal It reduces distortion at the pause and resume points Q Can the video recorder indefinitely remain in the Record Pause mode A No The video recorder goes to its Stop mode auto matical...

Page 30: ...OG Button Z pg 7 RECORD Button Z pg 14 STOP EJECT Button Z pg 10 PAUSE Button Z pg 11 1 Mains Power Cord Z pg 3 2 AUDIO OUT L R Connectors Z pg 6 3 AV1 IN OUT Connector Z pg 3 4 AV2 IN Connector Z pg 5 A637E AV2 IN DECODER Connector Z pg 4 A637EH 5 ANT IN Connector Z pg 3 6 RF TEST switch Z pg 3 A637E AV2 SELECT RF TEST switch Z pg 3 A637EH 7 RF OUT Connector Z pg 3 8 RF Output Channel Adjustment ...

Page 31: ...USE Button Z pg 11 Q STOP Button Z pg 10 W PROG CHECK Button Z pg 19 E OK Button Z pg 7 R TV VOL fi Button See below Buttons shown in white can also be used to operate JVC TVs 1 CH SET Button Z pg 7 2 REVIEW Button Z pg 12 3 A B CODE Switch Z pg 13 4 CLOCK Button Z pg 8 How To Use The remote control can operate most of your video recorder s functions as well as basic functions of JVC TV sets see b...

Page 32: ...ant Timer Recording Z pg 16 9 Tape Speed Indicators Z pg 14 0 Timer Indicator Z pg 19 Clock Counter Display Z pg 8 Channel Mode Display Z pg 7 VIDEO indicator Z pg 14 A637EH only Audio Mode Indicator Z pg 12 PLAY REVERSE PLAY FF STILL FORWARD SLOW REW STILL REVERSE SLOW FF VARIABLE RECORD SHUTTLE SEARCH REW VARIABLE RECORD PAUSE SHUTTLE SEARCH SP LP EP M D D I T R W NORM L R VIDEO 7 0 8 1 2 3 5 4 ...

Page 33: ...resolution 250 lines Frequency range 70 Hz to 10 000 Hz Normal audio 20 Hz to 20 000 Hz Hi Fi audio Input Output 21 pin SCART connector x 2 IN OUT x 1 IN x 1 A637E IN OUT x 1 IN DECODER x 1 A637EH RCA connector x 1 OUT X 1 TUNER TIMER TV channel storage capacity 99 positions AUX position AU Tuning system Frequency synthesized tuner Channel coverage VHF 47 89 104 300 302 470MHz UHF 470 862MHz Aeria...

Reviews: