


ENGLISH
LYT1707-001A
EN
INSTRUCTIONS
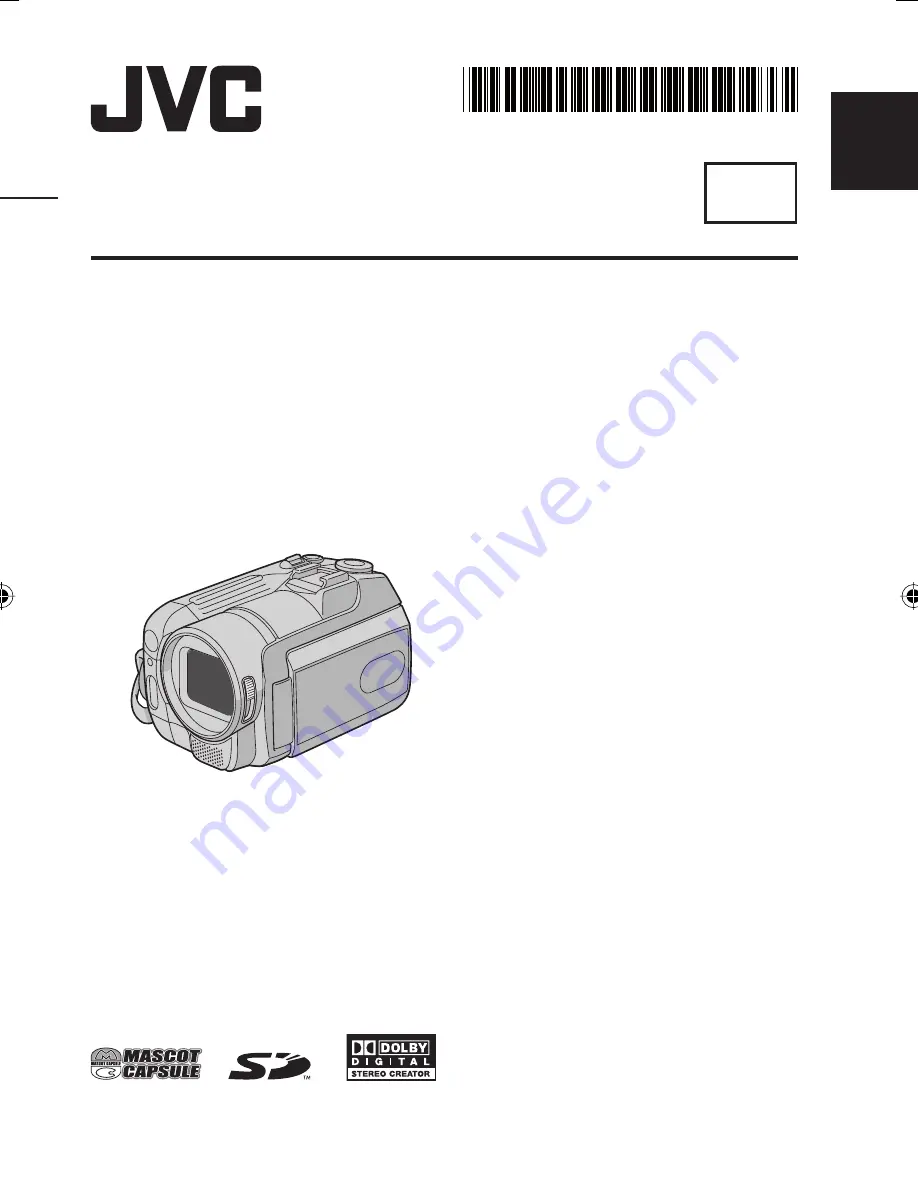
HARD DISK CAMCORDER
Dear Customer
Thank you for purchasing
this hard disk camera. Before
use, please read the safety
information and precautions
contained in pages 2 and 3 to
ensure safe use of this product.
GZ-MG575AA
GZ-MG575AA_EN.indb 1
GZ-MG575AA_EN.indb 1
3/3/2007 8:40:16 AM
3/3/2007 8:40:16 AM


