INSTRUCTIONS
LYT0530-001A
EN
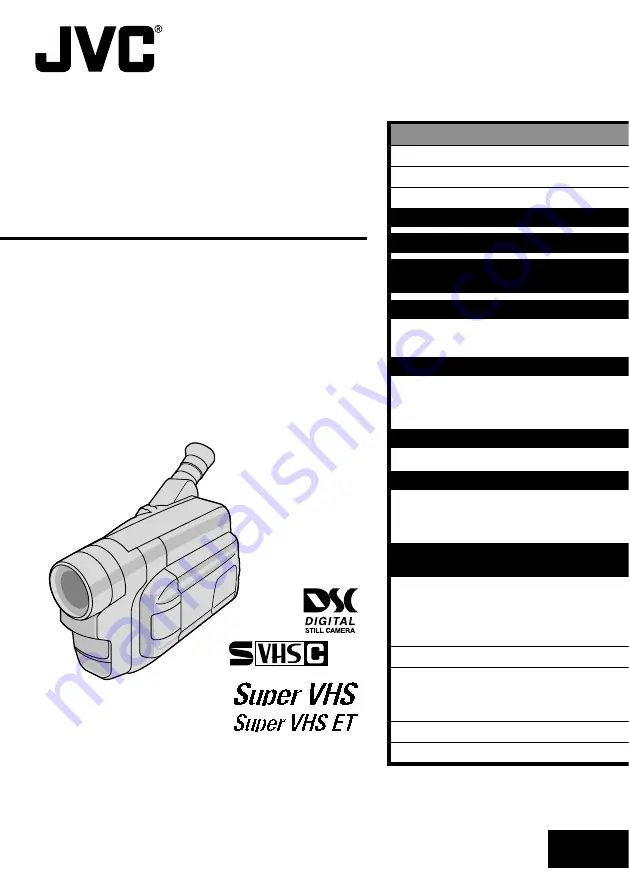
COMPACT
VHS CAMCORDER
GR-SXM760A
VHS
PAL
625
ENGLISH
CONTENTS
SAFETY PRECAUTIONS
2 – 3
MAJOR FEATURES
4
PROVIDED ACCESSORIES
5
GETTING STARTED
6 – 13
BASIC VIDEO RECORDING
14 – 15
BASIC DIGITAL STILL CAMERA
(D.S.C.) SHOOTING
16 – 18
RECORDING
19 – 34
Basic Features
................................. 19
Advanced Features
........................... 24
VIDEO PLAYBACK
35 – 37
Basic Playback
................................ 35
Features
........................................ 36
Using The Cassette Adapter
................ 37
BASIC CONNECTIONS
38 – 39
Basic Connections And Tape Dubbing
...... 38
D.S.C. PLAYBACK
40 – 47
Basic Playback
................................ 40
Connection
..................................... 41
Advanced Features
........................... 42
USING THE REMOTE
CONTROL UNIT
48 – 56
Insert Editing
.................................. 50
Audio Dubbing
................................. 51
Random Assemble Editing
................... 52
Playback Zoom
................................ 56
TROUBLESHOOTING
57 – 59
INDEX
60 – 63
Controls, Connectors And Indicators
....... 60
Indications
..................................... 62
CAUTIONS
64 – 66
SPECIFICATIONS
67