GR-D850AA
LYT1815-001A
EN
EN
G
L
ISH
Dear Customer,
Thank you for purchasing this
digital video camera. Before use,
please read the safety information
and precautions contained in
pages 2 – 4 to ensure safe use of
this product.
INSTRUCTIONS
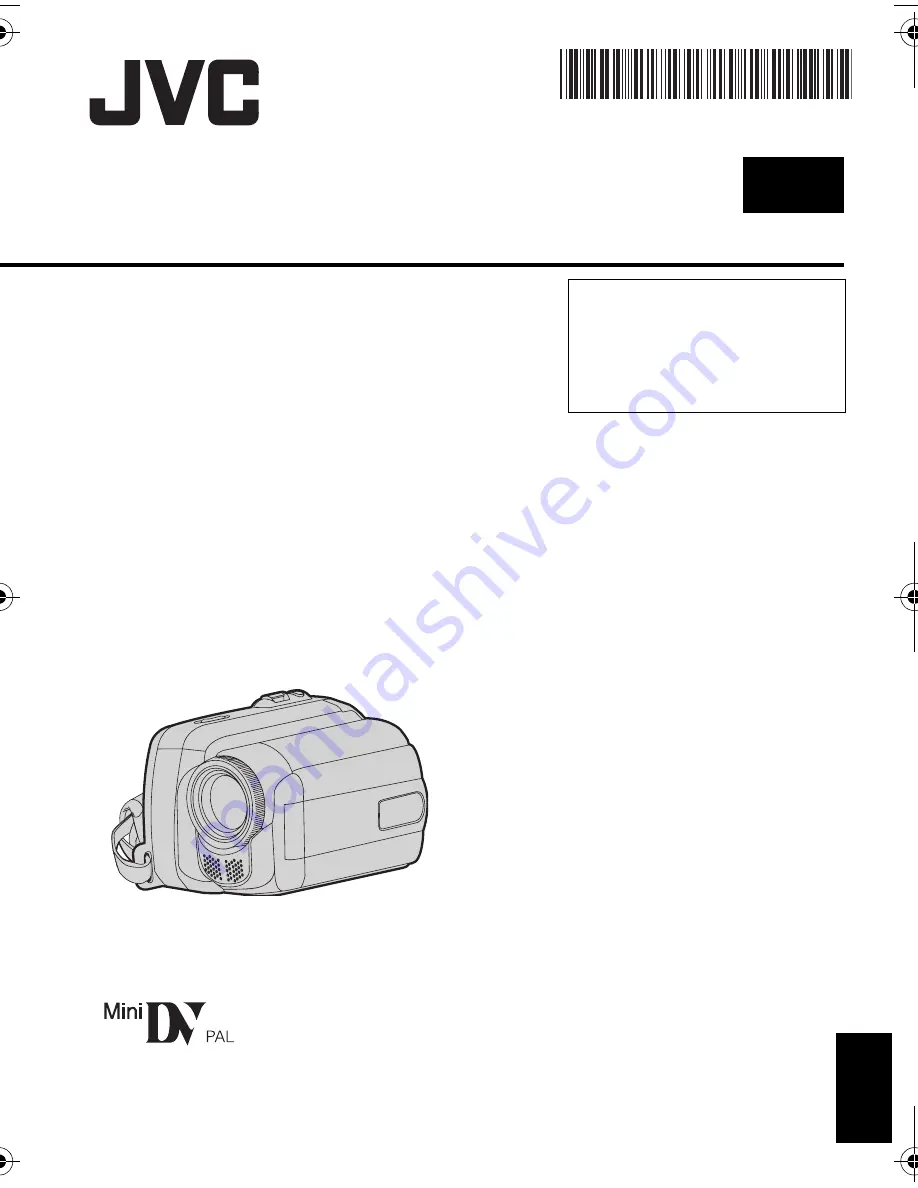
DIGITAL VIDEO CAMERA
GR-D850AA_EN.book Page 1 Thursday, October 18, 2007 5:26 PM