Please visit our Homepage on the World Wide Web for Digital
Video Camera:
http://www.jvc-victor.co.jp/english/cyber/
For Accessories:
http://www.jvc-victor.co.jp/english/accessory/
INSTRUCTIONS
DIGITAL VIDEO CAMERA
EN
LYT1125-001A
ENGLISH
CONTENTS
AUTOMATIC
DEMONSTRATION
6
GETTING STARTED
7 – 11
TAPE
RECORDING &
PLAYBACK
12 – 16
MEMORY CARD
RECORDING &
PLAYBACK
17 – 22
ADVANCED
FEATURES
23 – 40
REFERENCES
41 – Back Cover
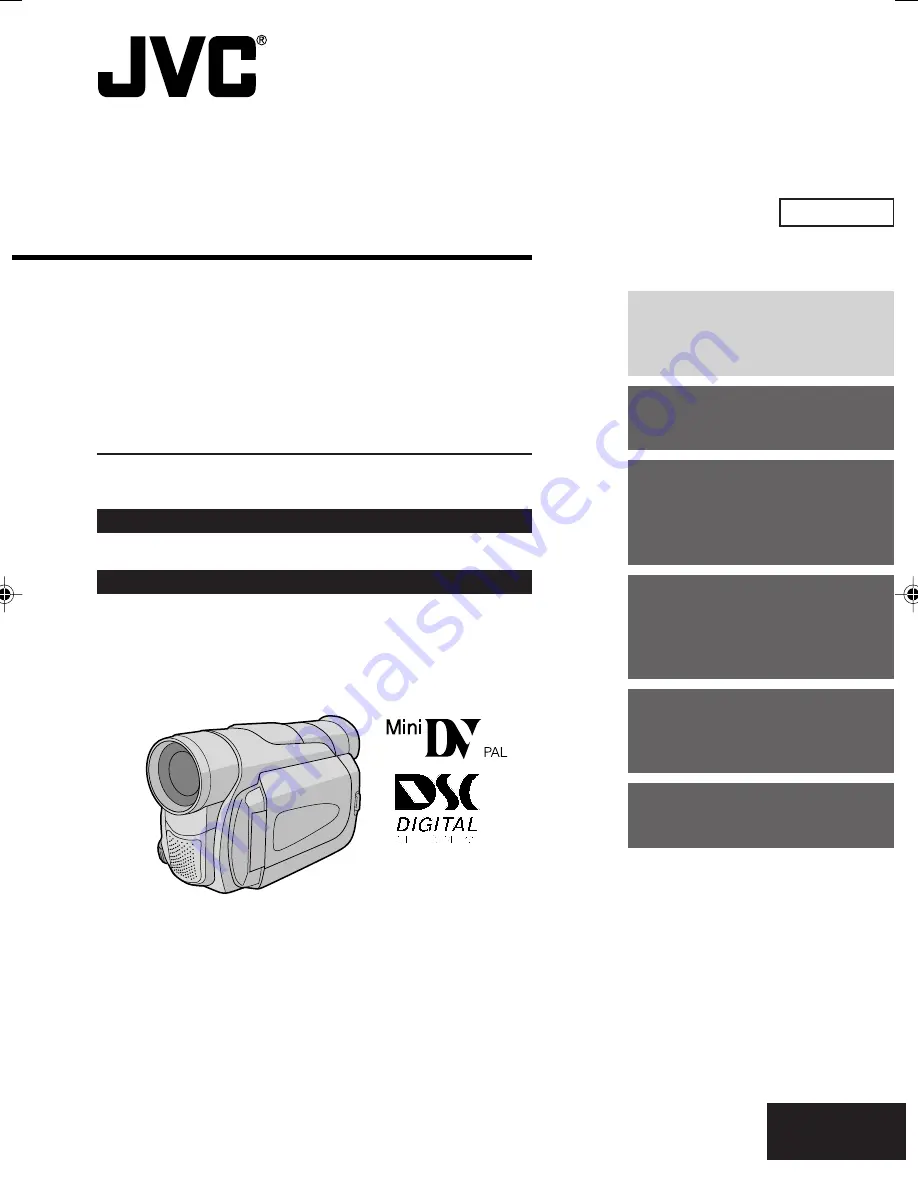
GR-D90
GR-D70
The camcorder illustrations appearing in
this instruction manual are of the GR-D90.
1 GR-D90/70A EN 01-11
03.2.4, 17:04
1