Johnny Vac JVC85BCT, User Manual
The Johnny Vac JVC85BCT is a powerful vacuum cleaner designed to tackle tough cleaning tasks. Ensure optimal performance by referencing the User Manual, available for free download at manualshive.com. This comprehensive manual provides step-by-step instructions on how to fully utilize the features of this innovative vacuum cleaner.
Share
Download


Reviews:
No comments
Related manuals for JVC85BCT
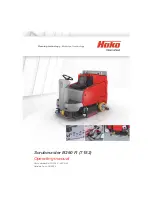
Scrubmaster B260 R
Brand: HAKO Pages: 106

Scrubmaster B175 R
Brand: HAKO Pages: 102
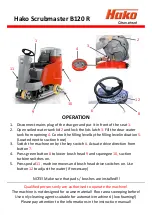
Scrubmaster B 120 R
Brand: HAKO Pages: 2
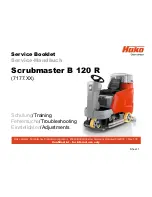
Scrubmaster B 120 R
Brand: HAKO Pages: 99
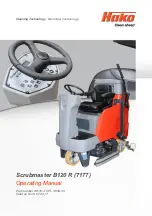
Scrubmaster B 120 R
Brand: HAKO Pages: 88

SOLUS-310
Brand: U.S. Products Pages: 10

FF10
Brand: Primus Pages: 136

85U
Brand: HAL Extraction Pages: 22

TOPCLEAN 1100A
Brand: ulsonix Pages: 21

SIGMA 1-R 66BTR
Brand: Lavorwash Pages: 152

RootsScrub B4550C
Brand: ROOTS Pages: 22

PS2009
Brand: Nikro Pages: 8

BA 450
Brand: Nilfisk-Advance Pages: 34


