


Updated : 04-2006
MA0235-02
English - Service
MODELS
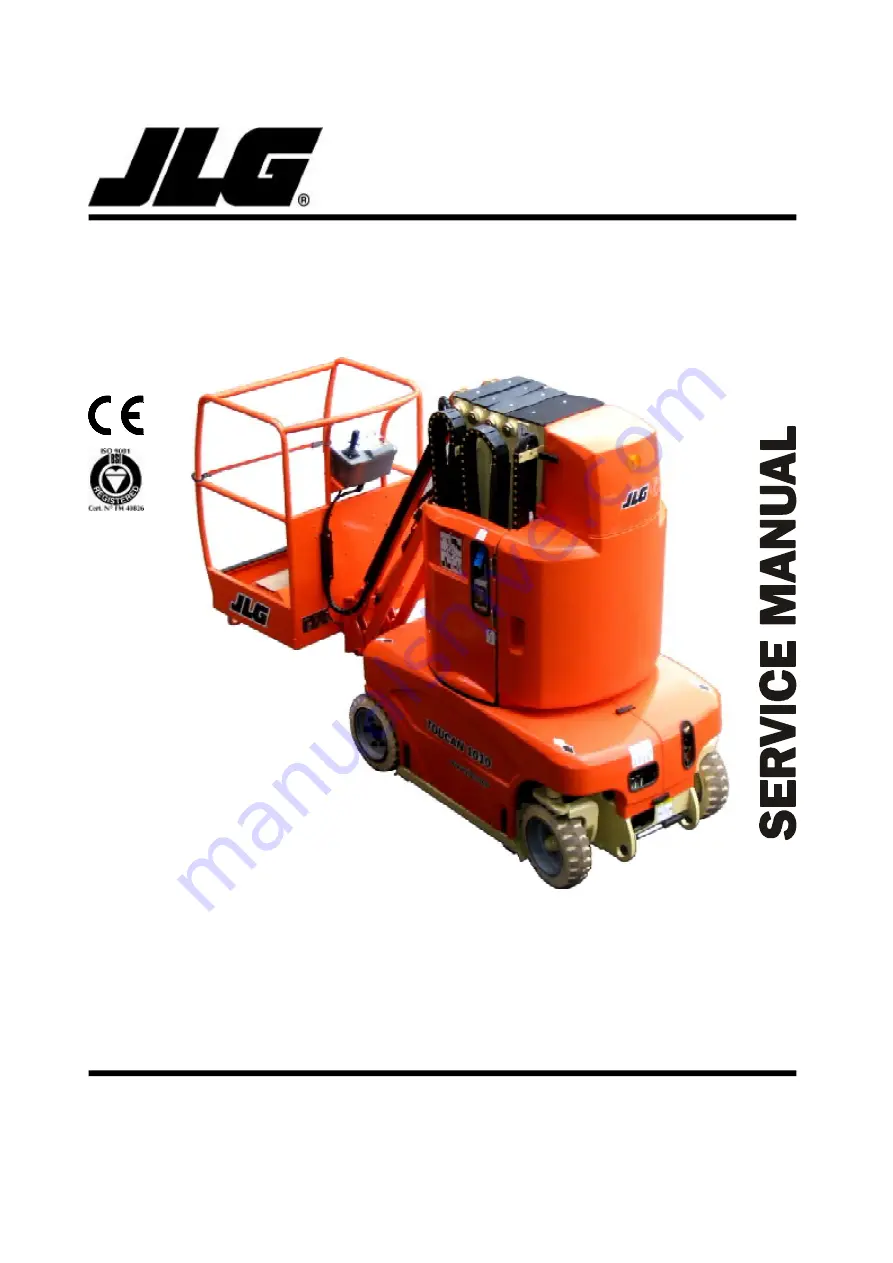
TOUCAN 1010
U.S.A.
JLG INDUSTRIES, INC
1 JLG Drive
McConnellsburg
PA 17233-9533
Tel : (171) 485-5161
Fax : (717) 485-6417
C.E.
JLG Manufacturing Europe
Breitwaterstraat 12A
Oude Bunders 1034
B - 3630 Maasmechelen
Tel : +32(0)89 774 974
Fax : +32(0)89 777 427
FRANCE
JLG F rance SAS
Z.I. de Fauillet
BP 20 - 47400 TONNEINS
France
Tel : +33 553 84 85 11
Fax : +33 553 79 06 87
Summary of Contents for TOUCAN 1010
Page 2: ......
Page 3: ...3 Models Edition 04 2006 Toucan 1010 MA0235 02 Models Toucan1010 _____ Toucan1010 I _____...
Page 18: ...Thispageintentionallyleft blank CORRECTIVE ACTION REQUEST...
Page 24: ...Thispageintentionallyleft blank CORRECTIVE ACTION REQUEST...
Page 36: ...Thispageintentionallyleft blank CORRECTIVE ACTION REQUEST...
Page 38: ...Thispageintentionallyleft blank CORRECTIVE ACTION REQUEST...
Page 80: ...Thispageintentionallyleft blank CORRECTIVE ACTION REQUEST...
Page 84: ...Thispageintentionallyleft blank CORRECTIVE ACTION REQUEST...
Page 85: ...85 Models Edition 04 2006 Toucan 1010 LUBRICATION 8 8 1 Lubrication points TABLE OF CONTENTS...
Page 86: ...Thispageintentionallyleft blank CORRECTIVE ACTION REQUEST...


