background image

490, rue de l'Argon 

Québec  (Québec) G2N 2C9 

Phone: 418-849-8095     Fax : 418-849-0077 

www.jaroby.com 


April 18, 2012 Reviewed 

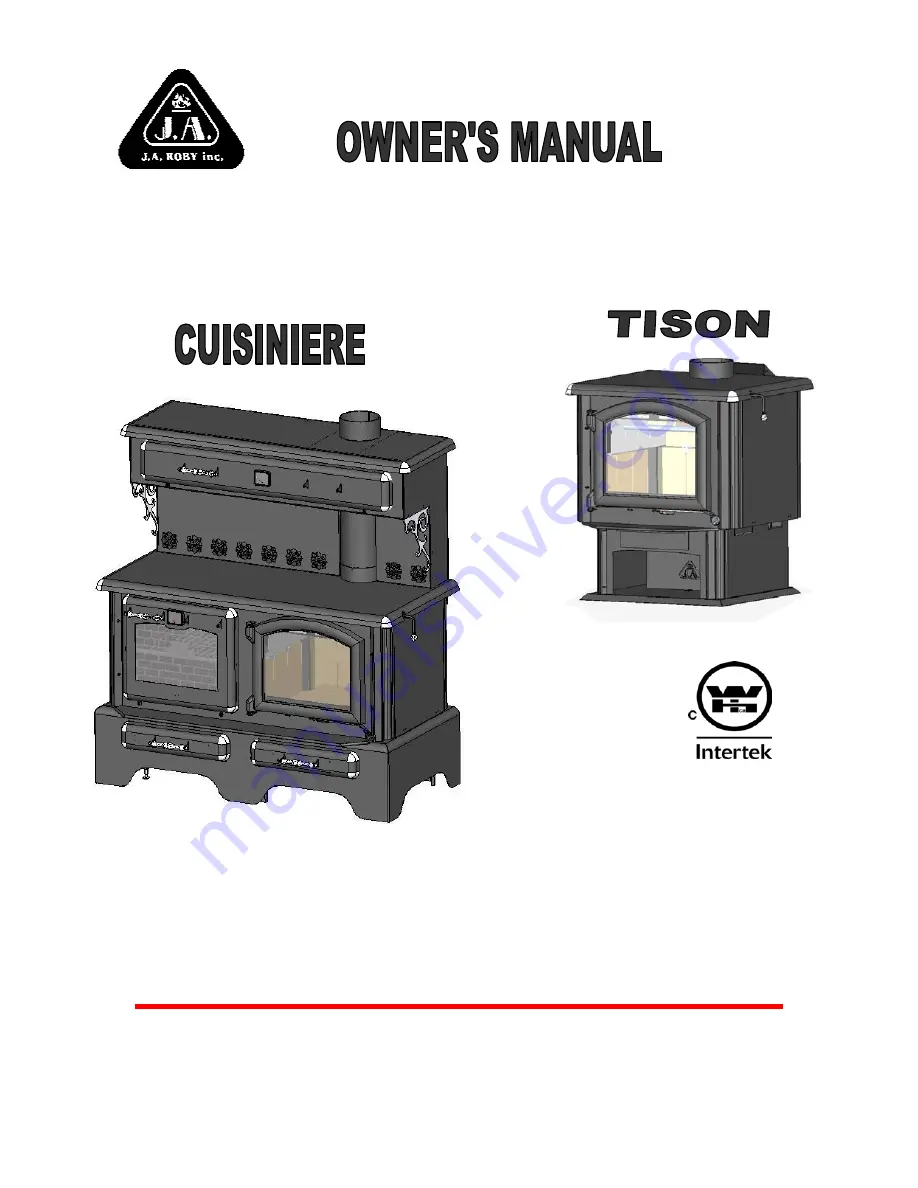
CUISINIERE - TISON 

Wood stove 


Certified and tested according 

to CAN/CSA STD B415.1-10 

and ULC STD S627-00.


    Warmth, from the heart of J.A. Roby


Summary of Contents for TISON

Page 1: ... Québec G2N 2C9 Phone 418 849 8095 Fax 418 849 0077 www jaroby com April 18 2012 Reviewed CUISINIERE TISON Wood stove Certified and tested according to CAN CSA STD B415 1 10 and ULC STD S627 00 Warmth from the heart of J A Roby ...

Page 2: ...ASURES AND MAINTENANCE 15 INTERCHANGEABLE PARTS LIST 16 INSTALLATION OF THE FIREBRICKS 17 USING THE REMOVABLE HANDLE 19 LIMITED LIFE WARRANTY 20 READ CAREFULLY THIS MANUAL AND KEEP IT FOR FURTHER REFERENCES INSTALLATION OF THIS APPLIANCE MUST BE DONE BY A QUALIFIED AND CERTIFIED TECHNICIAN AND IN CONFORMITY WITH THE OWNER S MANUAL GUIDE PROVIDED WITH THIS APPLIANCE THE INSTALLATION MUST BE IN ACCO...

Page 3: ...nces found in this manual must be observed Install all firebricks before lighting the stove if it is not already done Never use a non insulated exterior duct or a pipe to evacuate chimney smoke Do not install in a mobile house Keep all combustible material clothing furniture wood matches plastic etc at a distance of at least 91 5 cm 3 feet from the appliance Do not use chemicals or fluids to light...

Page 4: ...himney fire Think of an emergency plan In case of a chimney fire Hermetically close the doors and the air intakes Water the combustible material adjacent to the chimney Ring the alarm evacuate the house if necessary and call the firemen Never touch the pipes until the fire is not completely extinct Do not use the chimney until it has been inspected or repaired Keep all the doors of the appliance c...

Page 5: ...indows and the doors in order to ensure proper ventilation This special paint is conceived to tolerate temperatures up to 1200 F 650 C CREOSOTE The wood burning slowly produces tar and other organic steams which called creosote The steam condenses in the cool chimney when the wood is burning slowly In this way creosote residues are formed on the walls Creosote can take several forms tarry liquid s...

Page 6: ...erior height 50 3 4 129cm 29 73 cm Exterior width 50 127cm 27 3 4 70 5cm Exterior depth 26 66cm 26 66cm Door opening 16 1 4 X 10 41cm X 27cm 16 1 4 X 10 41cm X 27cm Interior height 12 1 4 31cm 12 1 4 31cm Interior width 19 48cm 19 48cm Interior depth 19 3 4 50cm 19 3 4 50cm Maximum log length 19 48cm 19 48cm Combustion duration 3 à 8 hours 3 à 8 hours Weight 640 Lbs 380 Lbs CLEARANCES Back 12 31cm...

Page 7: ...llation 2 You must install a fireproof plate under the appliance which must exceed 18 inches at the front and 8 inches at each side 3 The free space shall not be reduced except under the approval of the authorities responsible for the application of the building code 4 Install the chimney and a thimble wall insulated for an installation passing through a wall according to the instructions from the...

Page 8: ...or the CAN CSA B365 ULC S635 ULC S640 standards For the chimney follow the chimney manufacturer s instructions EXTERIOR VERTICAL INSTALLATION The Tison and Cuisiniere model must be installed in accordance with the applicable local laws or the CAN CSA B365 ULC S635 ULC S640 standards For the chimney follow the chimney manufacturer s instructions ...

Page 9: ...ON A CATHEDRAL ROOF The Tison and Cuisiniere models must be installed in accordance with the applicable local laws or the CAN CSA B365 ULC S635 ULC S640 standards For the chimney follow the chimney manufacturer s instructions ...

Page 10: ... CSA B365 ULC S635 ULC S640 standards For the chimney follow the chimney manufacturer s instructions VERTICAL INSTALLATION The Tison and Cuisiniere models must be installed in accordance with the applicable local laws or the CAN CSA B365 ULC S635 ULC S640 standards For the chimney follow the chimney manufacturer s instructions ...

Page 11: ...e your decoration by its originality and its heat It requires only 12 inches of clearance to the back and 18 inches to the sidewalls with the addition of one heat shield when the installation is made with a simple pipe In the contrary the clearances must be 18 inches at the front and the back In the case of a simple pipe without a heat shield the clearances are of 18 inches of the smoke pipe ...

Page 12: ...You must install a fireproof plate under the appliance which must exceed it of 18 inches to the front 8 inches to the sides and 8 inches at the back Use only non combustible materials Ex ceramics marbles granites ...

Page 13: ...s well lit gradually add bigger wood logs until an ember bed is formed 3 Before adjusting the air intake be sure that the chimney is warm enough 4 You can then control combustion by closing or opening the air intakes a rod pulled down indicates a closed air intake The wood will burn more quickly if the air intakes are opened to the maximum and more slowly if they are only slightly open Do not char...

Page 14: ...unction the heat reaching a temperature of 120o C activates the thermodisc At this moment the thermodisc activates the fans for a better distribution of heat in your home As soon as the heat goes under 120o C the thermodisc automatically stops the fans Be sure that the electric cord of the fan doesn t touch any surface of the appliance in order to avoid an electric shock or a fire hazard DO NOT PU...

Page 15: ...se a paper towel to clean gildings If they are not erased before the first fire fingerprints and other marks could stain these surfaces permanently 7 The Tison and Cuisiniere models are provided with an ashtray under the door To empty the appliance you have to remove the cap made of cast iron in the centre of the appliance and to glide the ashes into the ashtray Do not forget to replace the cap IN...

Page 16: ...PARTS LIST BRICKS WOOL CAP PLATES USED TO RETAIN WOOL PIPES GLASSES DOOR S HANDLE APPLIANCE S DOOR FANS CORDS BRICK RETAINING PLATE THERMOMETER OVEN GLASS OVEN GRILL TO ORDER PARTS PLEASE CONTACT YOUR AUTHORIZED RETAILER ...

Page 17: ...here place See Fig 1 If it s not already done 3 Install these bricks in the bottom of the stoves A 6 B 1 D 1 See Fig 1 If it s not already done 4 Install the 4 stainless steel pipes beginning from the rear of the stove Put the bricks retaining plate on the pipes Install the 2 rear bricks on the top of the pipes A 2 See Fig 1 If it s not already done 5 Install the Rockwool and the Rockwool protecti...

Page 18: ...18 Fig 2 ...

Page 19: ...oor 2 To insert the ends of the removable handle into the hooks see DETAIL D and E 3 Pull the removable handle to open the door TO CLOSE THE DOOR 1 Use the removable handle to close the oven and the food warmer door 2 To insert the ends of the removable handle into the hooks see DETAIL D and E 3 Push the removable handle to close the door ...

Page 20: ...ansportation charges The 2nd year J A ROBY Inc assume 50 of repairs according to the above conditions The 3rd year J A ROBY Inc assume 45 of repairs according to the above conditions The 4th year J A ROBY Inc assume 40 of repairs according to the above conditions Subsequent years J A ROBY Inc assume 30 of repairs according to the above conditions You MUST return this card in order to register your...

Reviews: