background image

Expand Your Factory Radio

iSimple®

A Division of AAMP of America™

13190 56th Court Clearwater, FL 33760

Ph. 866-788-4237

[email protected]
©2009 AAMP of Florida, Inc.

www.isimplesolutions.com

Harness Connection

a

Port 1

a

Port 2

a

Dip Switches

(See Manual)

a

USB

a

NISSAN/INFINITI

350z • Altima • Armada

Maxima • Murano • Titan

Quest • Frontier

Xterra • G35 • G37 

FX35/45 • QX56

Owner’s Manual

Media Gateway 

ISNI11

PGHNI1

Rev. 10-07-09

add

Satellite

Radio

Summary of Contents for PGHNI1

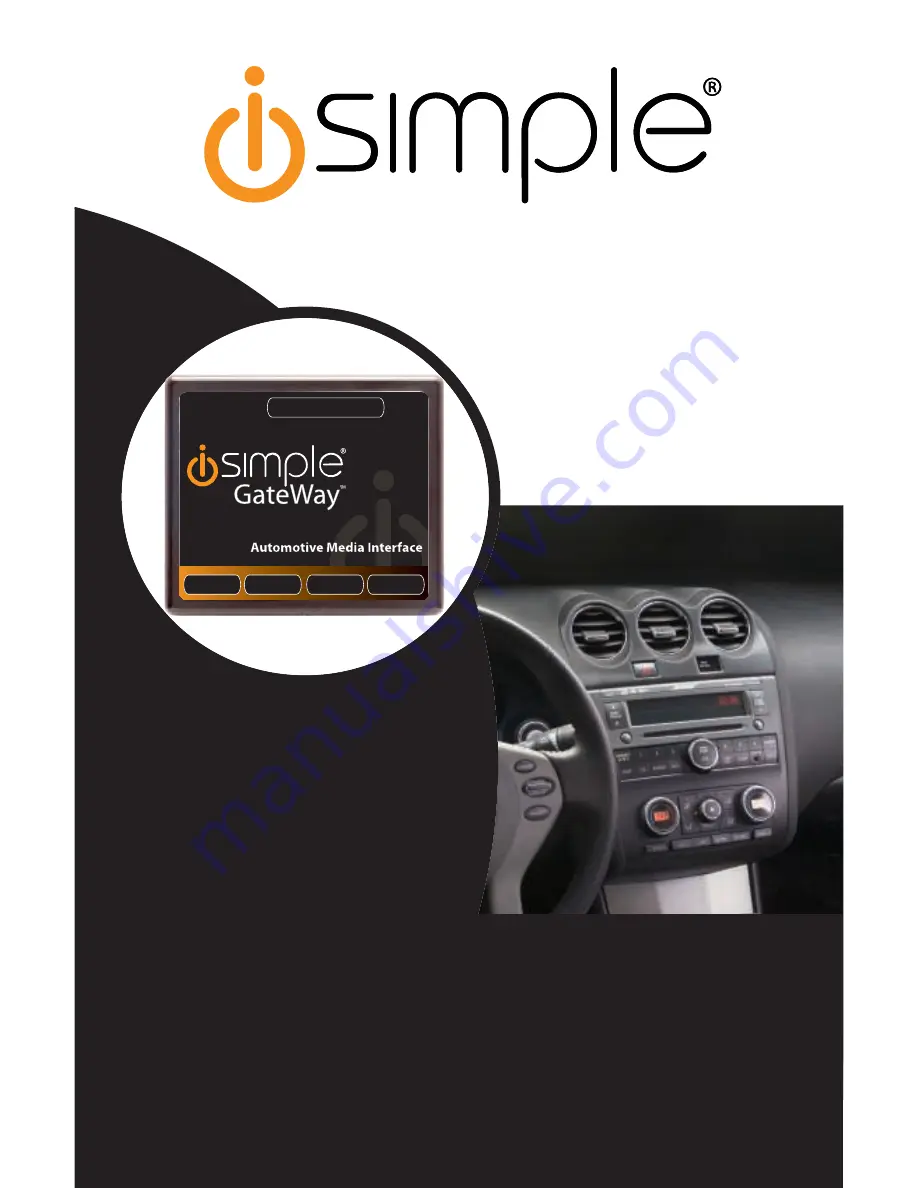
Page 1: ...pport isimplesolutions com 2009 AAMP of Florida Inc www isimplesolutions com Harness Connection a Port 1 a Port 2 a Dip Switches See Manual a USB a NISSAN INFINITI 350z Altima Armada Maxima Murano Titan Quest Frontier Xterra G35 G37 FX35 45 QX56 Owner s Manual Media Gateway ISNI11 PGHNI1 Rev 10 07 09 add Satellite Radio ...

Page 2: ...llation 4 Nissan Vehicles 6 350z Operation 5 7 Armada Operation 6 8 Altima Murano Operation 7 9 Frontier Xterra Operation 8 10 Maxima Operation 9 11 Titan Operation 10 12 Quest Operation 11 In niti Vehicles 13 G35 Operation 12 14 FX35 45 Operation 13 15 QX56 Operation 14 16 Troubleshooting 15 17 Warranty Info 16 ...

Page 3: ...ches See Manual a USB a Factory Radio Not Included The Media Gateway will only support 2 inputs Media Gateway Part PXAMG PXAMGSR Cable OR MP3 Player not included DVD Player not included Media Gateway Harness Part PGHNI1 Media Gateway Optional Add ons ...

Page 4: ...utions PREVENTING DAMAGE TO YOUR VEHICLE Some installations require you to make wiring connections To eliminate the risk of an electrical short we recommend disconnecting the vehicle s battery prior to installation If you do not feel comfortable making these connections we suggest you seek professional installation PROPER MOUNTING LOCATION Securely install the interface in a location free from hea...

Page 5: ...006 Altima 2004 2007 Murano and 2005 2008 350z dipswitches 2 and 3 need to be on Fig D Fig A Fig B Fig C Fig D 2007 Armada 2004 2008 FX35 45 2007 2008 Maxima Navigation 2007 2008 Quest with Multi Color Display 2004 2007 QX56 2004 2007 G35 2004 2009 Titan excluding 2009 Mid Line radio see below 2007 2009 Quest with Single Color Display 2007 2009 Frontier 2005 2006 Maxima 2007 2009 Xterra 2005 2006 ...

Page 6: ...onnectors on the PGHNI1 harness into the 10 Pin and 12 Pin port on the back of the radio Next connect the factory 10 Pin and 12 Pin harness into the female connectors on the PGHNI1 harness Be sure to make a rm connection but do not force it Plug the Black micro t 24 pin connector on the PGHNI1 harness into the PXAMG Media Gateway box PLEASE NOTE If you are installing the ISNI11 in an In niti vehic...

Page 7: ...ve up through the categories Category Down Press the SEEK button to move down through the categories Store Presets Tune to the station you wish to store as a preset Press and hold the preset button on which you want to store the channel Recall Presets Press the preset button that corresponds with the channel you want to recall Changing Display Press the DISP button to display artist and track info...

Page 8: ...ton to move up through the categories Category Down Press the CAT FLDR button to move down through the categories Store Presets Tune to the station you wish to store as a preset Press and hold the preset button on which you want to store the channel Recall Presets Press the preset button that corresponds with the channel you want to recall Changing Display Press the DISP button to display artist a...

Page 9: ...ugh the categories Category Down Press the SEEK button to move down through the categories Store Presets Tune to the station you wish to store as a preset Press and hold the preset button on which you want to store the channel Recall Presets Press the preset button that corresponds with the channel you want to recall Changing Display Press the AUDIO button until you see DISPLAY MODE then set the m...

Page 10: ...s Category Up Press the CAT FOLDER button to move up through the categories Category Down Press the CAT FOLDER button to move down through the categories Store Presets Tune to the station you wish to store as a preset Press and hold the preset button on which you want to store the channel Recall Presets Press the preset button that corresponds with the channel you want to recall Selecting AUX Inpu...

Page 11: ...ve down through the categories Store Presets Tune to the station you wish to store as a preset Press and hold the preset button on which you want to store the channel Recall Presets Press the preset button that corresponds with the channel you want to recall Changing Display Press the DISP button to display artist and track information To change the display mode in the 2005 2006 models press the A...

Page 12: ...n to move up through the categories Category Down Press the CAT FLDR button to move down through the categories Store Presets Tune to the station you wish to store as a preset Press and hold the preset button on which you want to store the channel Recall Presets Press the preset button that corresponds with the channel you want to recall Changing Display Press the DISP button to display artist and...

Page 13: ... to move up through the categories Category Down Press the TUNE button to move down through the categories Store Presets Tune to the station you wish to store as a preset Press and hold the preset button on which you want to store the channel Recall Presets Press the preset button that corresponds with the channel you want to recall Changing Display Press the DISP button to display artist and trac...

Page 14: ... Up Press the TUNE button to move up through the categories Category Down Press the TUNE button to move down through the categories Store Presets Tune to the station you wish to store as a preset Press and hold the preset button on which you want to store the channel Recall Presets Press the preset button that corresponds with the channel you want to recall Changing Display Press the DISP button t...

Page 15: ... channels Category Up Press the TUNE button to move up through the categories Category Down Press the TUNE button to move down through the categories Store Presets Tune to the station you wish to store as a preset Press and hold the preset button on which you want to store the channel Recall Presets Press the preset button that corresponds with the channel you want to recall Selecting AUX Input En...

Page 16: ...tton to move up through the categories Category Down Press the CAT FLDR button to move down through the categories Store Presets Tune to the station you wish to store as a preset Press and hold the preset button on which you want to store the channel Recall Presets Press the preset button that corresponds with the channel you want to recall Changing Display Press the DISP button to display artist ...

Page 17: ... Gateway communicates with the radio the text display will not allow audio controls to be shown Switch to the factory radios FM AM or CD mode to adjust audio settings I don t see artist or song information on the screen The radio is displaying a different text eld Press the display button to see the correct text eld If the problem persists please see the Dipswitch Overview section The Media Gatewa...

Page 18: ...ASE from an authorized iSimple dealer Warning This equipment may be reset by unintentional electrostatic discharge during operation Exposure to direct sunlight or extreme heat may cause damage or malfunction FCC Class B Radio Frequency Interference Statement This equipment has been tested and found to comply with the limits for a Class B digital device pursuant to Part 15 of FCC rules These limits...

Page 19: ...20 20 For Best Performance Have It Professionally Installed www isimplesolutions com ...

Page 20: ... support isimplesolutions com 2009 AAMP of Florida Inc www isimplesolutions com Harness Connection a Port 1 a Port 2 a Dip Switches See Manual a USB a NISSAN INFINITI 370z Cube Path nder Armada Sentra Maxima Altima Rouge Versa G35 M35 45 QX56 Owner s Manual Media Gateway ISNI11 PGHNI2 Rev 10 05 09 add Satellite Radio ...

Page 21: ...n 4 Nissan Vehicles 6 370z Cube Operation 5 7 Path nder Armada Operation 6 8 Sentra Maxima Operation 7 8 9 2009 2010 Maxima Operation 8 10 Altima Rouge Operation 9 11 Versa Operation 10 11 In niti Vehicles 12 G35 G37 Operation 11 12 13 M35 45 Operation 12 14 QX56 Operation 13 15 Troubleshooting 14 16 Warranty Info 15 ...

Page 22: ...ches See Manual a USB a Factory Radio Not Included The Media Gateway will only support 2 inputs Media Gateway Part PXAMG PXAMGSR Cable OR MP3 Player not included DVD Player not included Media Gateway Harness Part PGHNI2 Media Gateway Optional Add ons ...

Page 23: ...autions PREVENTING DAMAGE TO YOUR VEHICLE Some installations require you to make wiring connections To eliminate the risk of an electrical short we recommend disconnecting the vehicle s battery prior to installation If you do not feel comfortable making these connections we suggest you seek professional installation PROPER MOUNTING LOCATION Securely install the interface in a location free from he...

Page 24: ...A For the 2007 2008 Altima 2007 2008 Rouge and the 2007 2008 Versa dipswitch number 3 needs to be on Fig B Fig A Fig B 2007 2008 Armada 2007 2008 G35 G37 2007 2008 Maxima Non Navigation 2007 2008 Path nder 2007 2008 Sentra 2007 QX56 2009 370z 2007 2008 Altima 2009 Cube 2007 2008 Rouge 2007 2008 Versa For the 2007 2008 M35 45 Dipswitches 1 and 2 need to be on Fig C Fig B 2007 2008 M35 45 ...

Page 25: ...RCA input it may be necessary to run the auxiliary device s output cable to the PXAMG location 6 Plug in the male connectors on the PGHNI2 harness into the 20 pin and 12 pin ports on the back of the radio Next connect the factory 20 pin and 12 pin harnesses into the female connectors on the PGHNI2 harness Be sure to make a rm connection but do not force it Plug the Black micro t 24 pin connector o...

Page 26: ...ve up through the categories Category Down Press the SEEK button to move down through the categories Store Presets Tune to the station you wish to store as a preset Press and hold the preset button on which you want to store the channel Recall Presets Press the preset button that corresponds with the channel you want to recall Changing Display Press the DISP button to display artist and track info...

Page 27: ...ton to move down through the categories Store Presets Tune to the station you wish to store as a preset Press and hold the preset button on which you want to store the channel Please Note If you are using the Media Gateway to add Sirius but still have factory XM installed it is important to keep the presets in seperate banks Recall Presets Press the preset button that corresponds with the channel ...

Page 28: ...atellite Radio Operation Entering Mode Select Menu Pressthe RADIO buttonafewtimesuntil SAT isdisplayedonthescreen Immediately press the SEEK button to scroll through the available sources Once SIRIUS is displayed press the TUNE button to select it Channel Up Press the SEEK button to move up through the channels Channel Down Press the SEEK button to move down through the channels Category Up Press ...

Page 29: ...channels Channel Down Turn the TUNE KNOB counter clockwise to move down through the channels Category Up Press the SEEK button to move up through the categories Category Down Press the SEEK button to move down through the categories Store Presets Tune to the station you wish to store as a preset Press and hold the preset button on which you want to store the channel Recall Presets Press the preset...

Page 30: ...own through the categories Store Presets Tune to the station you wish to store as a preset Press and hold the preset button on which you want to store the channel Please Note If you are using the Media Gateway to add Sirius but still have factory XM installed it is important to keep the presets in seperate banks Recall Presets Press the preset button that corresponds with the channel you want to r...

Page 31: ...ugh the available sources Once SIRIUS is displayed press the TUNE button to select it Channel Up Press the TUNE button to move up through the channels Channel Down Press the TUNE button to move down through the channels Category Up Press the SEEK button to move up through the categories Category Down Press the SEEK button to move down through the categories Store Presets Tune to the station you wi...

Page 32: ...SEEK button to select it Channel Up Turn the TUNE KNOB clockwise to move up through the channels Channel Down Turn the TUNE KNOB counter clockwise to move down through the channels Category Up Press the SEEK button to move up through the categories Category Down Press the SEEK button to move down through the categories Store Presets Tune to the station you wish to store as a preset Press and hold ...

Page 33: ...own through the channels Category Up Press the SEEK button to move up through the categories Category Down Press the SEEK button to move down through the categories Store Presets Tune to the station you wish to store as a preset Press and hold the preset button on which you want to store the channel Please Note If you are using the Media Gateway to add Sirius but still have factory XM installed it...

Page 34: ...on to move down through the categories Store Presets Tune to the station you wish to store as a preset Press and hold the preset button on which you want to store the channel Please Note If you are using the Media Gateway to add Sirius but still have factory XM installed it is important to keep the presets in seperate banks Recall Presets Press the preset button that corresponds with the channel y...

Page 35: ...on Process in the HD Radio operation section that applies to your speci c vehicle When trying to test operation the radio does not power up Radio is not grounded Nissan radios get their ground from the mounting screws Insert the radio back into the dash and tighten down a bolt to provide a solid ground to the radio I don t see artist or song information on the screen The radio is displaying a diff...

Page 36: ...SE from an authorized iSimple dealer Warning This equipment may be reset by unintentional electrostatic discharge during operation Exposure to direct sunlight or extreme heat may cause damage or malfunction FCC Class B Radio Frequency Interference Statement This equipment has been tested and found to comply with the limits for a Class B digital device pursuant to Part 15 of FCC rules These limits ...

Page 37: ...For Best Performance Have It Professionally Installed www isimplesolutions com ...

Reviews: