IPU 40060 Issue 9
2004 InfraRed Integrated Systems Ltd
Page 1 of 27
IRISYS
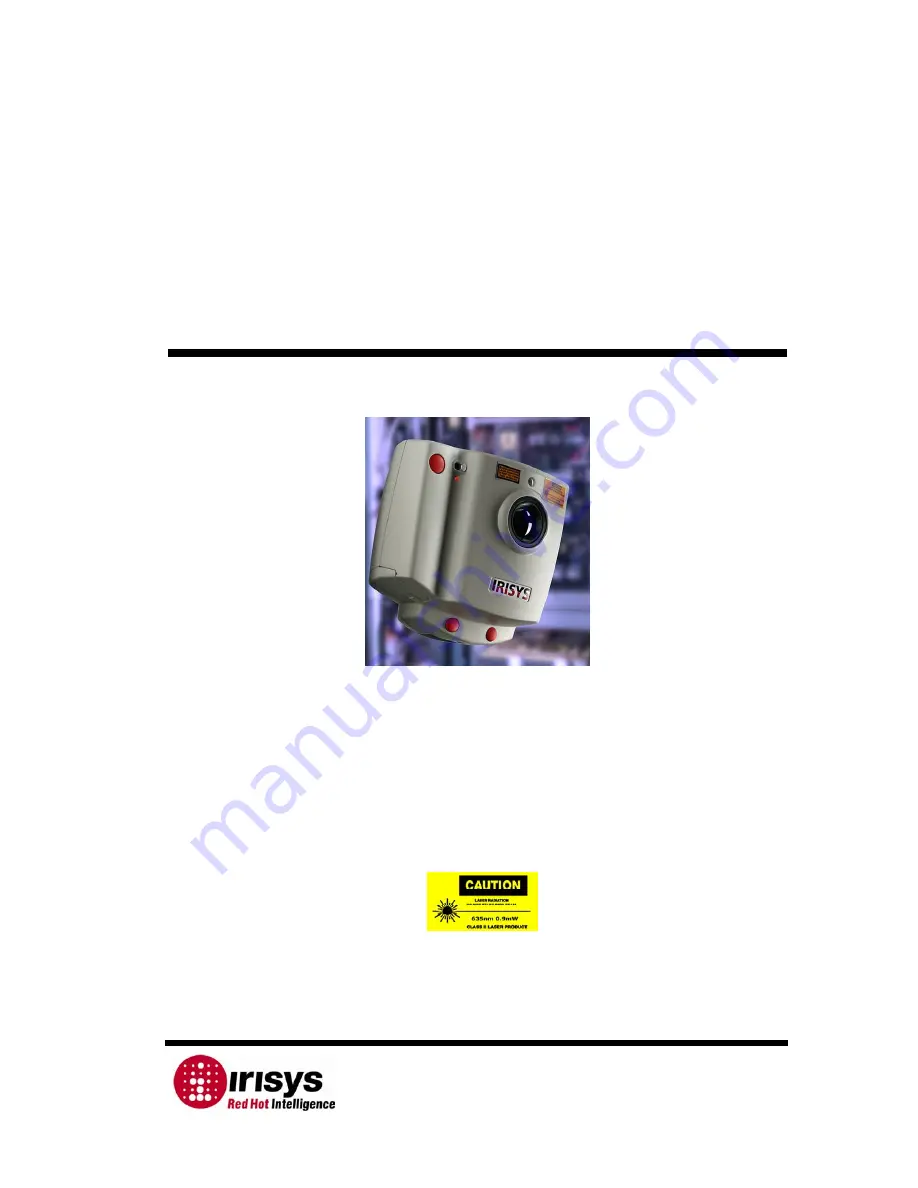
Universal Thermal
Imager
Type IRI 1011
User Manual
Safety Warning:
The equipment described in this document uses a Class II laser. Under no account
should anyone look directly into the laser beam or the laser beam exit aperture,
irreversible damage to the eye may occur. The laser should not be operated when
there are personnel in the imager’s field of view.
Caution – use of controls or adjustments or performance of procedures other than
those specified in this document may result in hazardous laser radiation exposure.
InfraRed Integrated Systems Ltd
Park Circle, Tithe Barn Way,
Swan Valley,
Northampton,
NN4 9BG
Tel: (0) 1604 594200
Fax: (0) 1604 594210
Email: [email protected]
Conforms to USA 21 CFR
1040.10.
Class II laser product.