iHome HiP50, User Manual
Looking for an all-in-one sound system? The iHome HiP50 offers exceptional audio quality and versatile features. To get the most out of your HiP50, don't forget to download the user manual for free at manualshive.com. Explore its capabilities and elevate your audio experience with ease!
Share
Download


Reviews:
No comments
Related manuals for HiP50

VC-525
Brand: Victrola Pages: 11

IC-F9511 P25/HT
Brand: Icom Pages: 87

WI-MOD-9-D
Brand: Elpro Technologies Pages: 62

BREO/BREW
Brand: Sirius XM RAdio Pages: 26

HAV-MR20
Brand: Konig Pages: 21

21-1860
Brand: Radio Shack Pages: 6

955214
Brand: Balance Meteo Pages: 5
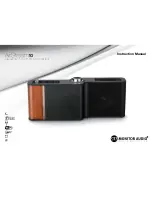
AirStream 10
Brand: Monitor Audio Pages: 36

KIDS ALC-KROBOT
Brand: Laser Pages: 13

URANO
Brand: Lafayette Pages: 38

XMC90
Brand: Acoustic Research Pages: 20

13239CC
Brand: AcuRite Pages: 4

MHS338BT
Brand: Uniden Pages: 84

UK25 LTD ST
Brand: Cobra Pages: 21

MC522BC LCD Microphone
Brand: GME Pages: 24

VX-4000 Series
Brand: Vertex Standard Pages: 6

1-Jul
Brand: GE Pages: 7

Lamina Simplon Basic
Brand: Woodize Pages: 18


