


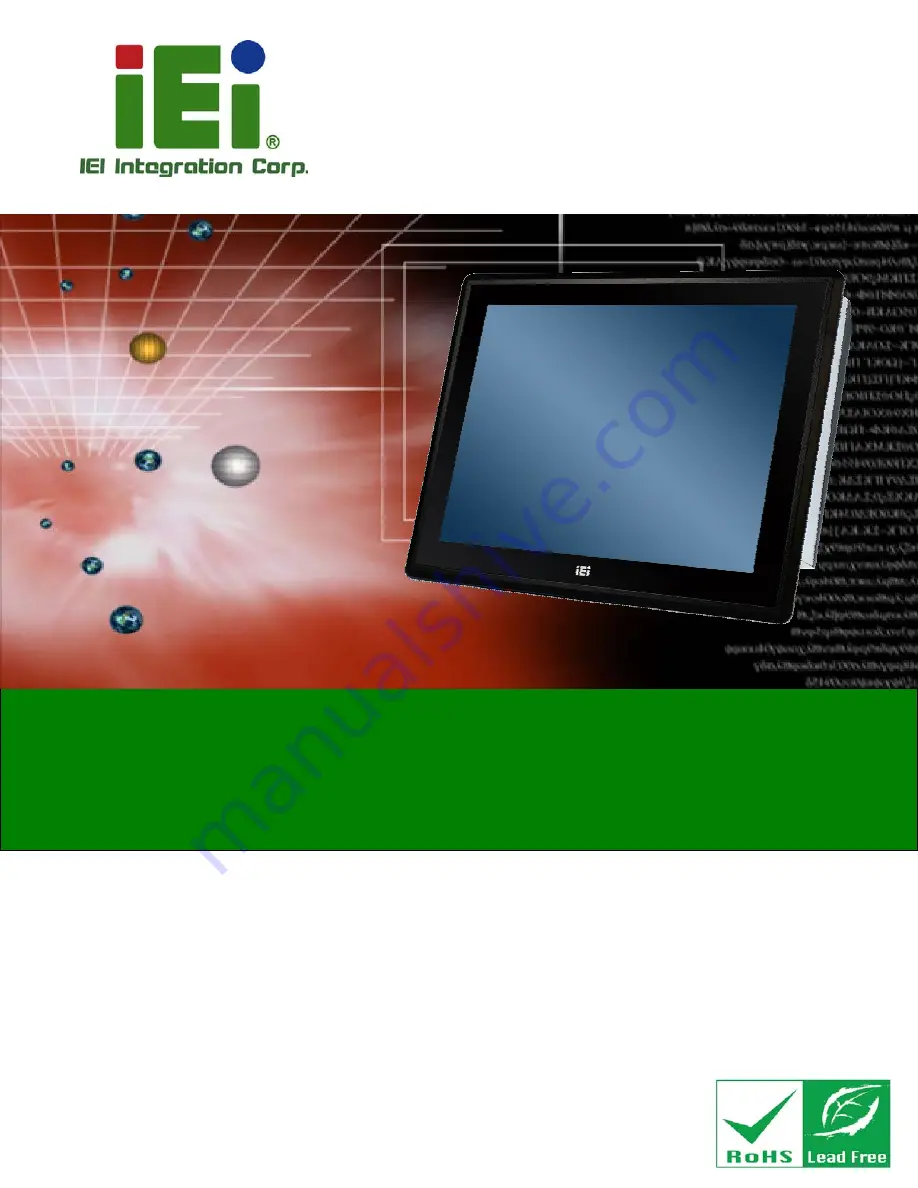
PPC-FxxA-H81 Panel PC
Page i
User Manual
PPC-FxxA-H81 Panel PC
MODEL:
PPC-FxxA-H81
Industrial Panel PC for 4th Generation Intel® Core™,
Pentium® or Celeron® CPU, Intel® H81 Chipset, Touchscreen,
Dual PCIe Mini, USB 3.0, SATA 6Gb/s, Dual PCIe GbE,
iRIS-2400, IP 65 Compliant Front Panel and RoHS Compliant
Rev. 1.00 – September 2, 2014
Содержание PPC-FxxA-H81
Страница 2: ...PPC FxxA H81 Panel PC Page ii Revision Date Version Changes September 2 2014 1 00 Initial release ...
Страница 14: ...PPC FxxA H81 Panel PC Page 1 1 Introduction Chapter 1 ...
Страница 20: ...PPC FxxA H81 Panel PC Page 7 Figure 1 4 Bottom View ...
Страница 23: ...PPC FxxA H81 Panel PC Page 10 1 8 2 PPC F17A H81 Dimensions Figure 1 8 PPC F17A H81 Dimensions mm ...
Страница 24: ...PPC FxxA H81 Panel PC Page 11 1 8 3 PPC F22A H81 Dimensions Figure 1 9 PPC F22A H81 Dimensions mm ...
Страница 25: ...PPC FxxA H81 Panel PC Page 12 1 8 4 PPC F24A H81 Dimensions Figure 1 10 PPC F24A H81 Dimensions mm ...
Страница 28: ...PPC FxxA H81 Panel PC Page 15 2 Unpacking Chapter 2 ...
Страница 32: ...PPC FxxA H81 Panel PC Page 19 3 Installation Chapter 3 ...
Страница 69: ...PPC FxxA H81 Panel PC Page 56 Chapter 4 4 System Maintenance ...
Страница 75: ...PPC FxxA H81 Panel PC Page 62 5 BIOS Setup Chapter 5 ...
Страница 113: ...PPC FxxA H81 Panel PC Page 100 6 Driver Installation Chapter 6 ...
Страница 142: ...PPC FxxA H81 Panel PC Page 129 7 Interface Connectors Chapter 7 ...
Страница 162: ...PPC FxxA H81 Panel PC Page 149 A BIOS Configuration Options Appendix A ...
Страница 165: ...PPC FxxA H81 Panel PC Page 152 B Safety Precautions Appendix B ...
Страница 170: ...PPC FxxA H81 Panel PC Page 157 C Watchdog Timer Appendix C ...
Страница 173: ...PPC FxxA H81 Panel PC Page 160 D Hazardous Materials Disclosure Appendix D ...


