


PPC-51xxA-H61 Panel PC
Page i
IEI Technology Corp.
User Manual
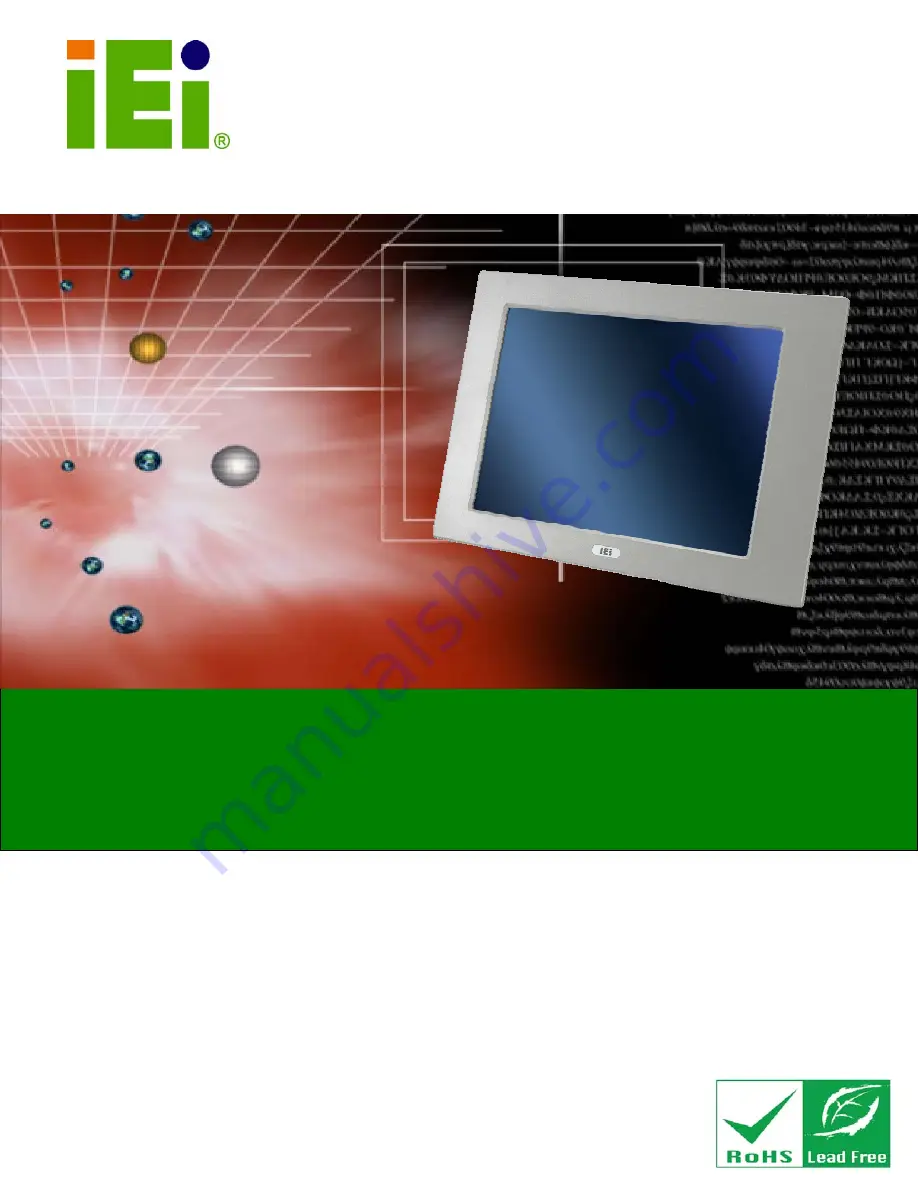
PPC-51xxA-H61 Panel PC
MODEL:
PPC-51xxA-H61
Industrial Panel PC for 2nd/3rd Generation Intel® Core™,
Pentium® or Celeron® CPU, Intel® H61 Express Chipset,
Touchscreen, USB 3.0, Dual Gigabit LAN supporting SFP Fiber,
IP 65 Compliant Front Panel and RoHS Compliant
Rev. 1.01 – 28 June, 2013
Summary of Contents for PPC-51xxA-H61
Page 16: ...PPC 51xxA H61 Panel PC Page 1 1 Introduction Chapter 1 ...
Page 22: ...PPC 51xxA H61 Panel PC Page 7 Figure 1 5 PPC 5150A H61 PPC 5170A H61 Bottom View ...
Page 32: ...PPC 51xxA H61 Panel PC Page 17 2 Unpacking Chapter 2 ...
Page 37: ...PPC 51xxA H61 Panel PC Page 22 3 Installation Chapter 3 ...
Page 51: ...PPC 51xxA H61 Panel PC Page 36 Figure 3 14 Replacing the Optical Drive Bracket ...
Page 77: ...PPC 51xxA H61 Panel PC Page 62 Chapter 4 4 System Maintenance ...
Page 86: ...PPC 51xxA H61 Panel PC Page 71 5 BIOS Setup Chapter 5 ...
Page 119: ...PPC 51xxA H61 Panel PC Page 104 6 Interface Connectors Chapter 6 ...
Page 138: ...PPC 51xxA H61 Panel PC Page 123 A BIOS Configuration Options Appendix A ...
Page 141: ...PPC 51xxA H61 Panel PC Page 126 Appendix B B One Key Recovery ...
Page 149: ...PPC 51xxA H61 Panel PC Page 134 Figure B 5 Partition Creation Commands ...
Page 182: ...PPC 51xxA H61 Panel PC Page 167 C Safety Precautions Appendix C ...
Page 187: ...PPC 51xxA H61 Panel PC Page 172 D Watchdog Timer Appendix D ...
Page 190: ...PPC 51xxA H61 Panel PC Page 175 E Hazardous Materials Disclosure Appendix E ...


