manualshive.com logo in svg
background image

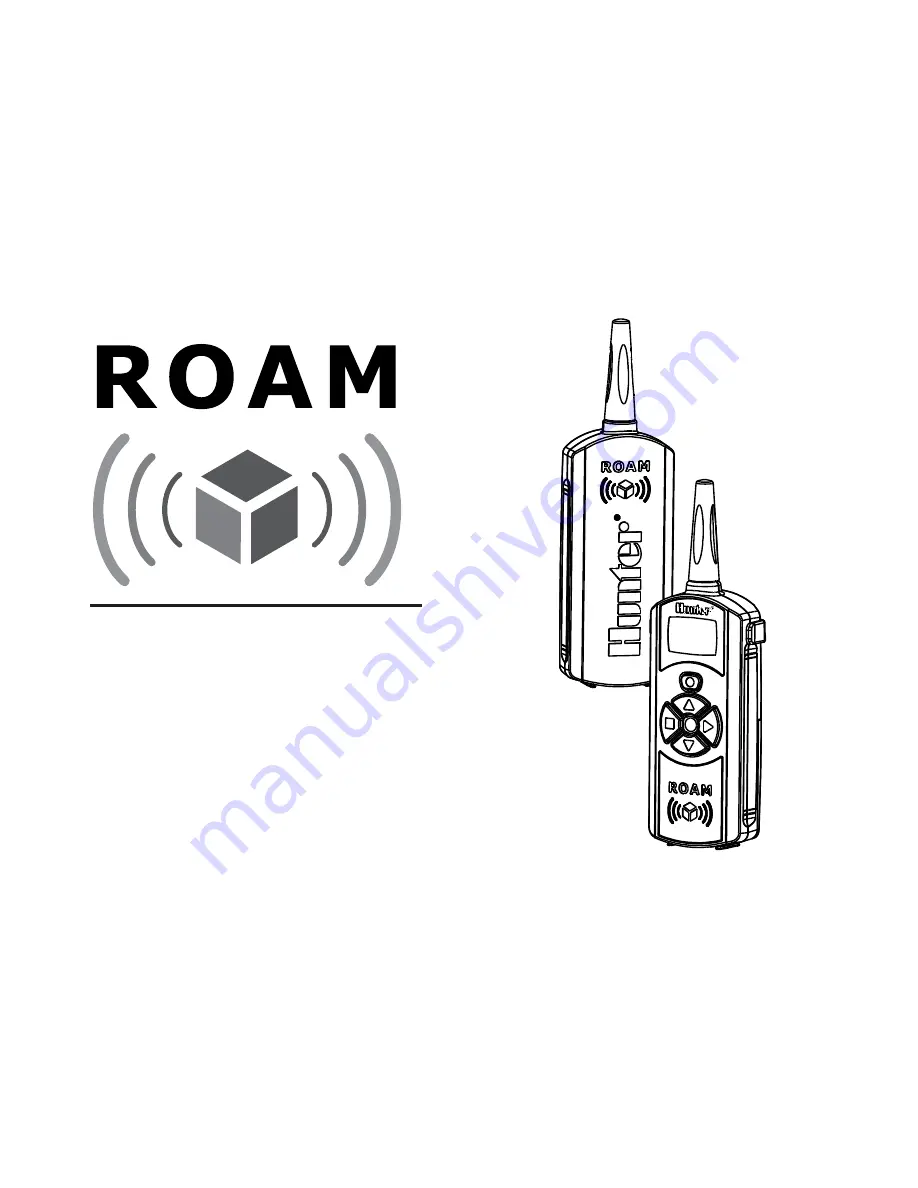
Owner’s Manual and

Installation Instructions

For use with Hunter Controllers

with SmartPort

®

 Connection

Residential/Light Commercial

Remote Control System

Owner’s Manual and

Installation Instructions

For use with Hunter Controllers

with SmartPort

®

 Connection

Residential/Light Commercial

Remote Control System

Содержание Residential/Light Commercial Remote Control System

Страница 1: ...with Hunter Controllers with SmartPort Connection Residential Light Commercial Remote Control System Owner s Manual and Installation Instructions For use with Hunter Controllers with SmartPort Connection Residential Light Commercial Remote Control System ...

Страница 2: ......

Страница 3: ...6 wiring the SmartPort to hunter controllers 7 TYPICAL INSTALLATION 8 MAXIMIZING OPERATING RANGE 9 Extending Wiring on SmartPort Harness 10 PREPARING THE TRANSMITTER FOR USE 11 INSTALLING THE TRANSMITTER BATTERY 12 CHANGING THE REMOTE ACTIVATED STATION RUN TIME 13 CHANGING THE TRANSMITTER ADDRESS 14 Table of Contents ...

Страница 4: ...ING THE RECEIVER FOR USE 16 CHANGING THE RECEIVER ADDRESS 17 ACTIVATING A STATION WITH THE ROAM REMOTE CONTROL SYSTEM 18 A WORD ABOUT RANGE 19 TROUBLESHOOTING GUIDE 20 SPECIFICATIONS 21 notes 22 FCC Compliance NOTICE 24 Table of Contents continued ...

Страница 5: ...mall enough to fit in your shirt pocket it has an open field range of up to 1000 feet The large LCD display and simple four button control make the ROAM a snap to use Simply press the or keys to display the station or program you want to turn on or off then press the or button what could be easier Don t worry about forgetting to turn off the ROAM After several minutes of inactivity the unit turns ...

Страница 6: ...TRANSMITTER RECEIVER SmartPort 2 ROAM COMPONENTS ...

Страница 7: ... to the receiver 3 Station Number Indicates station number 1 to 240 On Indicates Transmitter is turning on a particular station Off Indicates Transmitter is turning off a particular station PA PB PC Indicates program selected 4 Address Indicates that a new address for transmitting between the Transmitter and the Receiver is being set B Control Buttons 5 Increases the selected functions 6 Decreases...

Страница 8: ...enna Receives signals from Transmitter from up to 1000 SmartPort 13 SmartPort Outlet Female Outlet on front of SmartPort that plugs into the ROAM Receiver or other Hunter product 14 Rubber Cover Protects SmartPort from dirt and weather 15 Control Wires Red white and blue wires that connect to the terminal strip area of the controller ...

Страница 9: ...s wiring harness provides the connection port where the ROAM receiver is attached The SmartPort wiring harness is included with the purchase of the ROAM Additional SmartPorts may be purchased separately to allow you to utilize the transmitter and receiver with additional Hunter controllers WIRING HARNESS SmartPort CONNECTION KIT ...

Страница 10: ... it may not work at all it is site specific In either case it is recommended that installations where the SmartPort outlet will be located more than 5 feet from the controller that the installation be done using the shielded cable wiring harness ROAM SCWH to minimize the possible effects of electrical noise NOTE While the SmartPort has a protective cover to allow for outdoor installation the ROAM ...

Страница 11: ...ort Installation Access the terminal strip area on the main module and attach the red wire to the bottom most AC screw slot attach the white wire to the upper AC screw slot and attach the blue wire to the screw slot marked REM ICC Controller SmartPort Installation Access the terminal strip area on the power module and attach the red wire to the bottom most AC screw slot attach the white wire to th...

Страница 12: ... connected to the controller in an indoor area Connection of Receiver on a Temporary Basis from Outside of a Garage or Building This installation is ideal for situations where a contractor desires the ability to access and operate a controller from outside of a locked building or garage However the ROAM receiver must be removed from the SmartPort and the weather resistant cap placed back on the ou...

Страница 13: ...directions the receiver should be pointed straight up vertically If receiver is mounted with its antenna oriented horizontally reception will be very good if transmitter is on either side of the antenna but very poor if it is facing either end of the receiver antenna 4 When operating transmitter hold the transmitter as vertical as possible and face in the direction of the receiver especially if it...

Страница 14: ...ed cable to connect the SmartPort to the controller if installing the connector more than 2 meters of wiring length from the controller The use of shielded cable will eliminate the potential for radio interference by preventing the wire as acting as an antenna At no time should the SmartPort be installed more than 15 meters away from the controller For easiest installation order a Hunter SRS SCWH ...

Страница 15: ... means that other than installing the batteries you may choose to skip this entire section However we recommend you read it because with a few simple steps you can customize your ROAM to add functionality and security to your system PREPARING THE TRANSMITTER FOR USE ...

Страница 16: ...A alkaline batteries To install the batteries slide open the battery door on the back of the transmitter When changing the batteries make sure that they are oriented properly in the battery holder Slide the battery door shut INSTALLING THE TRANSMITTER BATTERY ...

Страница 17: ...or any of the buttons for at least 1 second and then releasing the button The transmitter will first display the active station 2 Press the Mode button once and the Run Time icon displayed default is 2 minutes If more than 10 seconds go by without a button being pressed the Transmitter will revert back to displaying the active station 3 Use the and buttons to change the Run Time to any of the 10 s...

Страница 18: ...st learn the new address as described in Preparing the Receiver for Use section To change the Transmitter address follow the steps below 1 If the unit is off no display power the Transmitter up by pressing any of the buttons for at least 1 second then releasing the button The Transmitter will display the active station CHANGING THE TRANSMITTER ADDRESS 2 Press the Mode button until the Address Key ...

Страница 19: ...he ACC controller If you are using an SRC Pro C or ICC controller make sure your station count is set to 1 48 The ROAM Transmitter allows you to set the maximum station number as follows 1 If the unit is off no display power the Transmitter up by pressing any of the buttons for at least 1 second then releasing the button The Transmitter will display the active station CHANGING THE MAXIMUM STATION ...

Страница 20: ...us section you must allow the Receiver to learn this new address Once learned the only way to remove the address from Receiver memory is to learn a different address This can be done by following the simple steps outlined below PREPARING THE RECEIVER FOR USE NOTE The ROAM remote receiver should not be permanently installed in an outdoor or unsheltered location ...

Страница 21: ...receiver beeps 4 times you have approximately 10 seconds to send the new address to the receiver Press either the or button on your transmitter to connect 4 The receiver will beep 4 additional times indicating that it has learned the new transmitter address and will respond only to that address from this point on If 10 seconds expire before the or button is pressed the receiver will beep once and ...

Страница 22: ...ess the button to start the station or program The Transmitter will display the Transmit icon If you are near the receiver you will hear it beep 2 times This indicates that the Receiver has received the command ACTIVATING A STATION WITH THE ROAM REMOTE CONTROL SYSTEM 5 Press the button to turn off any station that is on The display will show the Transmit icon and receiver will beep again twice The...

Страница 23: ...tion systems for that matter The published range for the ROAM System is up to 1000 feet Most users will achieve this range or more but a few may not It is the attempt of this section to educate the user about those factors that influence operating range We believe that we have achieved the maximum performance available on this frequency Here s why The range of any remote control system is dependen...

Страница 24: ...learn address at receiver Transmitter display stays on Transmitter will turn off automatically Wait approximately 5 minutes without pressing any buttons Transmitter will fall asleep ERR message in controller display when controller is in the run position SmartPort wiring leads have been extended and are receiving radio interference Replace lengthened wire with shielded cable to prohibit radio inte...

Страница 25: ...epth 1 Depth 1 See A Word About Range for more information Operating Specifications Address range 0 127 Maximum stations supported 240 Run Time 10 settings from 1 90 minutes Range up to 1 000 feet Electrical Specifications Power Source Transmitter 4 AAA Alkaline Batteries Power Source Receiver 24VAC 0 010 Amps Receiver type Superheterodyne System Operating frequency 433 925 MHZ ...

Страница 26: ...ce with the instructions may cause harmful interference to radio communications However there is no guarantee that interference will not occur in a particular installation If this equipment does cause harmful interference to radio or television reception which can be determined by turning the equipment on and off the user is encouraged to try to correct the interference by one or more of the follo...

Страница 27: ...erference in a residential installation This equipment generates uses and can radiate radio frequency energy and if not installed and used in accordance with the instructions may cause harmful interference to radio communications However there is no guarantee that interference will not occur in a particular installation If this equipment does cause harmful interference to radio or television recep...

Страница 28: ...Street San Marcos CA 92078 declare under our own responsibility that the ROAM remote control product model numbers ROAM TR and ROAM R to which this declaration refers conforms with the relevant standards Emissions ETSI EN 300 220 1 V2 1 1 ETSI EN 300 220 2 V2 1 1 ETSI EN 301 489 1 per EN55022 EN 61000 3 2 EN61000 3 3 Industry of Canada Notice Immunity ETSI EN 301 489 1 V1 4 1 per IEC61000 4 2 thro...

Отзывы: