


G1500
INSTRUCTIONS
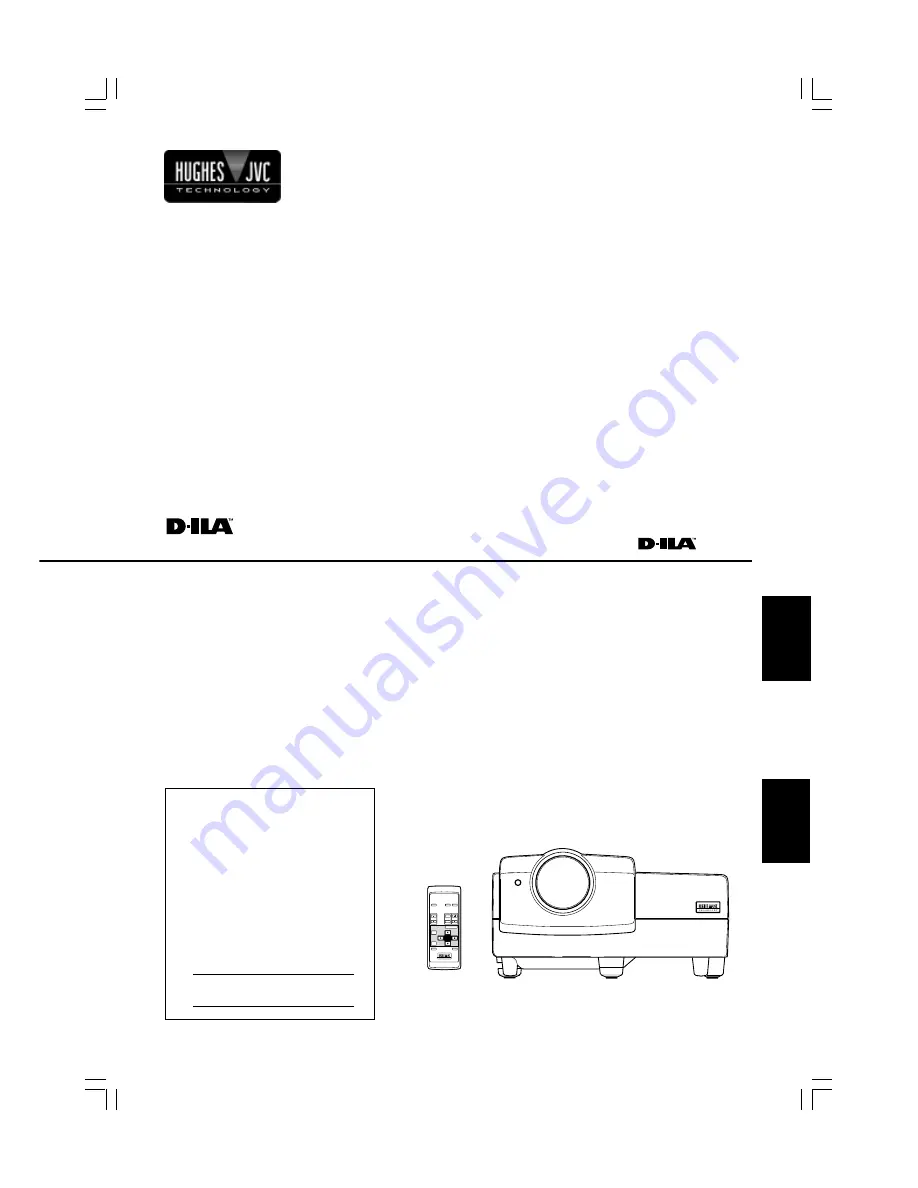
DIGITAL GRAPHICS PROJECTOR
MANUEL D’INSTRUCTIONS : PROJECTEUR GRAPHIQUE NUMÉRIQUE
For customer Use:
Enter below the Serial No. which is located
on the side panel of the cabinet. Retain this
information for future reference.
Pour l’utilisateur:
Inscrivez ci-dessous le No de série situé sur
le panneau latéral du coffret de l’appareil.
Conservez cette information à titre
d’information.
OPERATE
VOL.
PAGE
BACK
PRESET
ZOOM
FOCUS
COMPUTER VIDEO
QUICK
ALIGN.
AV
MUTING
W
T
MENU/ENTER
RM-M100 REMOTE CONTROL UNIT
Model No.
No de modèle
G1500
Serial No.
No de série
ENGLISH
FRANÇAIS
Summary of Contents for G1500
Page 2: ......
Page 3: ...1 ENGLISH DIGITAL GRAPHICS PROJECTOR G1500 INSTRUCTIONS ...
Page 60: ...58 ...
Page 61: ...1 FRANÇAIS PROJECTEUR GRAPHIQUE NUMÉRIQUE G1500 MANUEL D INSTRUCTIONS ...
Page 118: ...58 ...
Page 119: ......


