HT THT500 Series, User Manual
The HT THT500 Series User Manual is now available for free download on our website. This comprehensive manual provides detailed instructions and information on operating and maintaining your HT THT500 Series product. Unlock its full potential by accessing the manual today on manualshive.com.
Share
Download


Reviews:
No comments
Related manuals for THT500 Series

T300
Brand: Raymarine Pages: 38
DC-TH Series
Brand: Idis Pages: 14
DTI 1/19
Brand: Zeiss Pages: 88
HM-TD2H37T-10/X
Brand: Hikmicro Pages: 9

TCX series
Brand: FLIR Pages: 150
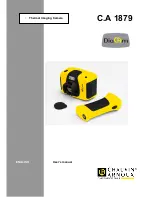
C.A 1879
Brand: Chauvin Arnoux Pages: 22
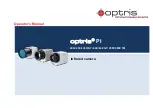
PI 640
Brand: optris Pages: 92

HM-TS03-15XF
Brand: Hikmicro Pages: 159
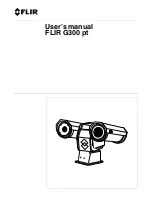
G300 pt Series
Brand: FLIR Pages: 80
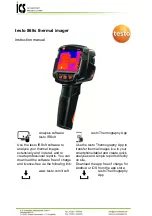
testo 868s
Brand: ICS Schneider Messtechnik Pages: 42

Eagle Attack
Brand: Scott Pages: 36
ThermalTronix TT-1T80-HTI
Brand: Intellisystem Pages: 5
E70110
Brand: Raymarine Pages: 47

TE-SQ1
Brand: i3system Pages: 8

ThermaCAM PM575
Brand: FLIR Pages: 68
FLIR Ex Series
Brand: DATATEC Pages: 41
MD 9910
Brand: METREL Pages: 17
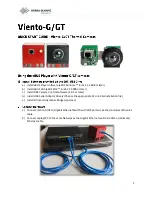
Viento-G
Brand: Sierra Olympic Pages: 10


