


POS80Gx Ethernet Guide
This printer is compatible with Android, Windows and IOS.
Do I have an Android or Windows till system?
A
Windows
till system will have the clock in the bottom right corner of the desktop, as well as
the Windows icon in the bottom left corner. An
Android
till system will have the clock in the top
right corner of the screen, as well as three app icons - POS, Network Details, Rescue.
Setting up the printer
What’s in the box?
In the box find the following items:
POS80Gx printer
Power supply
IEC cable (kettle lead)
Ethernet cable
Manual
CD (as your hardware does not contain a CD drive, this can be discarded and won’t form part of
the setup process)
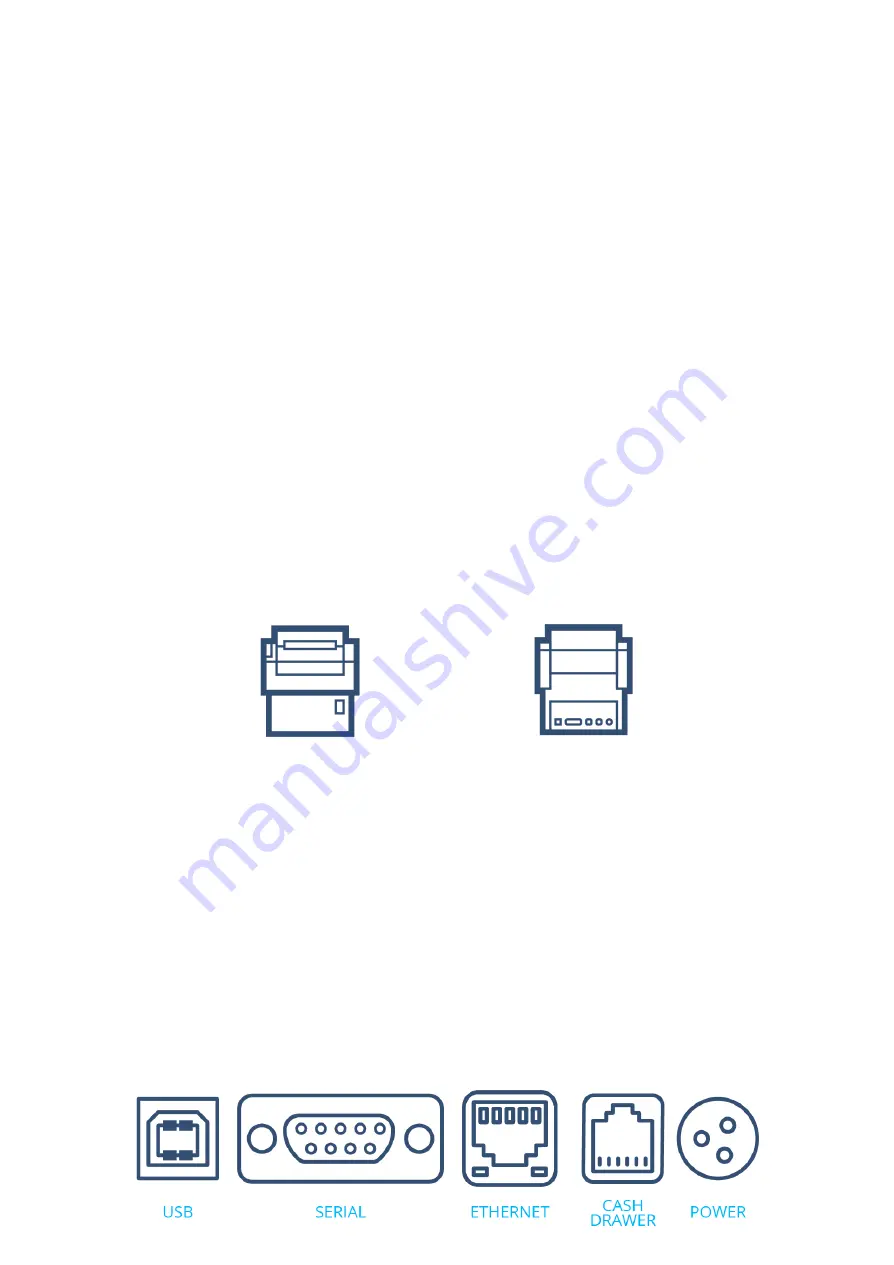
Front Back
Plugging in the printer
1. Plug the IEC cable (kettle lead) into the power supply and plug into a wall/plug socket
2. Plug the end of the power supply into the back of the POS80Gx printer, in the port on the
far right (pictured below)
3. Plug the cash drawer’s cable into the black ‘cash drawer’ port, next to the power port on
the back of the POS80Gx printer (the cash drawer will click when fully pushed into place)
4. Plug the ethernet cable into the ethernet port, this is the middle port
5. Plug the other end of the ethernet cable into your router
6. Turn the printer on at the wall/power socket and then at the front of the printer


